
Drywall around a fitted wardrobe in Binyamina: finished dimensions, support and door clearance
Coordinate the drywall recess with the actual wardrobe: finished opening, fixing locations, floor level, doors and retained service access.
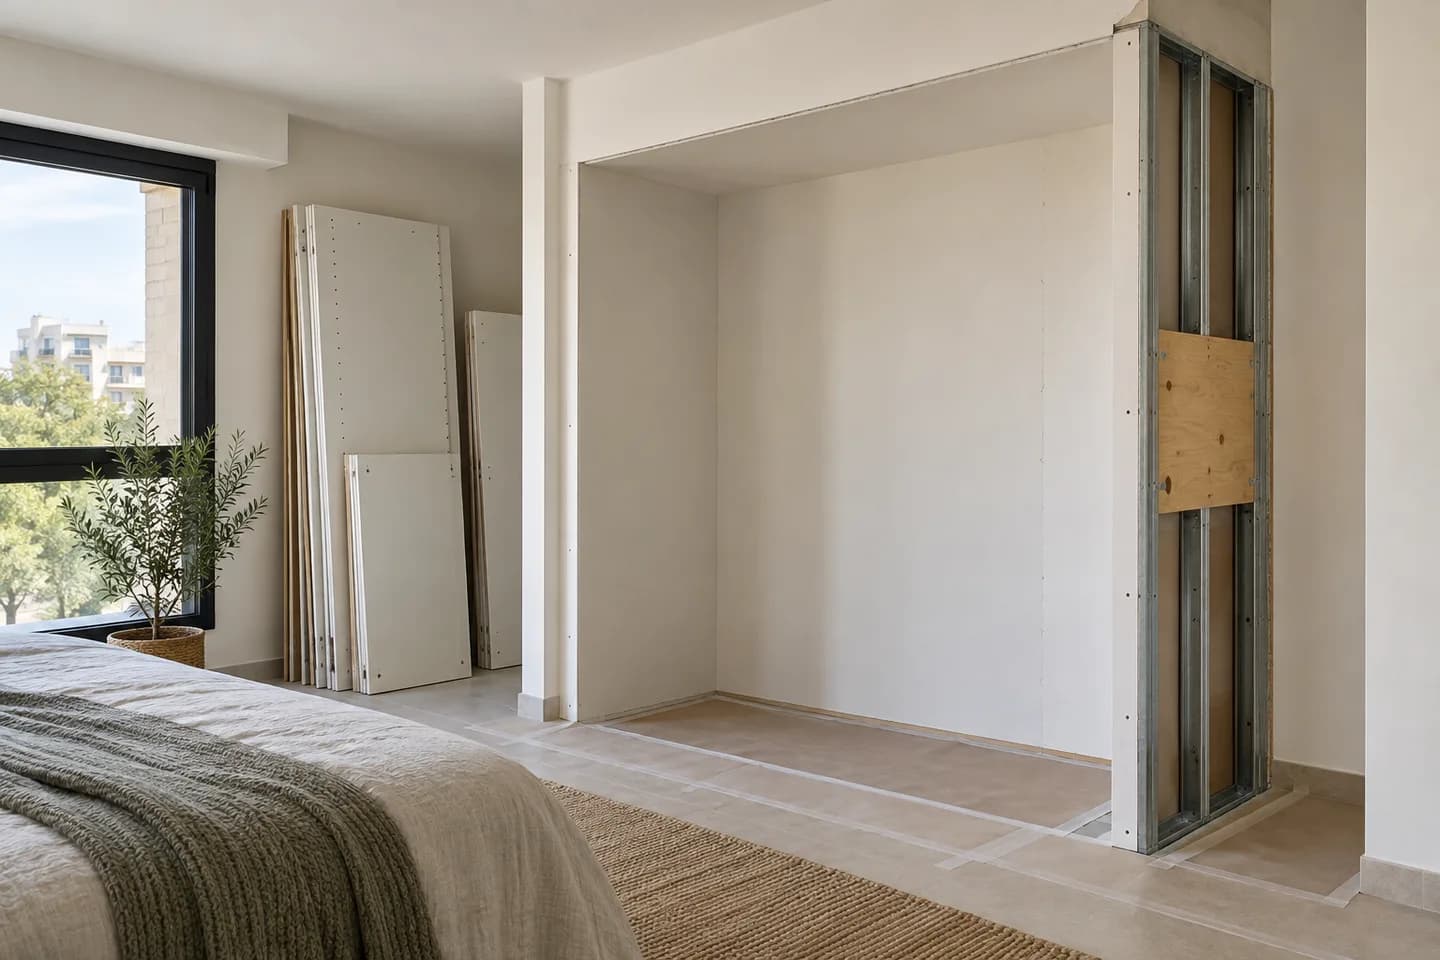
A fitted wardrobe can meet a smooth plasterboard surround and still fail to fit because the opening was measured before the final layers. Another problem appears when the carpenter expects fixing support that was never included in the wall. For a bedroom in Binyamina, treat the wardrobe drawing and drywall drawing as one coordinated task with separate responsibilities. This guide focuses on preparing the enclosure for floor-standing furniture. It does not turn a decorative recess into a furniture design or promise that any board can support a hanging cabinet without a specified fixing system.
1. Start with the wardrobe rather than a generic recess
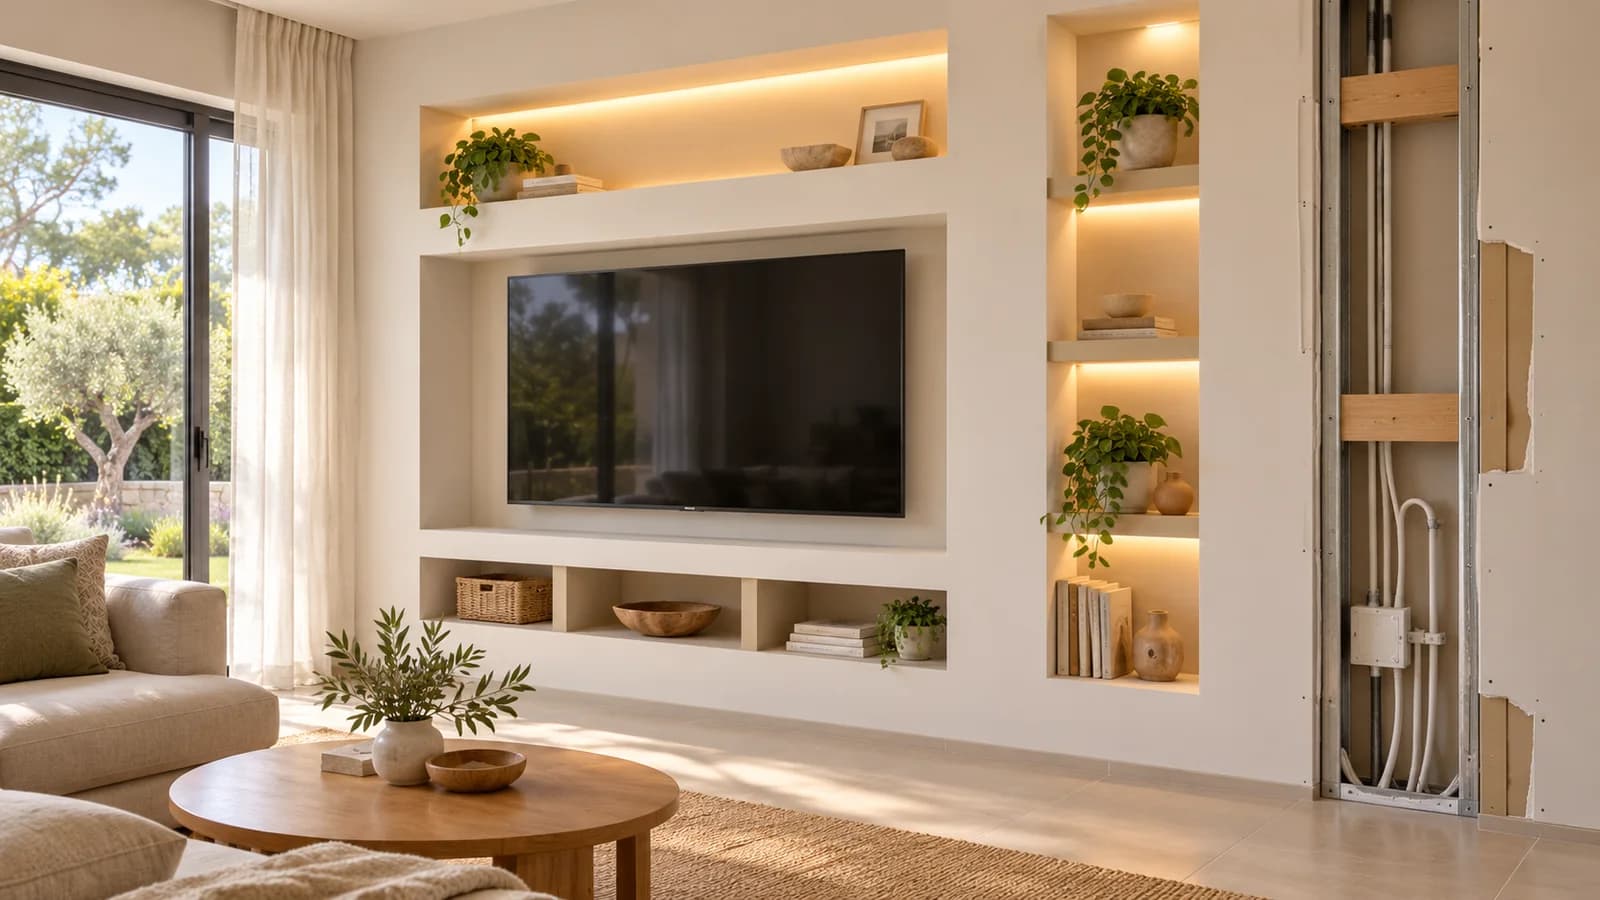
Confirm whether the furniture is a complete carcass, individual fitted modules or a design that uses existing room walls as part of its enclosure. Ask the supplier what must be flat, square, accessible and capable of taking fixings. A front elevation alone may omit the side clearances and rear arrangement. Give Nikolai the actual intended furniture drawing before the drywall perimeter is fixed. Our niches and enclosures service can shape the surrounding construction, while the wardrobe specification remains the responsibility of its supplier or designer.
2. Distinguish rough dimensions from finished dimensions
Show the opening before boarding and the final clear width, height and depth as separate values. Include all agreed layers and finishes in the coordination drawing. State who measures for manufacture and at which stage that measurement becomes final. If the furniture has tight tolerances, do not order it on the assumption that the raw frame opening will stay unchanged. The client needs a usable finished space, not just an attractive external outline. Check more than one measurement position where the existing room may be out of square or uneven.
3. Check how the furniture enters the room
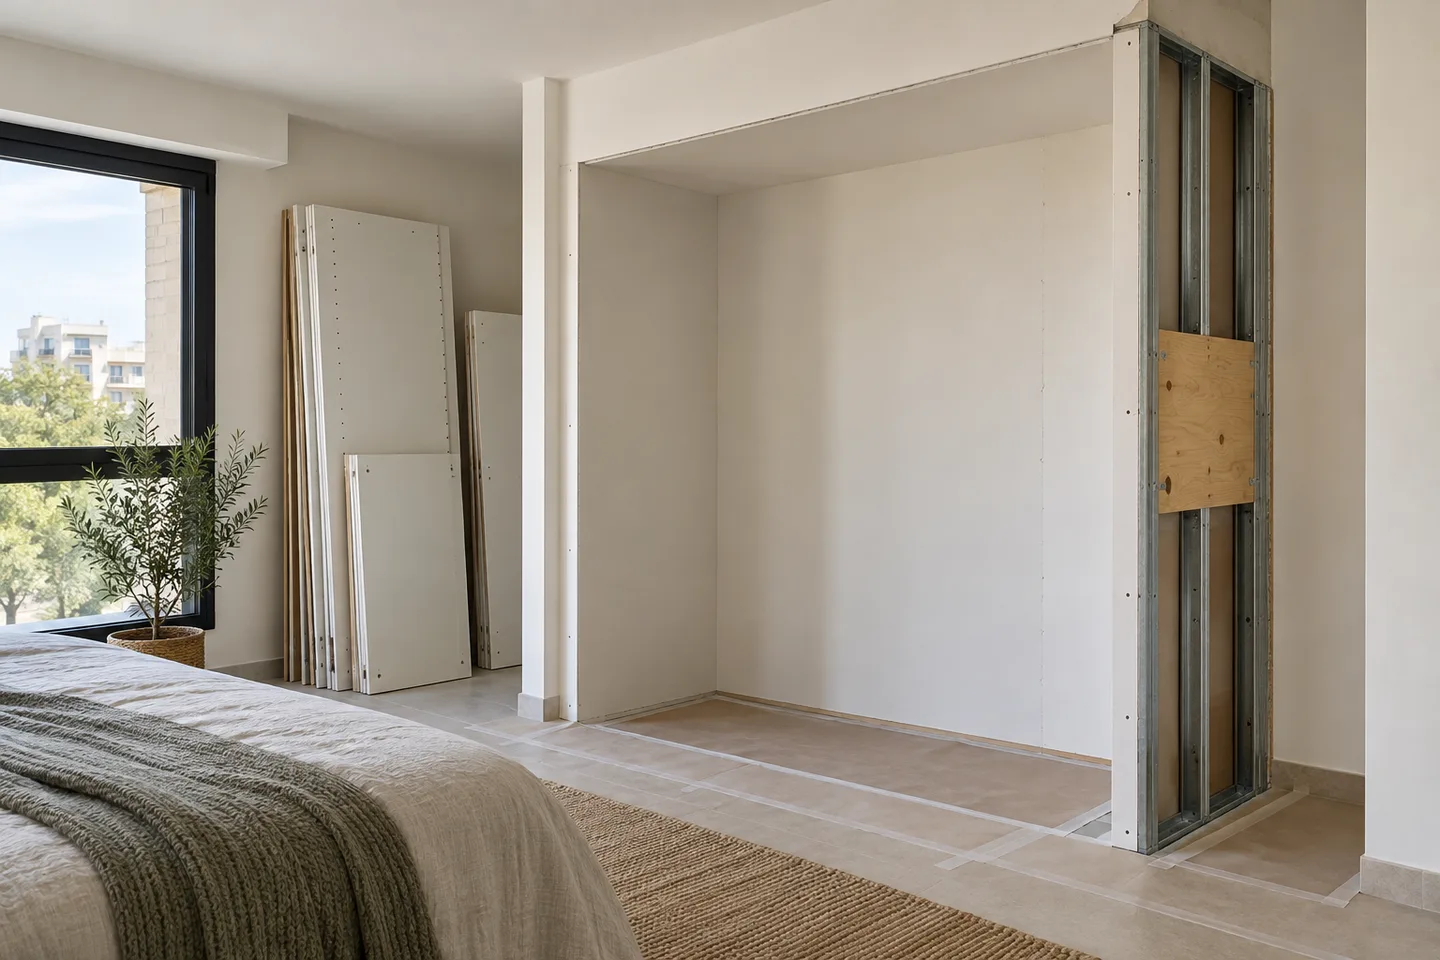
A wardrobe that fits the completed recess still needs a delivery and assembly route. Confirm whether it arrives in panels or large assembled sections, then check the room door, corridor, turning space and installation area. A return wall built too early can obstruct assembly even when the final dimensions look correct. Agree the order with the carpenter rather than treating delivery as an unrelated later issue. In a Binyamina home, the actual entrance and room plan determine this route; the town name does not establish that the property is a detached house with easy access.
4. Design fixing support before closing the wall
A floor-standing wardrobe and its wall restraints still have a specified fixing requirement. Ask for the manufacturer's fixing positions and loads rather than choosing anchors from the furniture's appearance. British Gypsum describes reinforcement carried within a partition for supported fixtures. This illustrates planned backing, not a load rating for your existing wall. The selected wall and fixing system must be checked together. Keep the agreed support locations documented before boarding, especially where they will later be hidden by the furniture.
| Coordination item | Drywall information | Furniture confirmation |
|---|---|---|
| Finished opening | Width, height and depth after layers | Manufacturing and assembly clearances |
| Wall restraints | Agreed support zones | Fixing positions and requirements |
| Doors and access | Returns and retained hatches | Operating space and removable panels |
5. Coordinate the floor, plinth and ceiling junction
Record the finished floor level and whether a skirting board remains behind or beside the wardrobe. The carpenter should confirm how the plinth and top junction are formed and what adjustment space is needed. A decorative surround should not accidentally prevent levelling or replacement of a module. If the floor is also changing, use the floor and door sequence guide to discuss dependencies. The useful measurement is the agreed finished geometry at installation, not simply the room height shown on an old plan.
6. Test the doors against the actual room
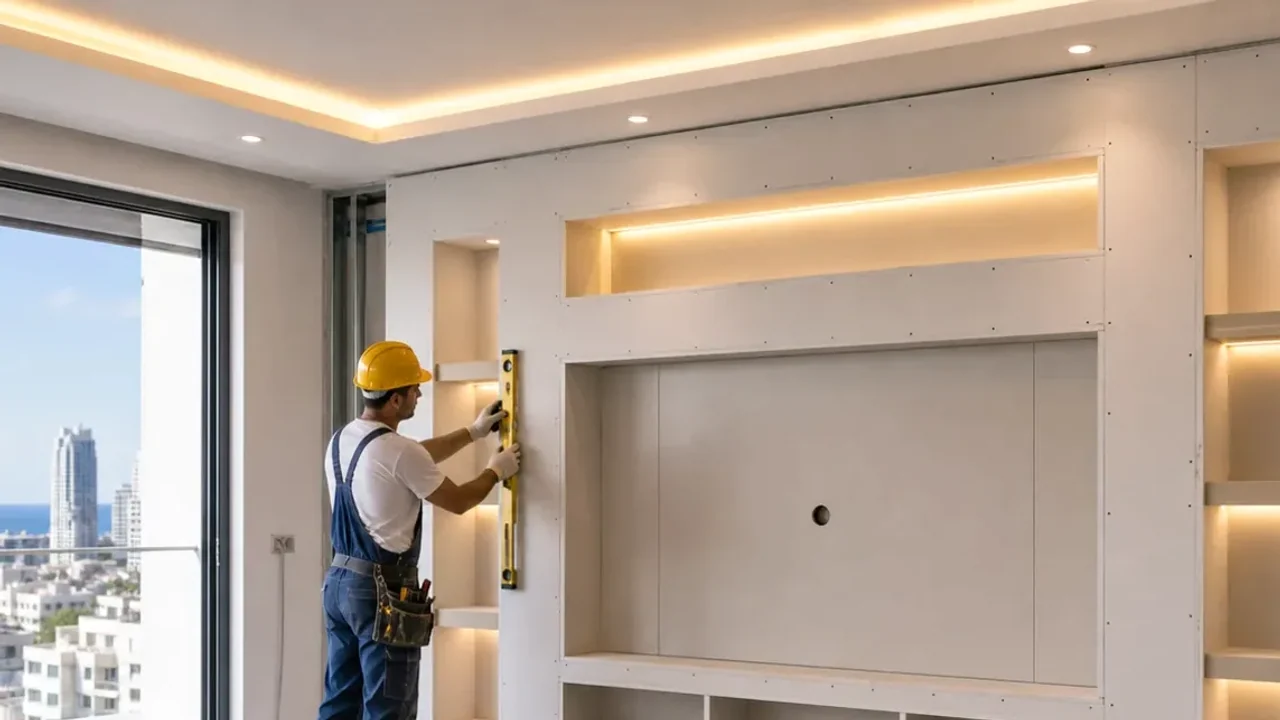
Sliding doors and hinged doors need different clearances. Include the bed, nearby room door, light switches and any other retained furniture on the plan. Consider the handles and the user's position when drawers or internal pull-outs are open. Do not assume that the narrowest possible surround gives the best everyday result. A symmetrical elevation may conceal a conflict at one side of the room. Ask the furniture supplier to confirm its operating envelope before the side returns are built. The drywall work should follow that coordinated drawing rather than a guessed gap.
7. Keep necessary service points accessible
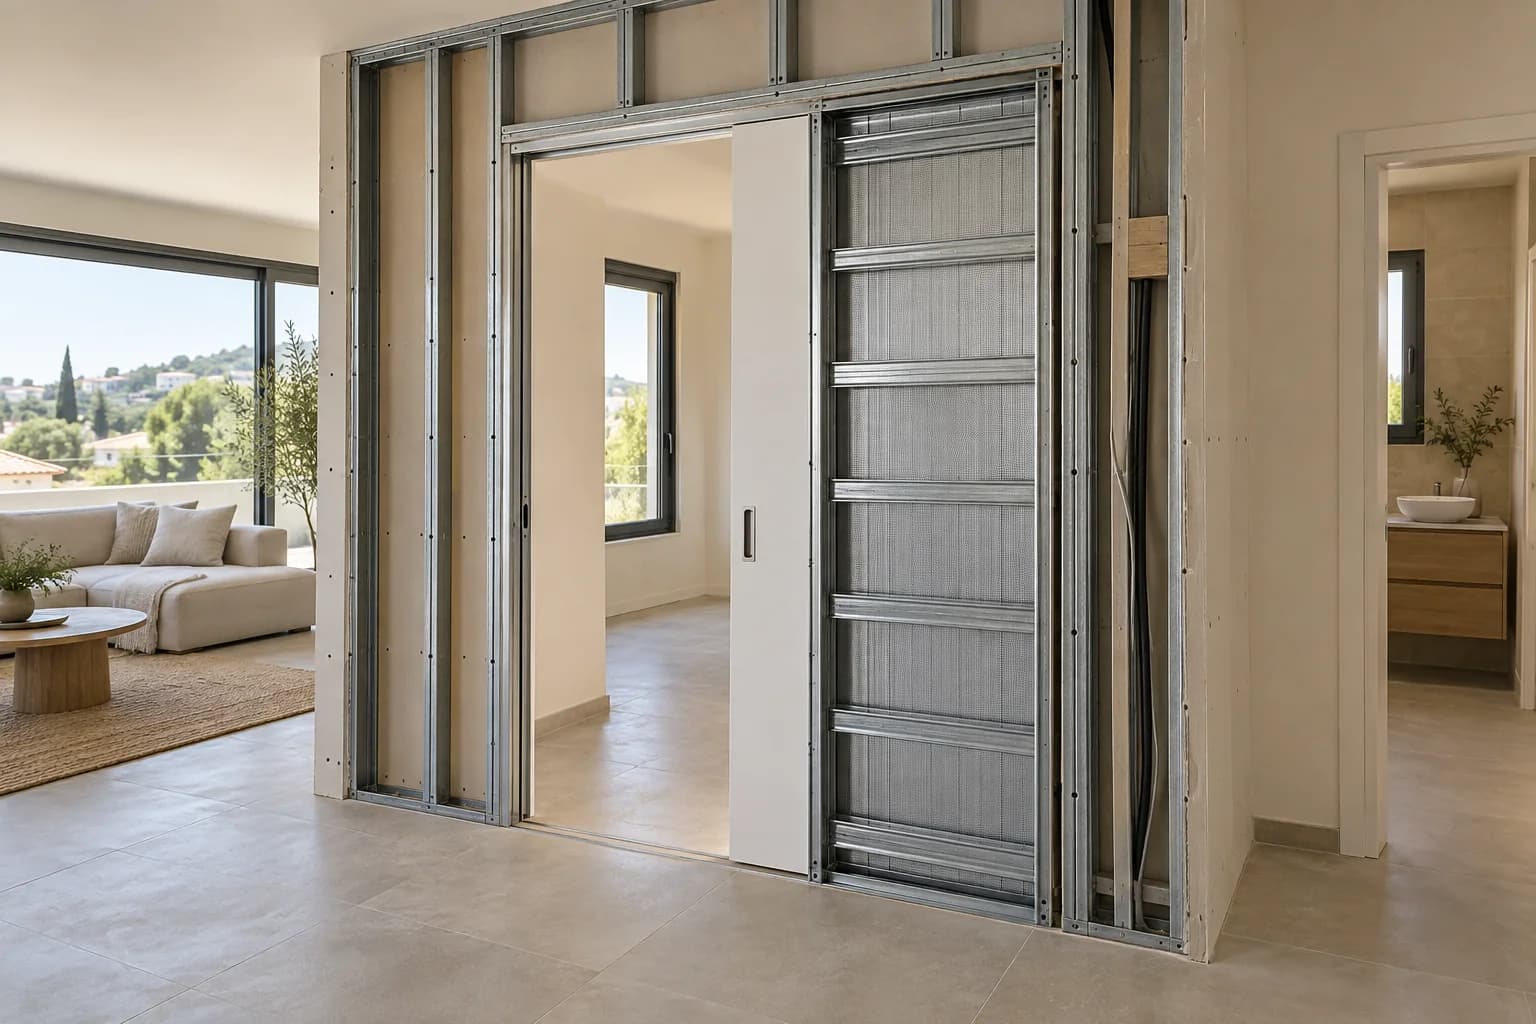
Locate sockets, junctions, access hatches and equipment near or behind the proposed wardrobe. Agree which remain reachable and which require another specialist's work before closure. A removable furniture panel and a drywall access hatch are different details and need compatible dimensions. Our access panel service can address the construction part when required. Do not cover an unresolved service point simply because a wardrobe will hide it from view. Record the agreed access method so the next maintenance visit does not require breaking a newly finished surround.
8. Check the existing wall before concealing it
Photograph the rear wall and note any known stains, loose finishes or history of moisture before the furniture is installed. An unexplained active problem should be assessed by the appropriate specialist rather than hidden behind a new lining and wardrobe. Do not infer moisture from Binyamina's location or assume every enclosed recess has the same ventilation requirements. Follow the furniture and construction specifications for the actual arrangement. The wall lining service is a potential construction solution after assessment, not a universal cure for every condition behind built-in storage.
9. Agree which surfaces are painted and when
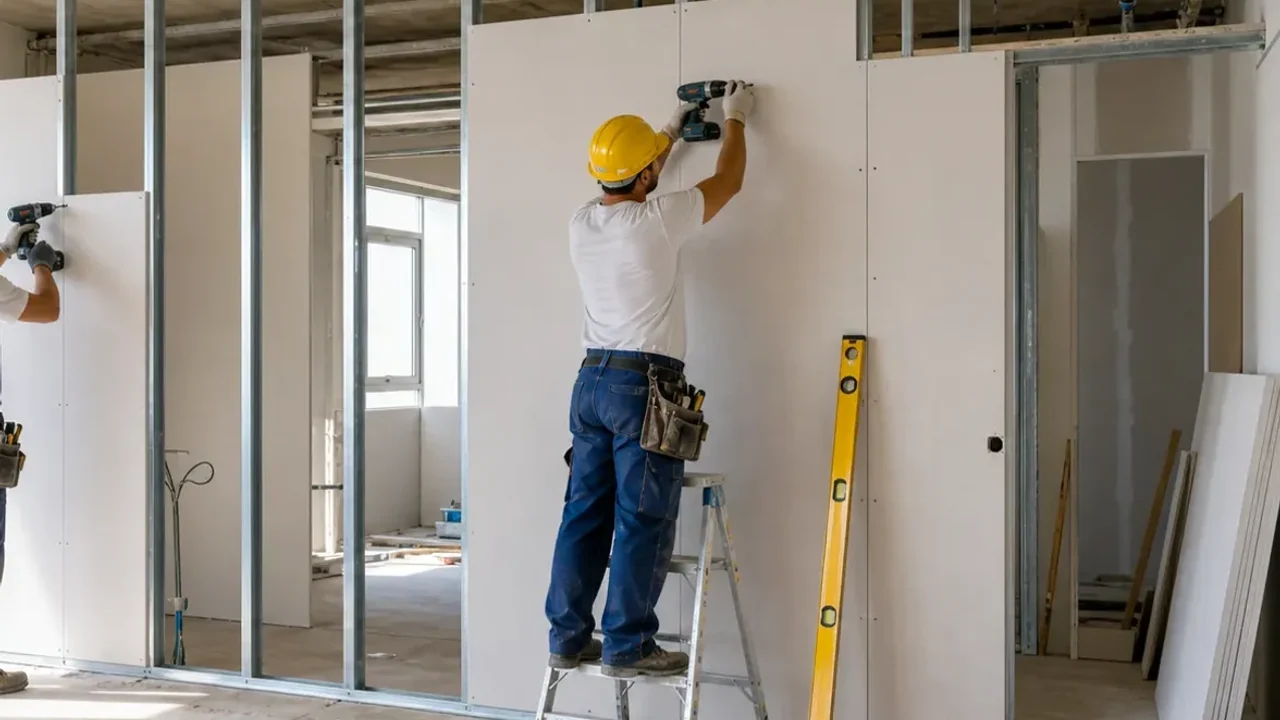
Specify the side returns, visible top closure and rear surface where relevant to the selected furniture. Clarify what can be finished before assembly and what must be completed afterward. If the cupboard is installed against a freshly decorated wall, allow the appropriate product stages and protect the completed surfaces during assembly. Do not assume that hidden surfaces need no preparation, or that every surface must receive an identical decorative finish. The written scope should express the intended result. This avoids a carpenter and drywall installer each believing the other has included the final visible edge.
10. Use one coordinated handover drawing for both trades
The drawing should show final dimensions, floor level, fixing zones, access points and the furniture's operating space. Name who confirms each item and who authorises manufacture. A photograph with a few arrows can support the conversation but should not replace critical dimensions. Separate the drywall, reinforcement, repair and paint items from the wardrobe supply and assembly costs. Consult the current price catalogue for construction guidance, then confirm the actual scope. A price for a simple wall does not automatically include a complete fitted furniture surround and every associated finish.
11. Check the opening before furniture manufacture
Review the agreed measurement stage before ordering bespoke parts. Check the finished recess at the relevant points, confirm the backing documentation and test the planned door clearances against retained furniture. After installation, confirm that service access and agreed finish boundaries remain usable. Keep the final drawing and concealed-work photographs with the furniture information. For an initial discussion, send Nikolai the Binyamina address, room overview, furniture drawing and intended installation sequence. This is coordination advice for a proposed project, not evidence that the illustrated wardrobe was installed by the team at a local client address.
Questions
Can the wardrobe be ordered from frame dimensions?
Only if the supplier explicitly works from that agreed basis. Usually the final measuring stage must be defined first.
Does a floor-standing wardrobe need wall coordination?
Its specified restraint and fixing arrangements still need suitable support and confirmed positions.
Can the recess hide an access hatch?
Necessary maintenance access must remain usable through a coordinated construction and furniture detail.
Who decides the door clearance?
The furniture supplier confirms its operating requirements, which are then reflected in the room and drywall plan.
Is furniture included in the drywall price?
Not automatically. Supply, assembly and construction finishes should be separate, clearly assigned parts of the proposal.
Relevant services
Guides and practical notes

Message Nikolai on WhatsApp with photos and dimensions, or call him to discuss the next step and what is needed for an estimate.