
Ceiling lighting coves: planning LED details without rework
How to plan a drywall ceiling lighting cove in Israel: LED profile, driver access, curtain pocket, AC conflicts and a flat paint-ready finish.
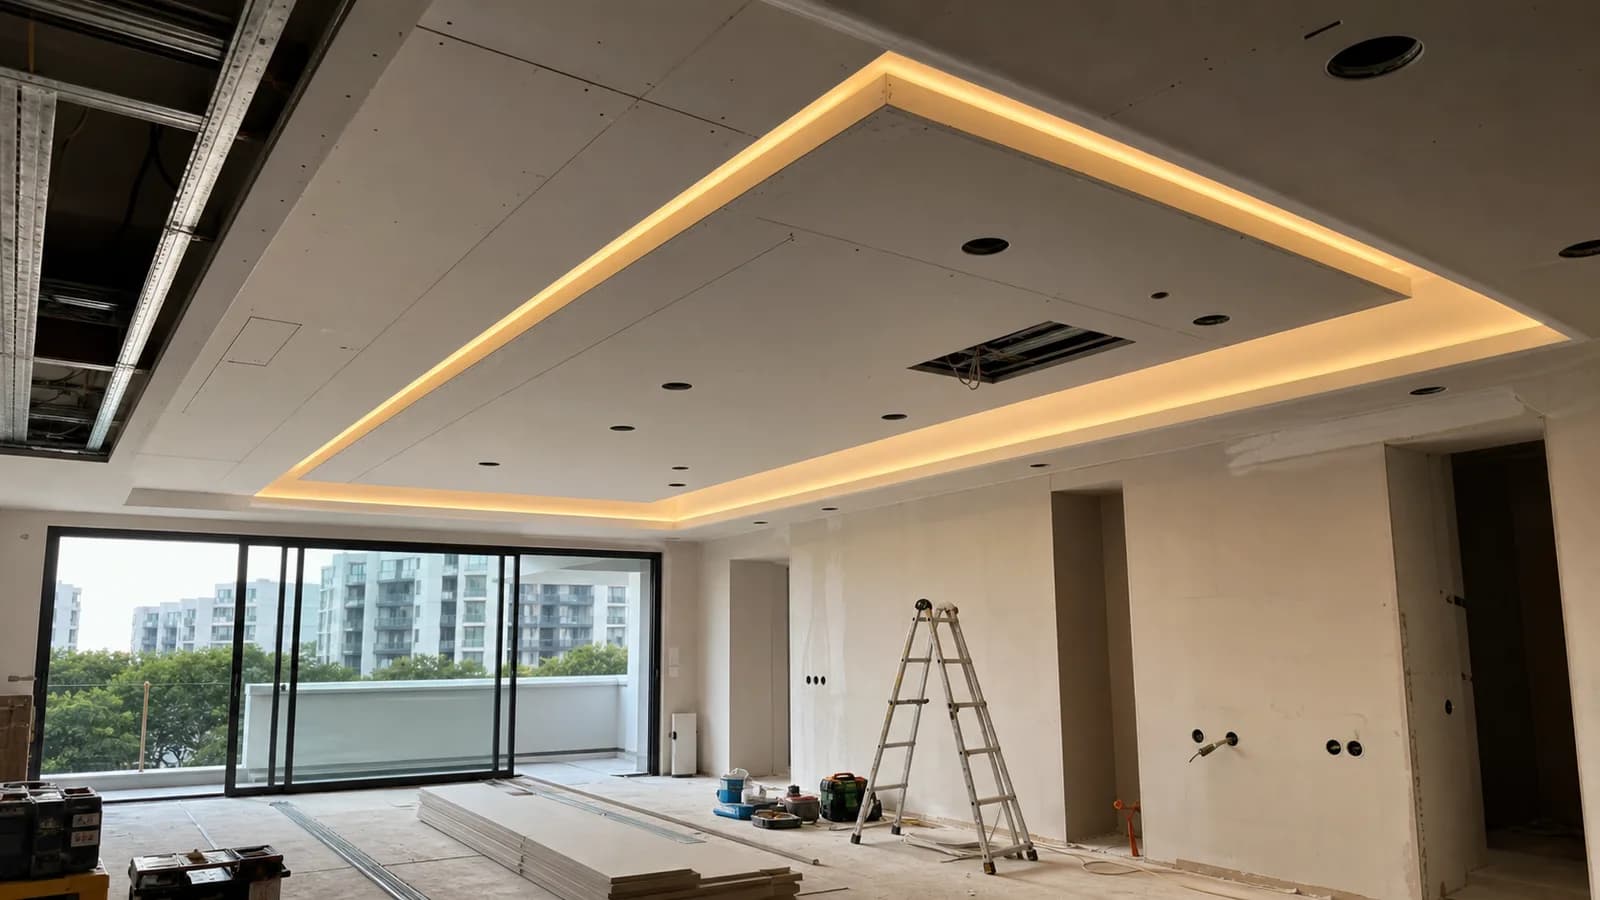
A ceiling lighting cove looks clean only when the cove, driver, access point, light gap and paint finish are planned before framing. A mistake at this stage is visible every evening: the strip creates spots, shadows break the geometry and the driver may need to be cut out after finishing.
Start with the lighting task
An LED cove can create soft perimeter light, curtain lighting, a wall accent or a decorative line. These tasks need different box depth, shelf direction and distance from the wall. If the cove is built by habit, the light can glare or expose every wave in the ceiling.
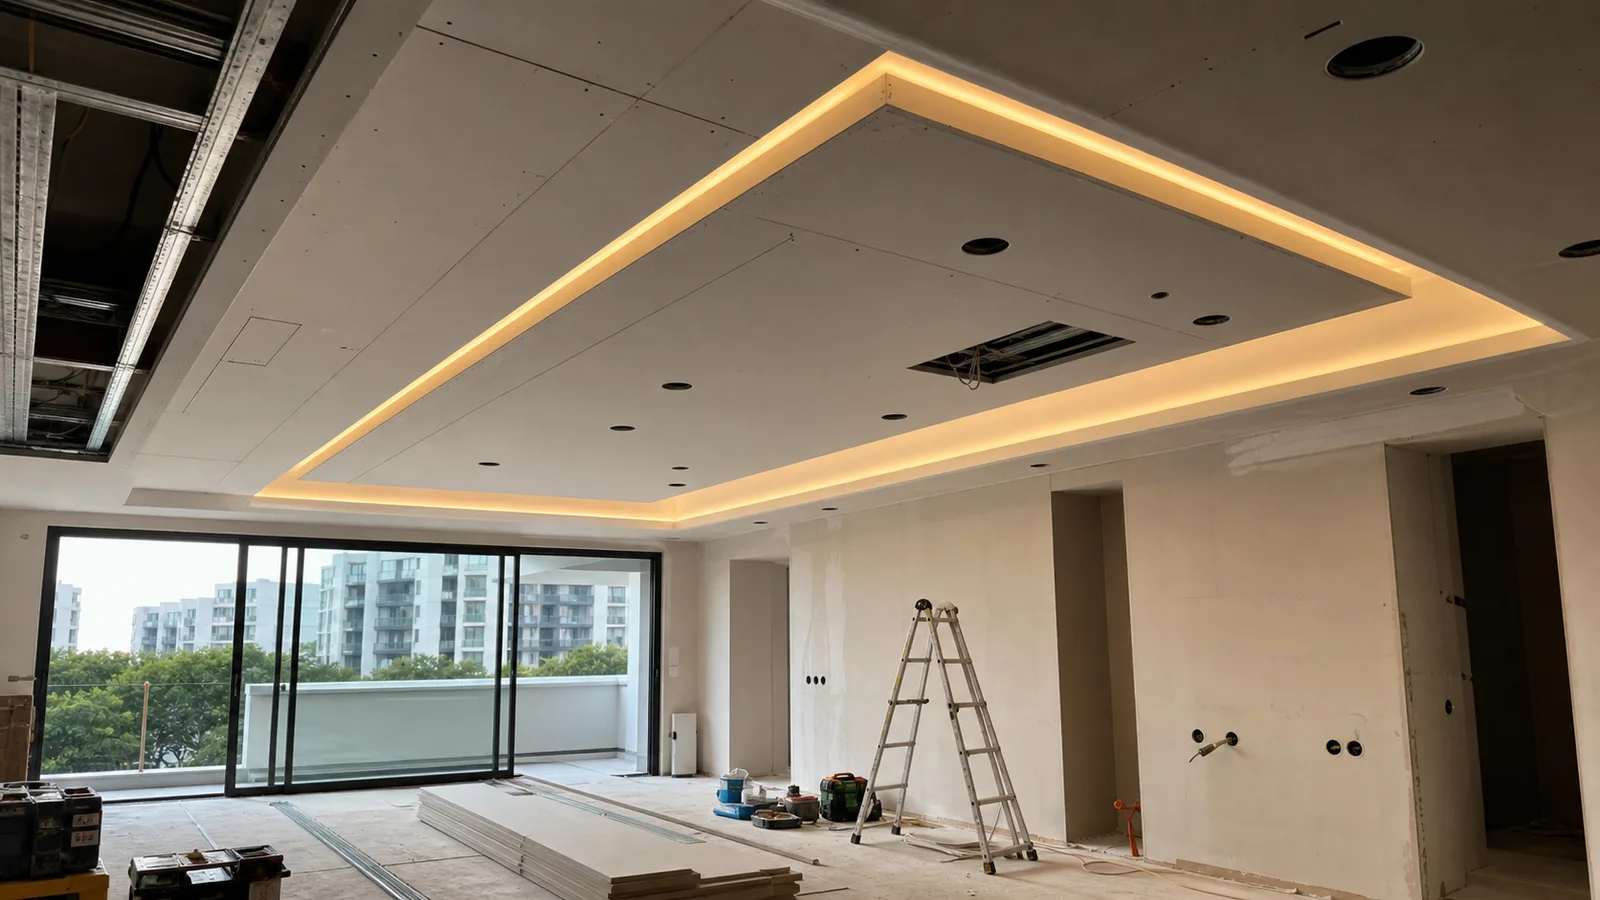
Geometry matters more than decoration
A clean light line needs accurate layout, rigid framing, consistent offset, a straight drywall edge and controlled corners. A small error on one short section becomes visible across the whole light strip. It is especially clear with cool light, glossy paint and long walls.
Driver and access
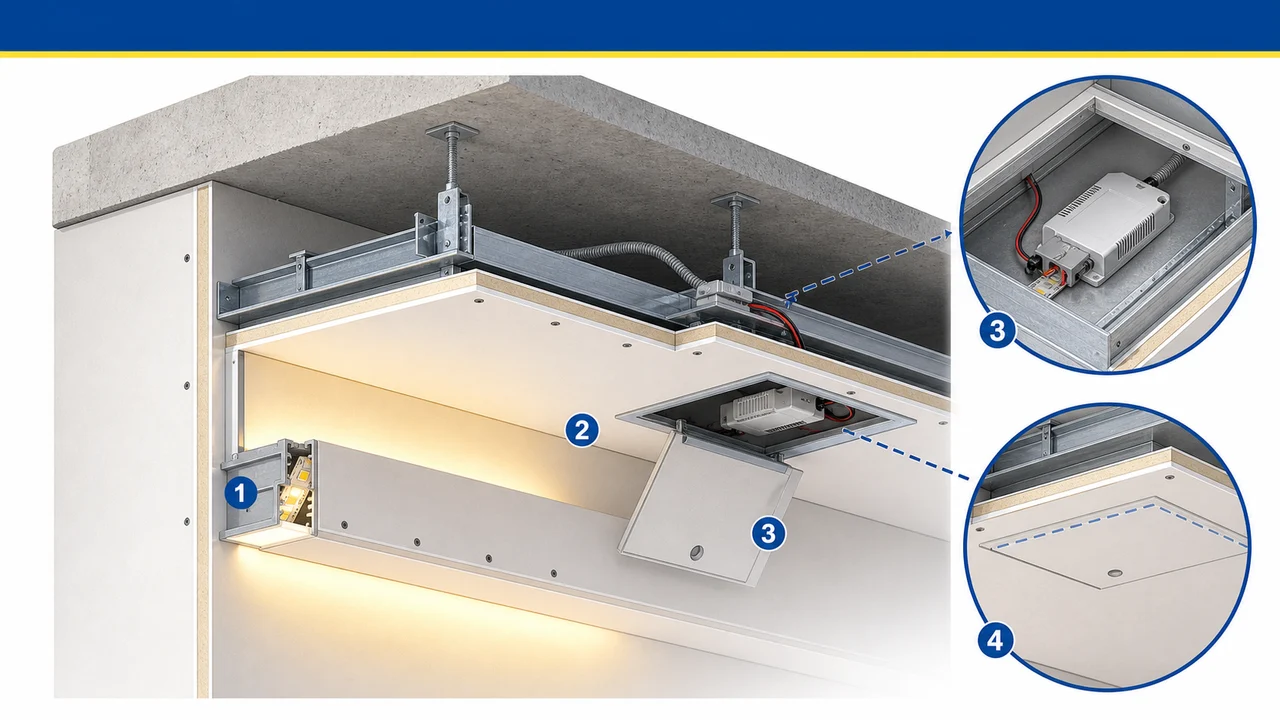
An LED driver should not be hidden inside a sealed cavity without access. It heats up, may need replacement and should have a clear place: access panel, removable section, cabinet, service niche or access from another zone. If this is not solved before installation, a clean ceiling becomes a service problem.
Curtain pocket, AC and furniture
A hidden curtain pocket, AC unit, full-height cabinets and lighting tracks can compete for the same ceiling zone. Height, curtain depth, profile position, cabinet-door opening and airflow direction should be checked early. Otherwise the cove may look good but make the room harder to use.
Finish under side light
LED side light exposes joints, waves, weak sanding and poor primer more than a normal lamp. After installation, tape, several skim passes, drying time, sanding and primer matter. Painting before full preparation is risky because the light will show defects immediately.
What the estimate should include
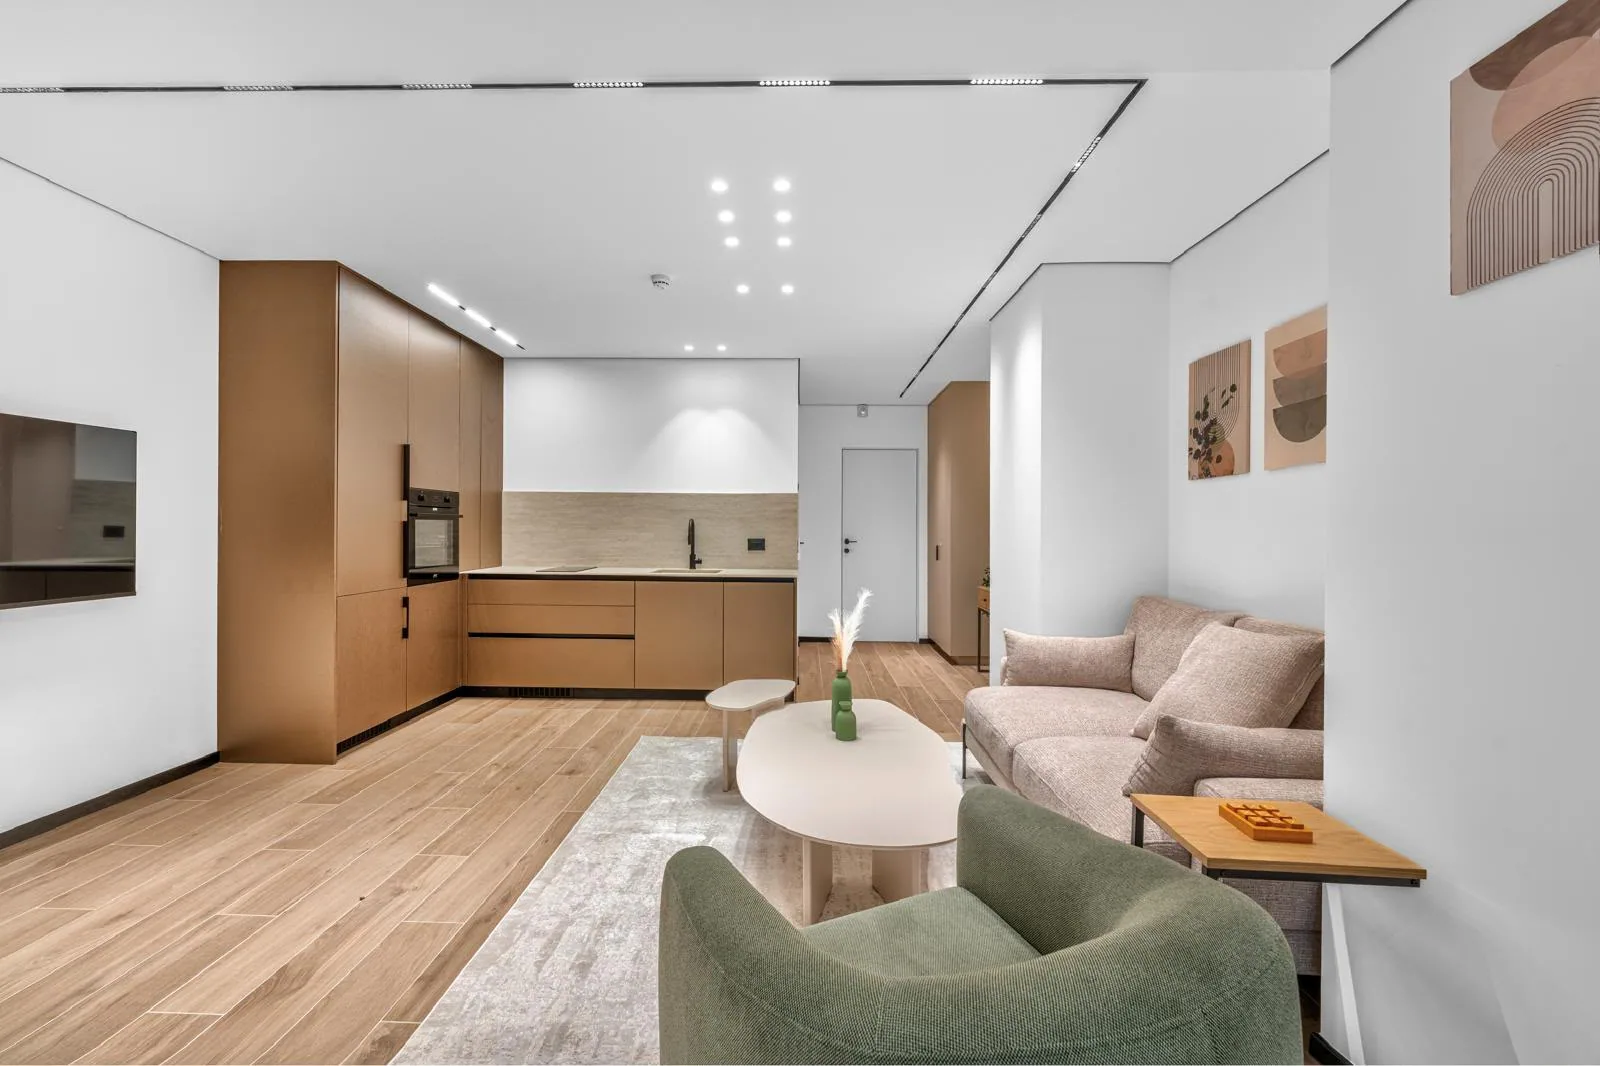
The estimate should show cove length, box type, LED preparation, driver location, access point, number of corners, skim coat, primer and paint. It should also clarify who supplies the strip, profile, driver and switch. That prevents a finished ceiling with lighting that cannot work properly.
What to check for this topic
The main task is to combine the lighting design with height, drivers, access and a clean shadow line. Without that, a good-looking solution can still miss the source of the problem and the real apartment constraints.
Materials and details
The estimate should make cove framing, LED profile, diffuser, cable exits, primer and side-light finish clear. These choices are better agreed before purchasing because replacement after installation usually costs more than proper planning.
Typical risk on an Israeli project
The most common problem is a nice sketch with no driver access and visible waves once the LED strip turns on. In apartments with concrete walls, older wiring and AC routes, those details should be checked before boards are closed.
Handover check
Before the final stage, check cove lines, power access, fixture positions, height and light evenness. This catches mistakes before painting, furniture installation or moving in.
What to photograph before calling
Take a wide view of the room, the problem wall or ceiling, junctions near windows and doors, AC routes, electrical points, access panels and future fixing locations. Drywall work is not measured only by square meters: a small utility box with access, a lighting niche or a partition with a door can require more planning than a large straight surface.
When this is not the right approach
Sometimes the right decision is to keep the assembly simpler. A decorative niche is wrong if it blocks equipment access; a deep box is wrong if it steals circulation; LED lighting is wrong without driver access; and one soundproof wall is not enough when noise travels through the ceiling, sockets and door. Nikolai checks the actual room before recommending the work scope.
What should be fixed in the quote
The quote should show board type, framing, number of layers, backing, acoustic fill, access panels, joint treatment, skim level, primer, paint and cleanup. That makes proposals easier to compare and prevents a finished frame from turning into a problem because sockets, access, paint finish or future furniture support were not included.
What a first photo often does not show
A photo rarely shows substrate waves, voids behind old finishes, weak junctions, old electrical points, ceiling level changes or real service access. These details can change the assembly: sometimes extra framing is needed, sometimes an access panel, sometimes a socket relocation, and sometimes a decorative part should simply be removed.
Questions worth asking the contractor
Ask which profile will be used, how many layers the assembly has, where backing is installed, how joints are treated, how junctions are sealed and what finish level is planned. For acoustic work, also ask about decoupling, fill density and weak points such as sockets, doors, gaps and ventilation.
Topic illustrations
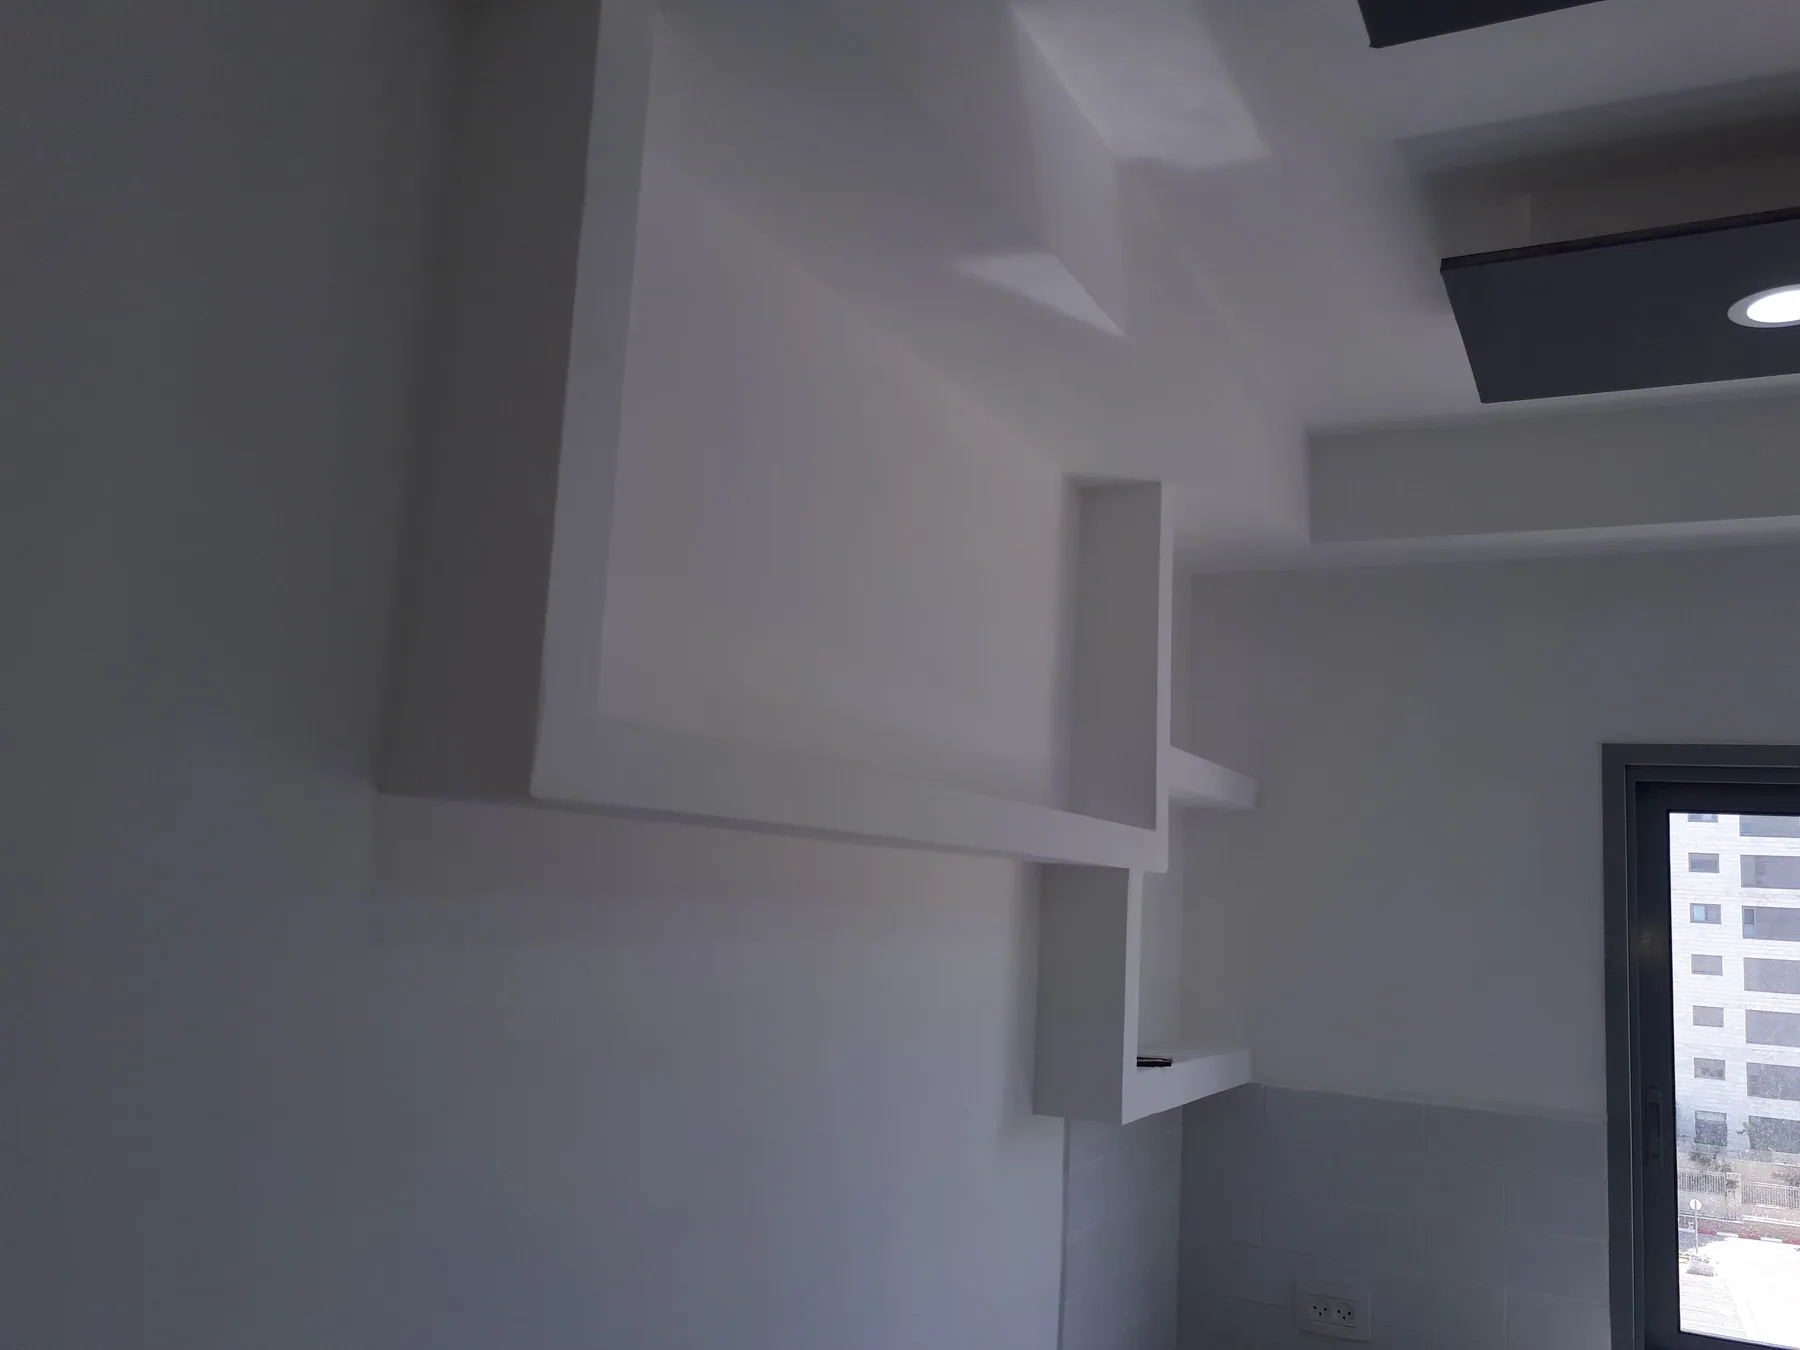

Profile, diffuser and light color
An LED strip without an aluminium profile overheats faster, and without a diffuser it can show dots instead of a clean line. Living rooms usually need warm or neutral light, while work areas need brightness without glare. Before installation, the strip power, profile width, cable exit and the way light reflects from the wall or ceiling should be understood.
The driver must stay accessible
The power driver is a serviceable component. It should not be left inside a sealed cove because it heats up, can buzz when quality is poor and may need replacement. A good solution is an access panel, removable section, cabinet, nearby service zone or a technical niche with clear access. This is decided before boarding, not after the ceiling is painted.
Check the finish with the strip on
A lighting cove always increases side light. Even a wall that looks fine during the day can show waves in the evening when the LED line runs along the surface. Joints, corners, cove edges, primer and sanding should therefore be checked with the real light direction, not only with a room lamp. For long continuous lines, a higher finish level should be planned early.
Questions
What should I send for a first estimate?
Send 3-5 photos, approximate dimensions, the city and a short description of the task: partition, ceiling, box, acoustic work or finishing. That is enough to understand the budget range and the questions that need checking. The final quote is fixed after a site survey because access, substrate, height, utilities and finish level change the price.
Do you take small jobs?
Small jobs are possible when the property is inside the service area and the work can fit the crew schedule. Typical examples are utility boxes, local wall lining, crack repair, paint preparation or a small partition. If the job is too small, we explain the minimum visit and whether it makes sense to combine tasks.
Are materials included in the price?
The price list gives working estimates, while the material package is selected after checking the site. Drywall work depends on framing, board type, screws, tape, compound and any acoustic or moisture requirement. A clear estimate should show those choices instead of hiding them in one vague number.
Can the job be done without heavy mess?
Drywall and skim coat always create some dust, but the work can be planned cleanly: floor protection, staged cutting, waste removal and a defined sequence. This matters in apartments and offices where people often continue living or working near the renovation.
Where should "Ceilings" start?
Start by deciding how to combine the lighting design with height, drivers, access and a clean shadow line. Then the required layers, details and limitations become clearer, and unnecessary work is easier to remove.
Which materials should be clarified?
The discussion is not only about square meters. It should cover cove framing, LED profile, diffuser, cable exits, primer and side-light finish, because these details decide durability and the visible result.
What mistake happens most often?
A common mistake is a nice sketch with no driver access and visible waves once the LED strip turns on. It may be hidden during framing but becomes visible after closing boards, switching on lights or painting.
What should be checked before final payment?
Check cove lines, power access, fixture positions, height and light evenness. If something is doubtful, it is better to correct it before final paint and furniture installation.
Is a site survey needed before this work?
Yes. Photos help explain "Ceilings", but a survey shows height, flatness, access, utility points and real junctions. Without that, material and schedule mistakes are common.
Can the job be split into stages?
Yes, if the frame, utility checks, board closing, skim coat and painting responsibilities are clear. The key is not to close details that still need inspection.
Relevant services
Guides and practical notes

Message Nikolai on WhatsApp with photos and dimensions, or call him to discuss the next step and what is needed for an estimate.