
Hidden access panels in drywall: keep pipes and AC equipment reachable
Choose the opening size, position and finish of a drywall access hatch so the service point actually works after the ceiling or box is complete.
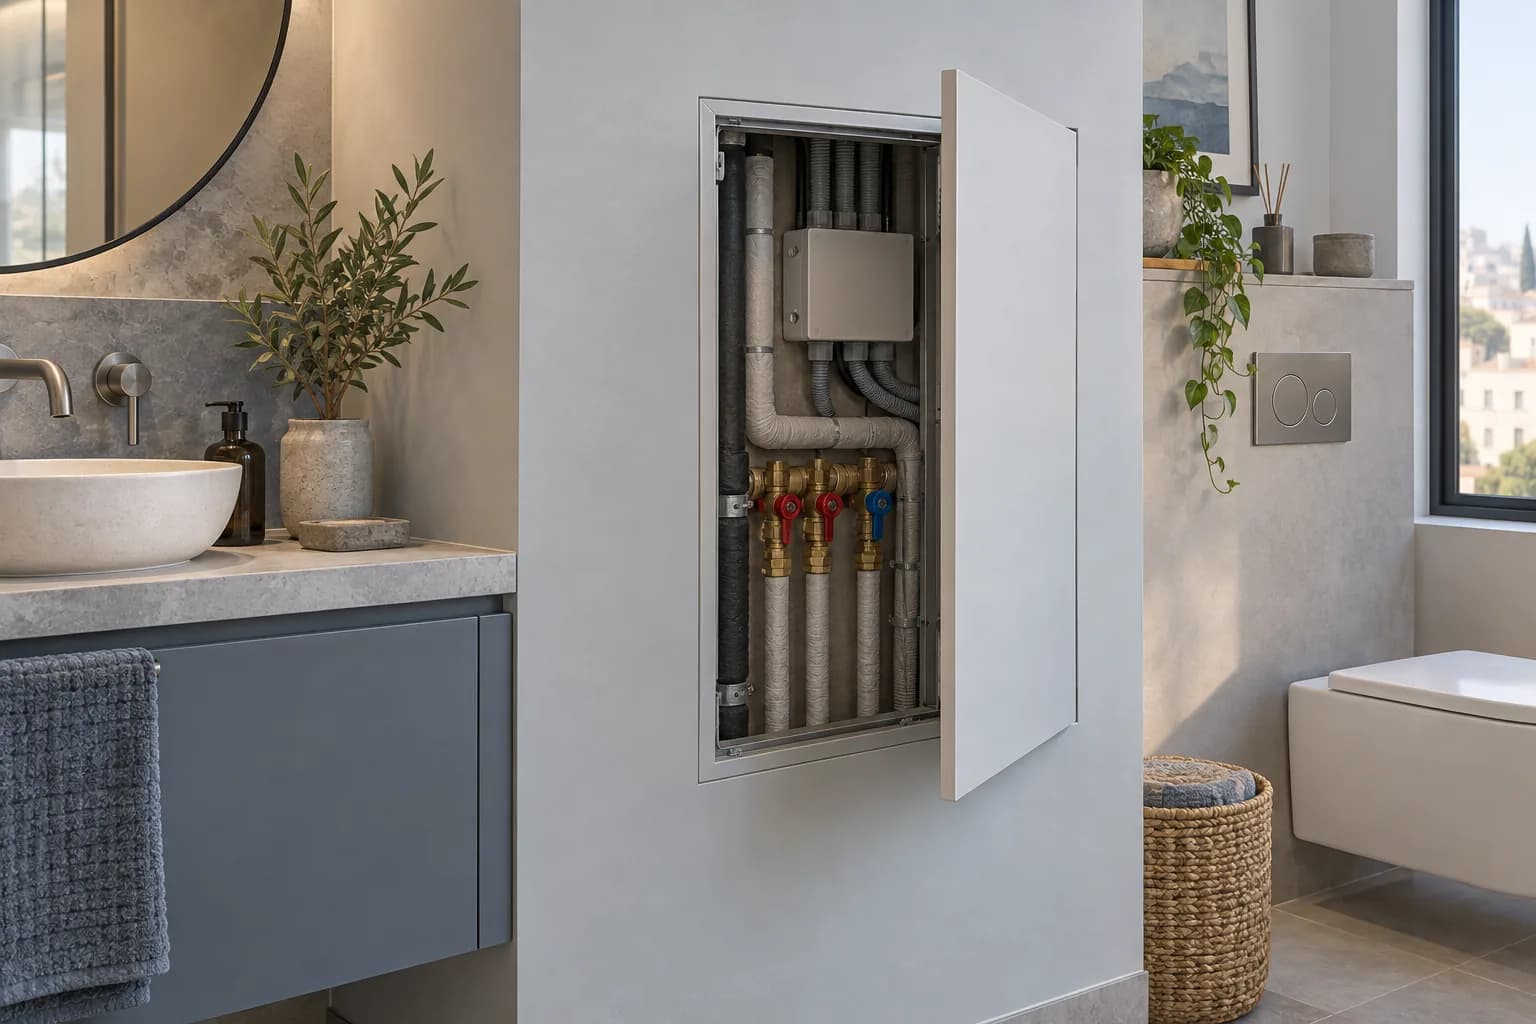
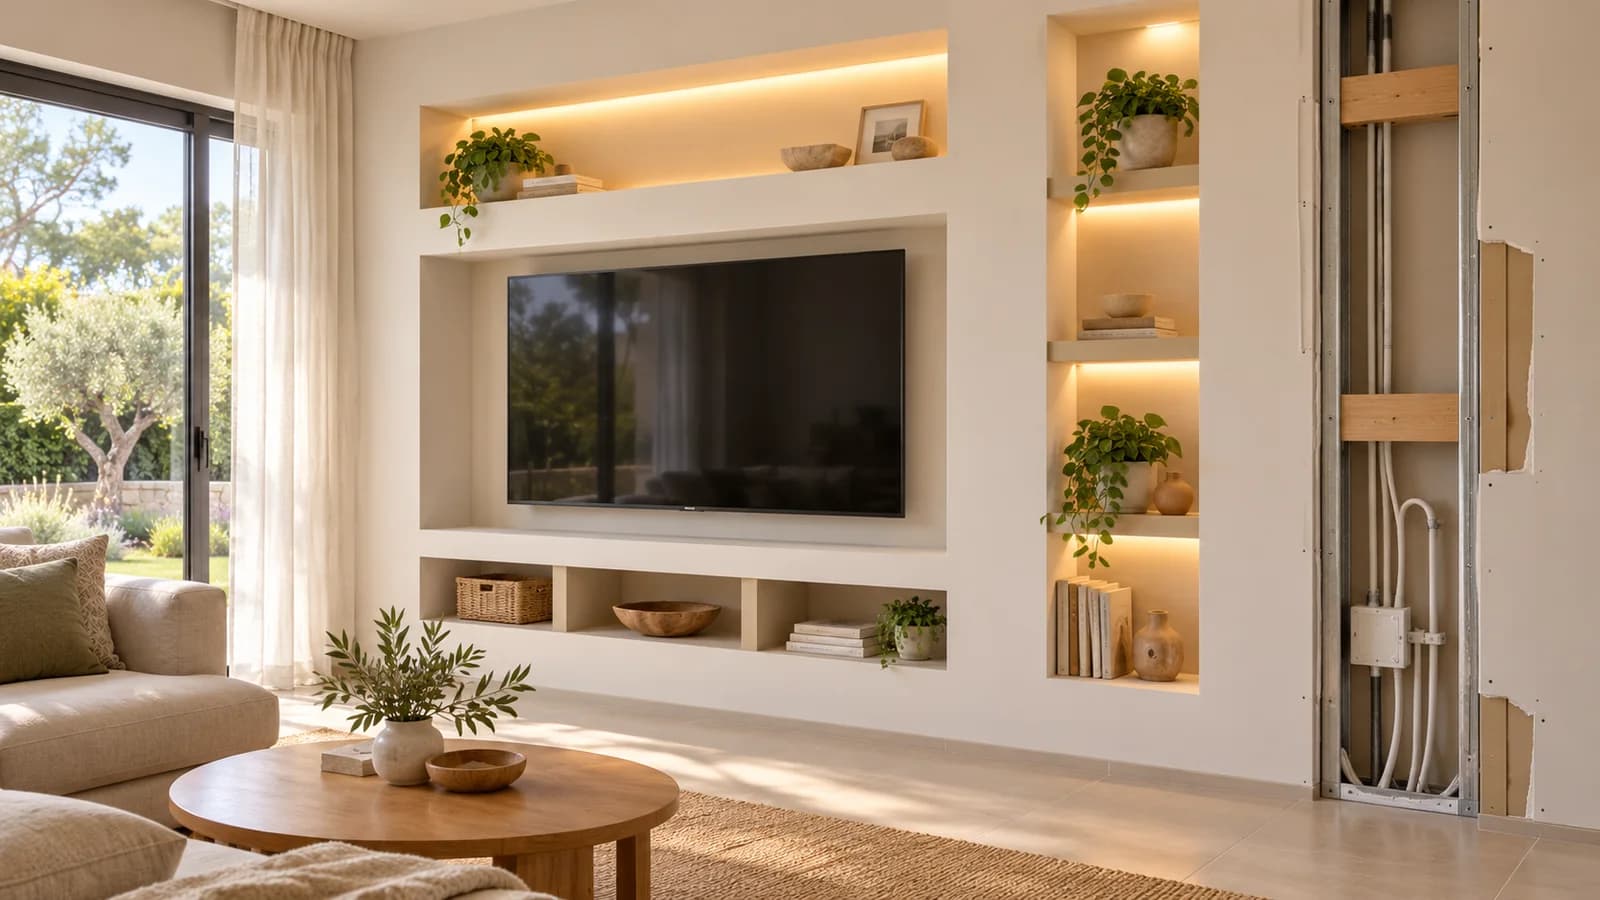
Drywall can neatly conceal pipes, valves and air-conditioning equipment. Those components still need maintenance. A discreet panel only helps if a technician can reach and remove what matters through its clear opening. This guide covers the decisions to make before the frame is closed, the mistakes that make a hatch useless, and what belongs in the quote.
1. List every service task
Mark valves, filters, pipe inspection points, AC drains and any part the equipment installer says must be maintained. For each one write the action: turn a handle, remove a cover, take out a filter, inspect a joint or replace a component. The required space is larger than the visible part in many cases. A hatch directly under a valve may let you see it without getting a tool onto it. Ask the plumber or AC technician to approve the list before boarding.
2. Size for hands and components
A neat square on a drawing may be too small once the frame reduces the clear opening. Make a cardboard template and test whether a hand, tool, filter or container can pass through. Allow room for the door to swing. At a ceiling, consider work from a ladder; at a wall box, check nearby cupboards. Ask the supplier for both outer frame dimensions and useful clear aperture. If a part must come out, size for that part, not only a hand.
3. Choose the position in three dimensions
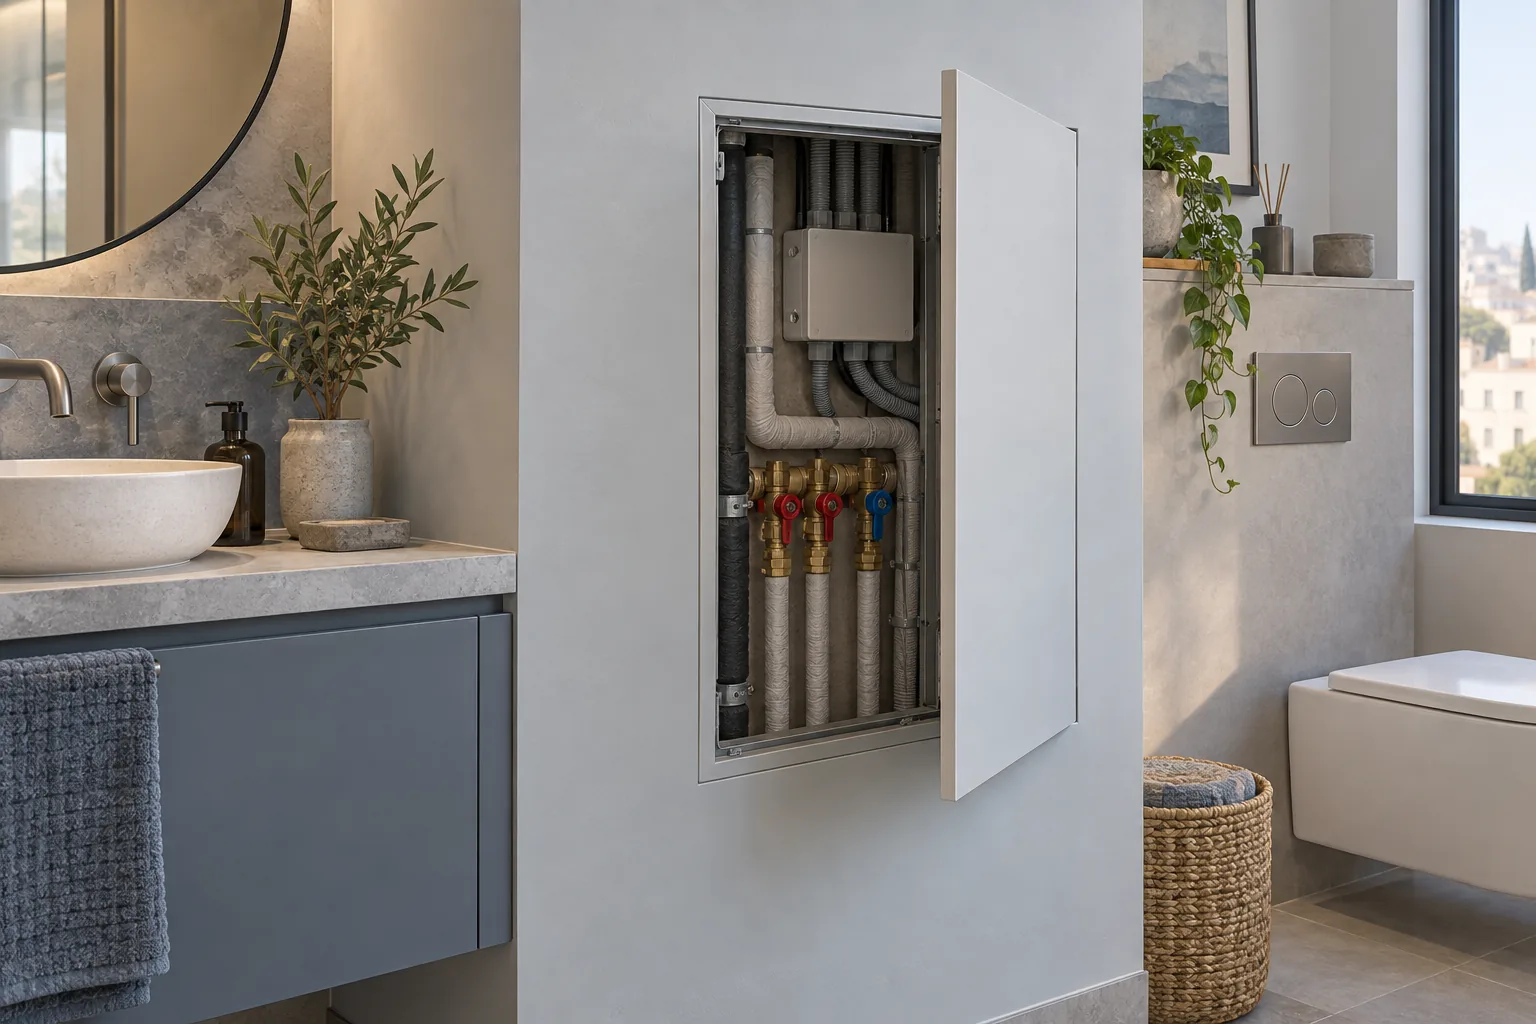
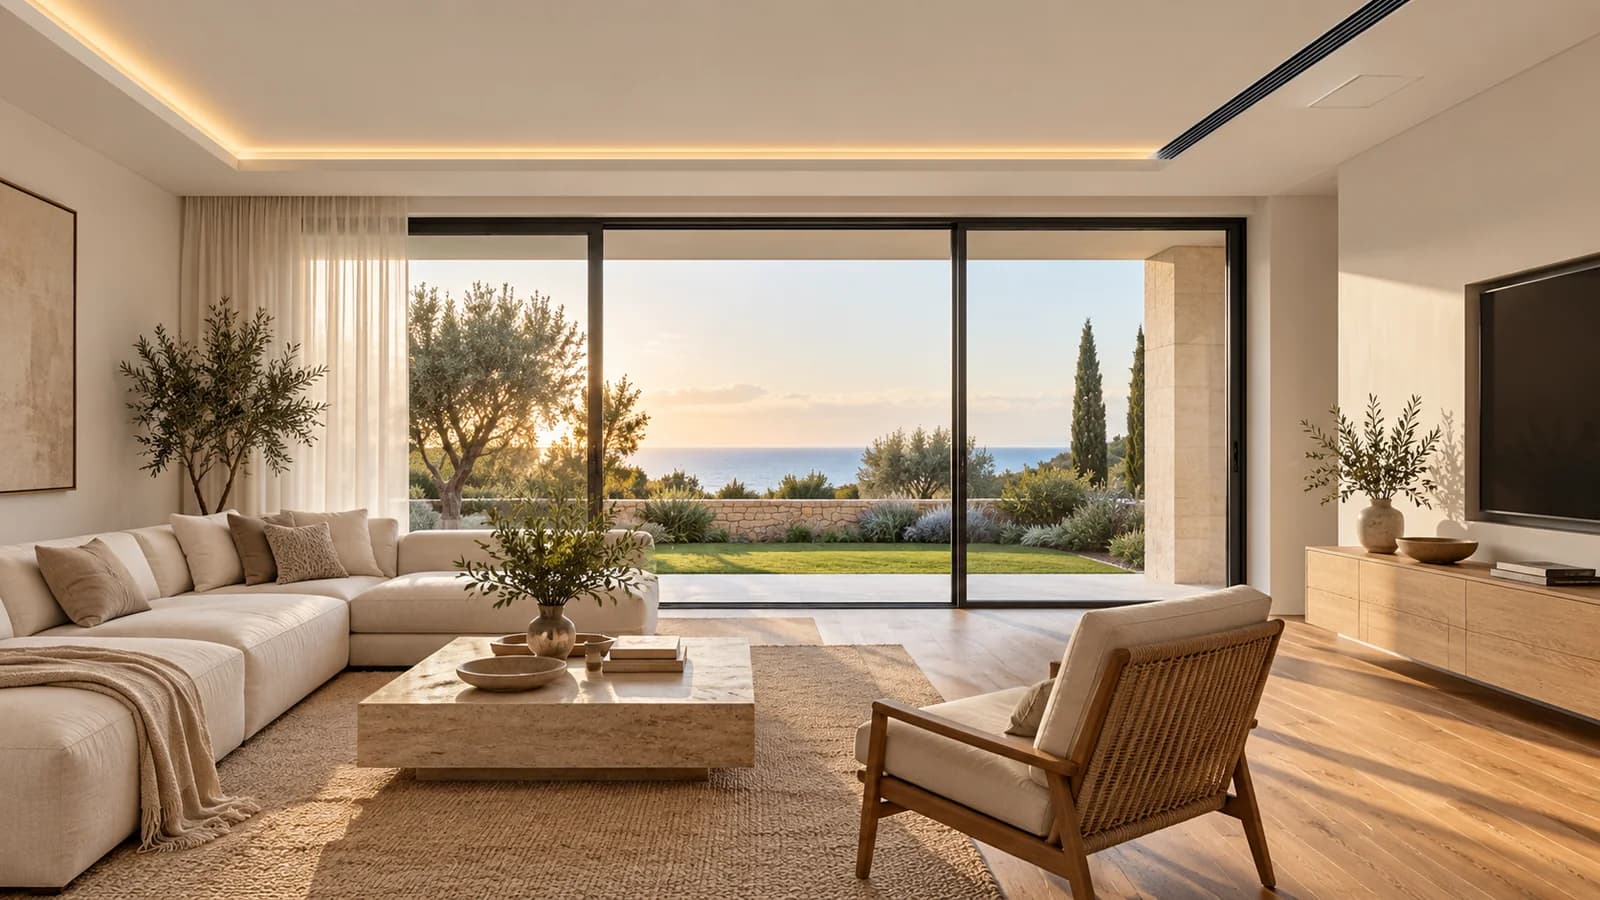
The nearest point on a plan can be blocked by a stud, duct or light. Test the route to the service item with the door open, accounting for furniture and future replacement. Do not place the panel in the middle of a prominent ceiling just for symmetry if a less visible workable location exists. Equally, a panel permanently hidden by fixed furniture is not access. For AC equipment, follow the service instructions for the actual model.
4. Select the appropriate finish
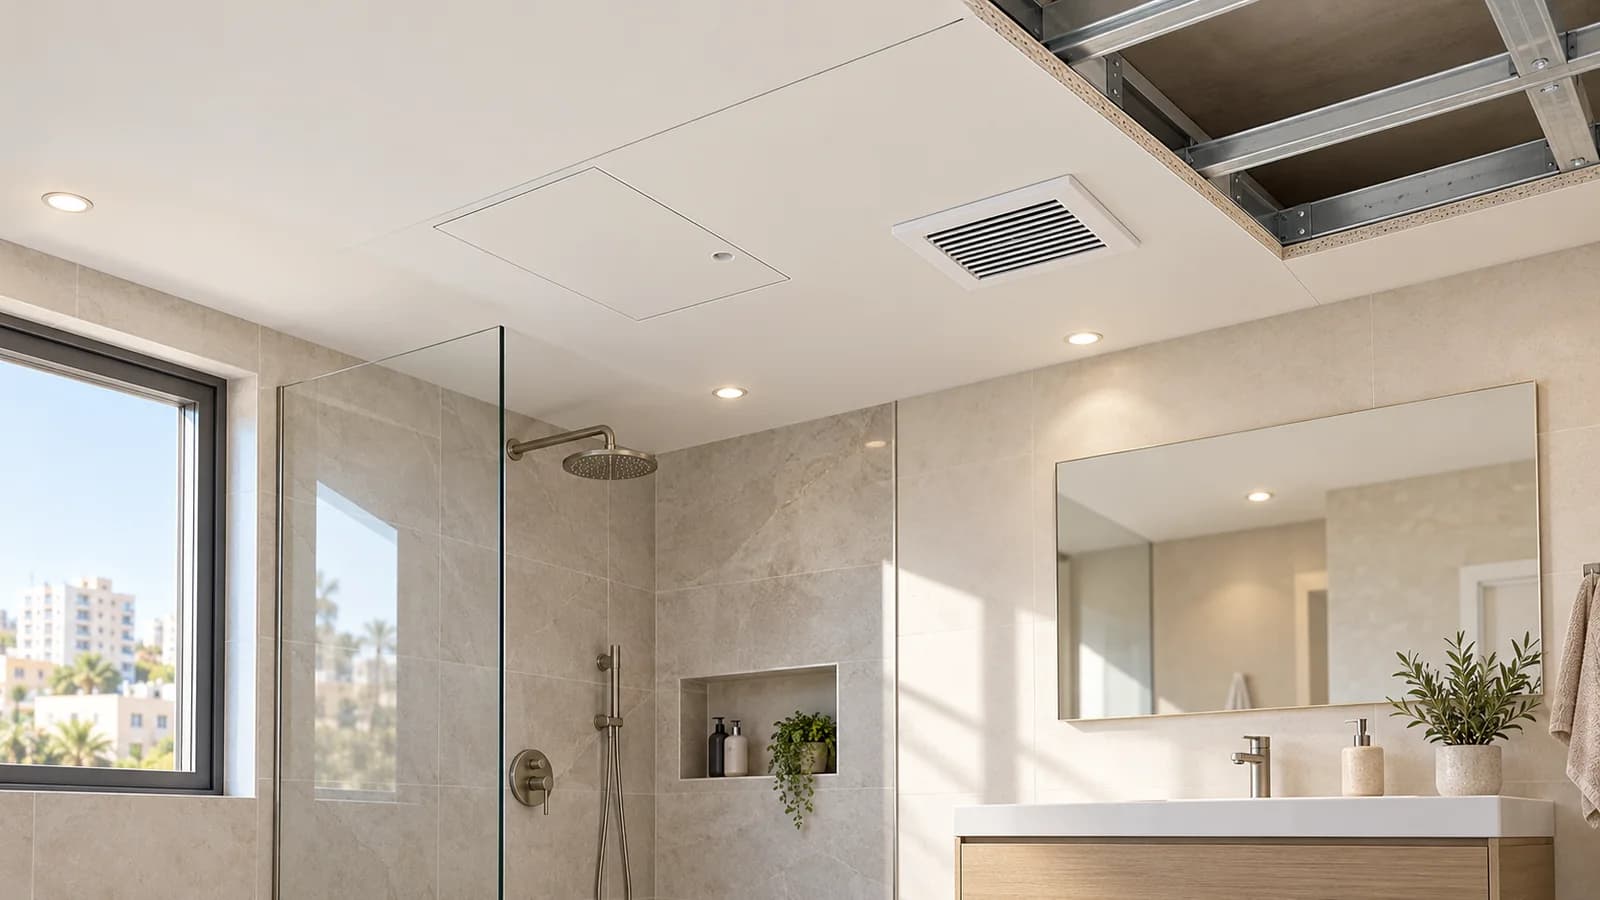
A surface-mounted hatch is visible but can be straightforward to use. A paintable flush frame is more discreet. Tiled finishes need a panel designed for the weight and tile layout. Wall and ceiling models are not automatically interchangeable. Knauf describes service hatches for access above ceilings. Check the chosen model's installation instructions rather than selecting from a photograph of a closed door.
5. Frame the opening correctly
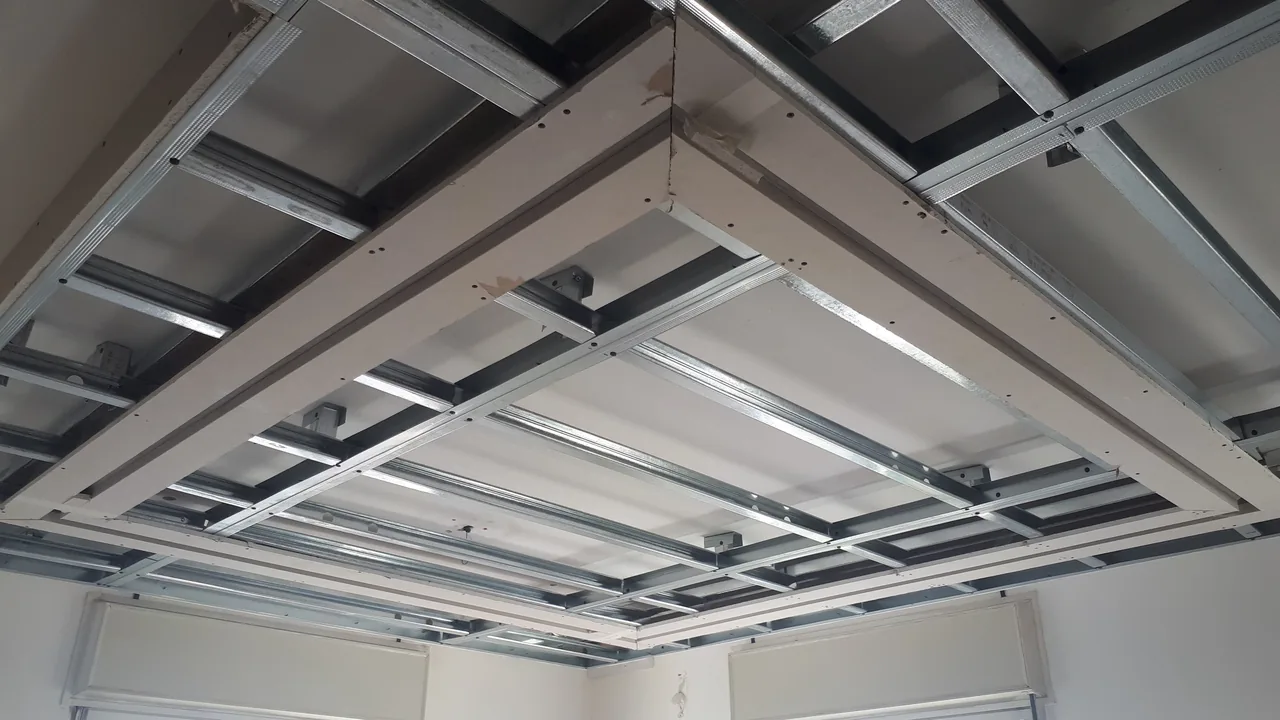
An opening needs support in the frame as the panel maker specifies. A profile must not cross the access route. Ceiling doors add weight and moving load. For fire-rated or acoustic assemblies, the access panel and perimeter must remain compatible with the specified system. A makeshift hatch can compromise performance. If the original specification is unknown, do not claim that a casual alteration retains its rating.
6. Coordinate separate trades
Electrical, plumbing and air systems may require different service movements. One large hatch is not automatically right for all of them. Avoid a door that catches a drain tube or cable. Before closing, ask the relevant specialists to confirm access. The drywall installer builds the agreed opening and finish; the equipment specialist remains responsible for the concealed appliance or connection.
7. Kitchens and wet rooms
In a bathroom consider corrosion resistance, the finish edge and exposure to water. Moisture-resistant board around a hatch is not waterproofing. A tiled panel needs agreement on tile dimensions, joints, adhesive depth and swing direction. In a kitchen, measure the future cabinets so the door can still open once they are installed. Access to a potential leak point should not be lost behind a permanent finish.
8. Errors seen after a renovation
The door opens but the valve sits beyond a blocking stud. The panel hits a downlight. Thick paint seals the seam. Furniture covers the whole opening. Construction photos are missing, so nobody knows what the hatch serves. Photograph services before closure with dimensions to a corner and the floor. Test the final opening after painting and furniture installation, not only when the frame is bare.
9. What changes the price?
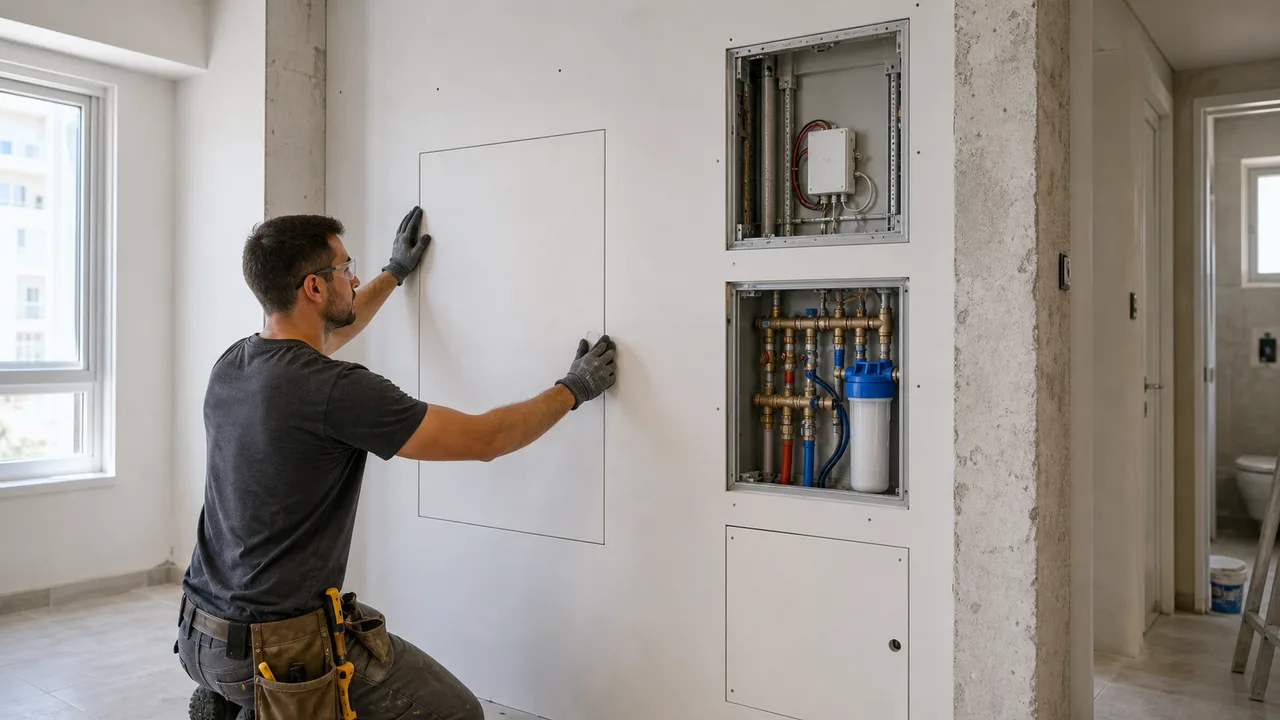
The quote should identify the panel model, opening reinforcement, frame fitting, boarding, edge finishing, jointing, primer and paint. Ceiling work, a large door, tile, a curved box or opening an already finished surface add work. A plumber, electrician or AC technician may need a separate line. Compare useful aperture and service access, not just the panel's purchase price. The calculator can frame construction costs, while measurements decide the final scope.
10. Send the right photos
Photograph the full wall or ceiling and, ideally, the equipment before boarding. Measure distances to corners, lights and furniture. If the cavity is closed, send old frame photos or the equipment plan. State your city, finish type and whether the technician must only turn a valve or remove a filter. Ask that technician to define a minimum opening. Our photo guide helps prepare the request.
11. Test it at handover
Open and close the finished door several times. Paint must not glue the seam, the latch must work and the leaf must not sag or hit an obstacle. Ask the relevant technician to perform the actual service movement through it. Keep the model number and construction photos. Use the handover checklist for the finish, but judge this feature primarily by whether it provides useful access.
Questions
What size should the panel be?
Size it for the real maintenance action and clear aperture inside the frame.
Can the panel be invisible?
Flush paintable and tiled models can be discreet, but access and operation take priority.
Does any panel suit a ceiling?
No. Check the model's intended use, frame support and door weight.
Can it be added later?
Often yes, after checking hidden services and allowing for frame and finish repair.
Who chooses access to an AC unit?
The technician for the specific unit should confirm position and dimensions before closure.
Relevant services
Guides and practical notes
Message Nikolai on WhatsApp with photos and dimensions, or call him to discuss the next step and what is needed for an estimate.