
Sagging drywall ceiling in Krayot: inspect the cause before covering screw marks
Distinguish a local fastener mark from changing ceiling deformation, prepare a safe inspection and compare bounded repair with replacement.
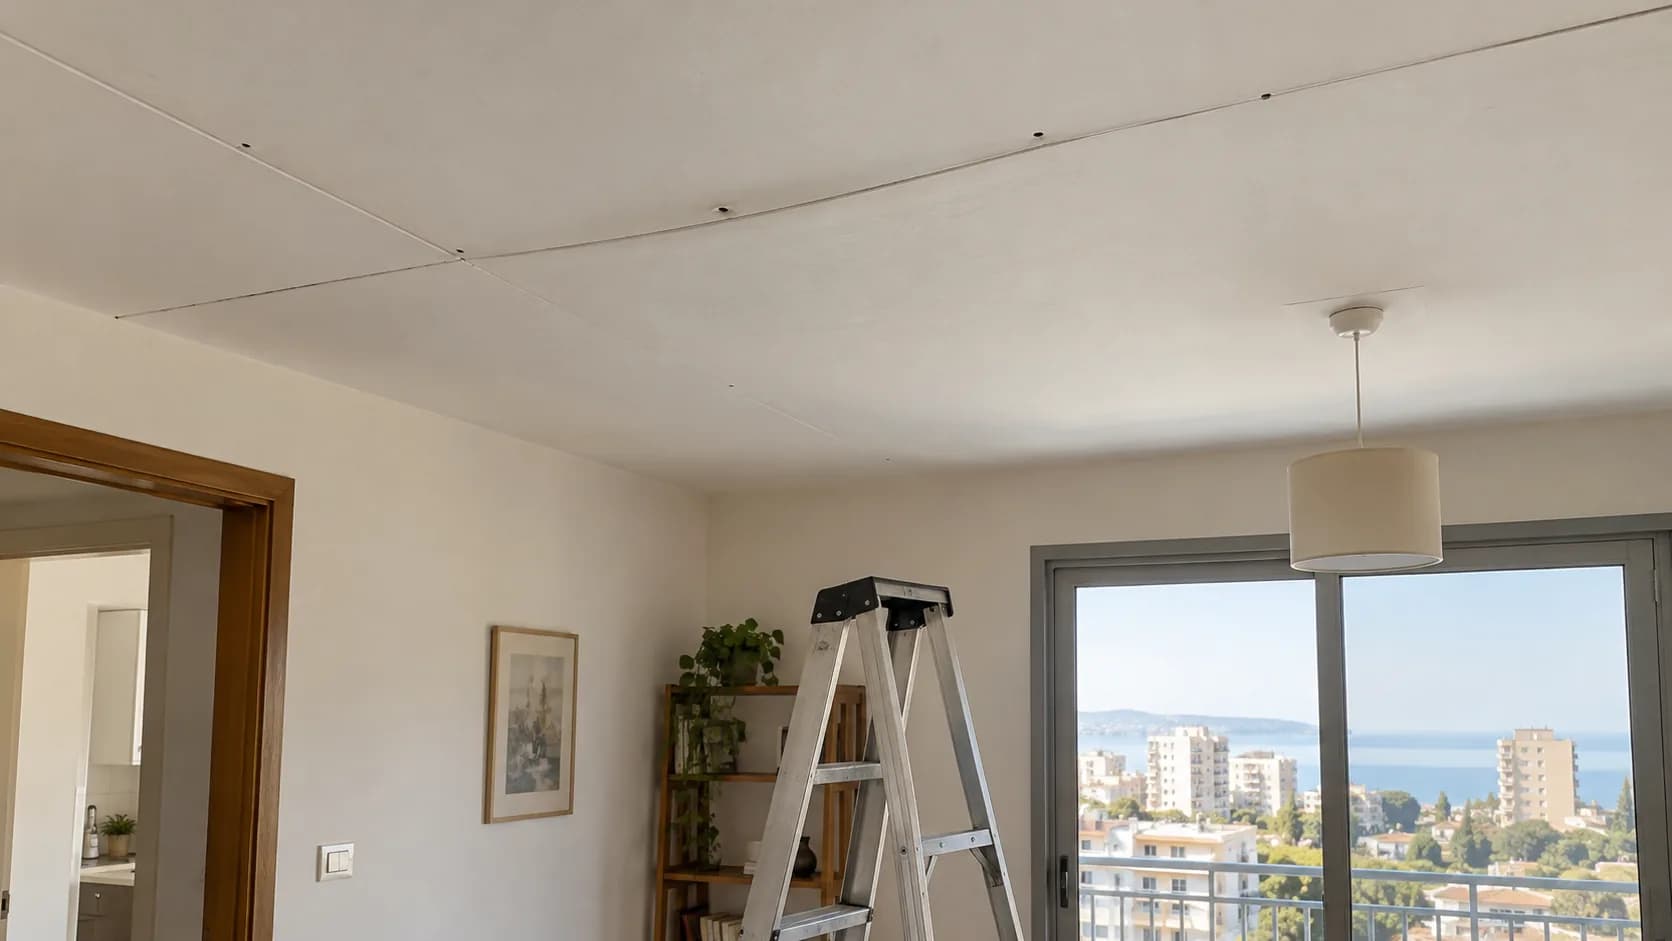
A circular mark above a screw and a visibly dropping sheet may both appear through paint, but they need different responses. Covering the surface is straightforward; finding why it moved is more important. This guide helps a Krayot homeowner describe the defect and understand an inspection scope. It does not replace an on-site assessment or suggest tightening random screws in a ceiling with an unknown condition.
1. Notice changes and restrict unsafe access
If the ceiling is visibly dropping, cracking audibly, shedding material or has water near electrics, keep people out from beneath it and arrange urgent professional assessment. Do not stand below it for a close-up or push the sheet upward. For immediate danger, contact the appropriate local emergency service. A stable isolated fastener mark without deformation is a different inspection situation; record dates and compare earlier photos.
2. Separate different symptoms
A fastener pop may show as a small raised circle. A joint crack indicates a seam area, while a broad wave may involve the sheet or frame. They can coexist but do not establish the cause from one picture. The Gypsum Association repair resources address fastener marks and ceiling cracking separately. Surface filler cannot restore an unstable fixing or frame.
3. Include the water history
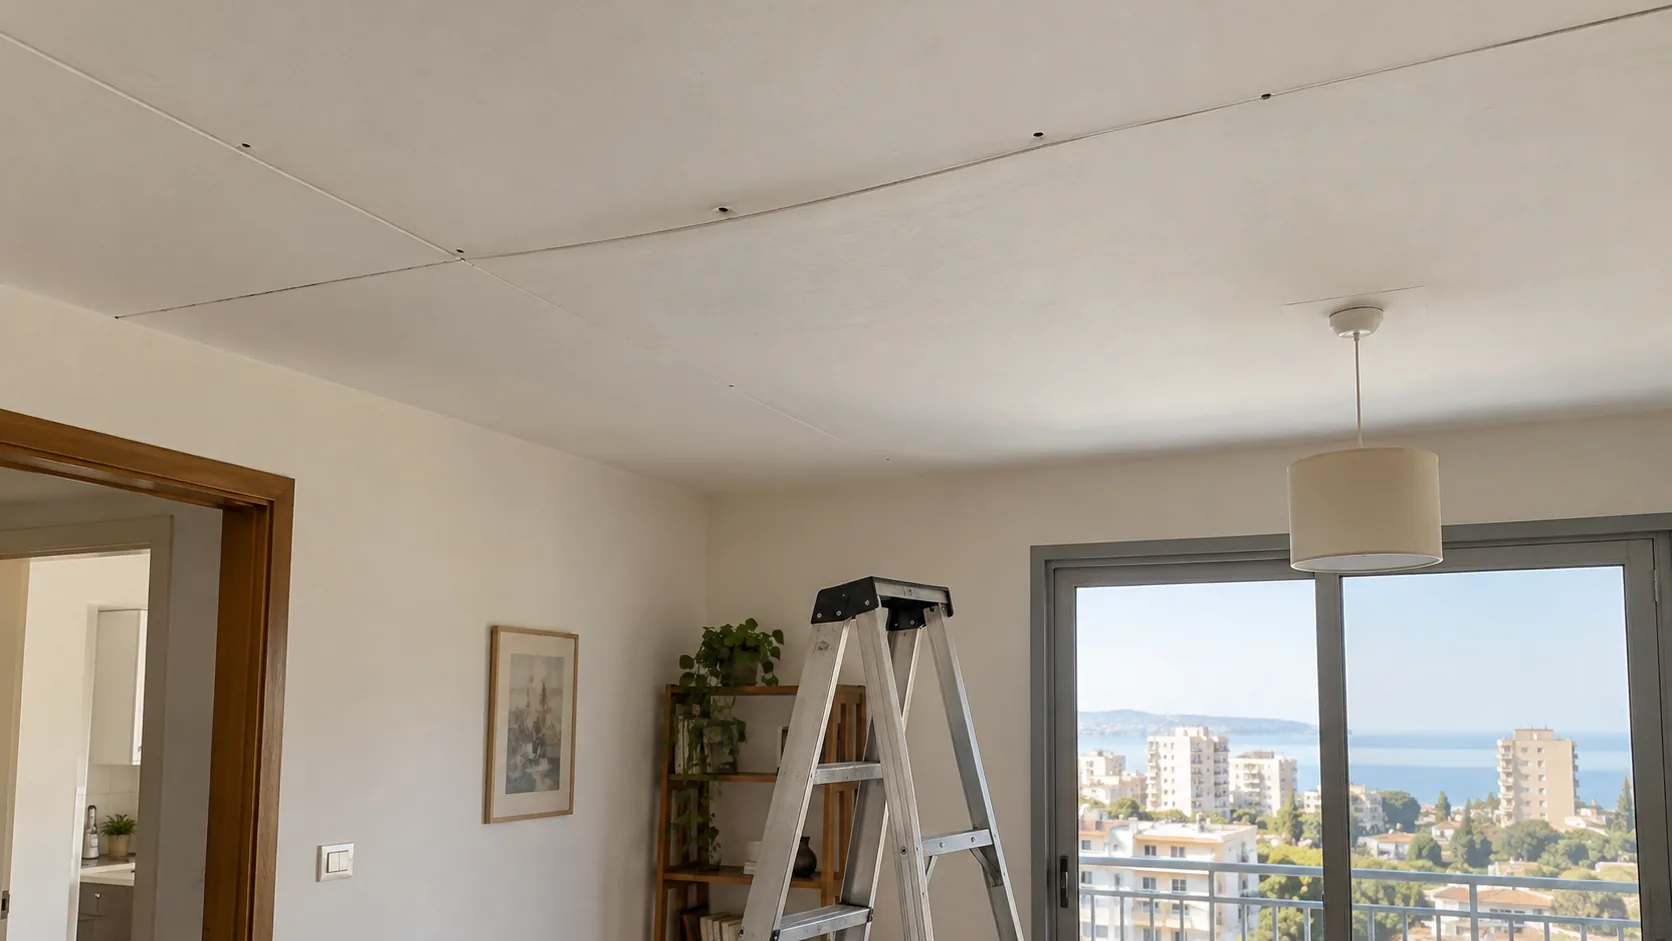
Mention earlier leaks, AC work, stains and recurring moisture. Dry-looking paint does not establish that the board remains sound. When safe access is made, inspect facing paper, fill, framing and fixings as relevant. Resolve an active water source with the proper specialist before finishing. The post-leak ceiling guide covers this separate situation; even an old stain can change the inspection plan.
4. Ask what the frame inspection covers
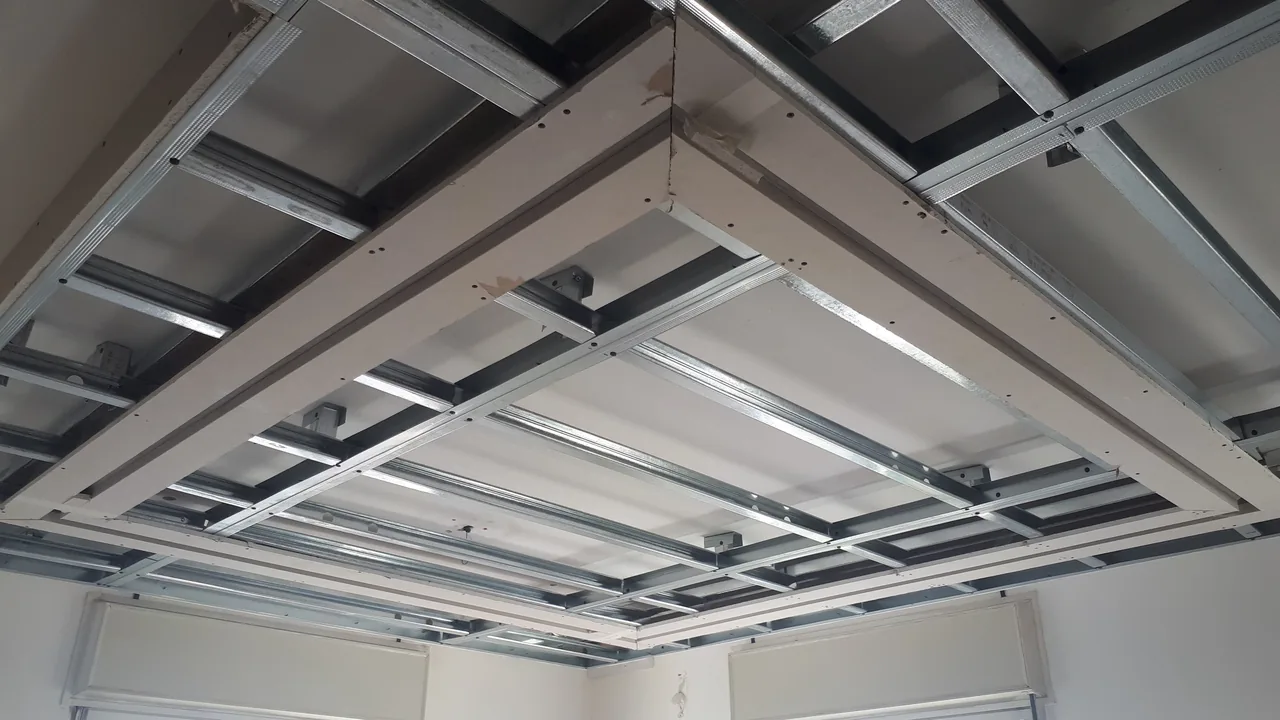
The installer checks hangers, base anchorage, framing, sheet-edge support and affected connections. Construction photos help but do not replace the current condition. A limited agreed opening may suffice, while wider damage can need more access. The fixing and framing layout follows the specified ceiling system and loads. A larger count of screws alone does not show that the cause has been corrected.
5. Account for later added loads
Identify lights, access panels, decoration or equipment added after installation. Their support details must suit their loads; a recessed fitting and a heavy pendant are different. Do not disconnect electrical equipment yourself. The appropriate trade coordinates isolation and support with the ceiling installer, preventing a new sheet from covering the same inadequate detail.
6. Define a local repair
A limited, correctable cause within a dry stable surrounding assembly may allow bounded repair. After correcting the construction, restore board, joints, primer and paint. The finish area may exceed the opening, especially under side light. Ceiling repair in Krayot should state the access boundary, concealed correction and finished condition. Keep photos before closure rather than accepting only hidden surface marks.
7. Know when replacement is discussed
Widespread damaged board or faults in the overall framing arrangement can make many patches a poor option. Compare rebuilding the affected area with a new assembly while retaining room height and service access. It need not automatically expand to the whole apartment. A ceiling demolition quote includes safe removal, protection, waste and responsibility for equipment removal and reconnection.
8. Understand the estimate
Separate inspection access, framing correction, boards, joints, skim, primer, paint and room protection. Height, furniture, concealed access and drying stages affect cost. A small visible crack can conceal a larger construction task. Agree how findings and additions are approved after opening. The calculator helps with budget orientation but cannot establish hanger condition from the entered area.
9. Check the concealed stage and finish
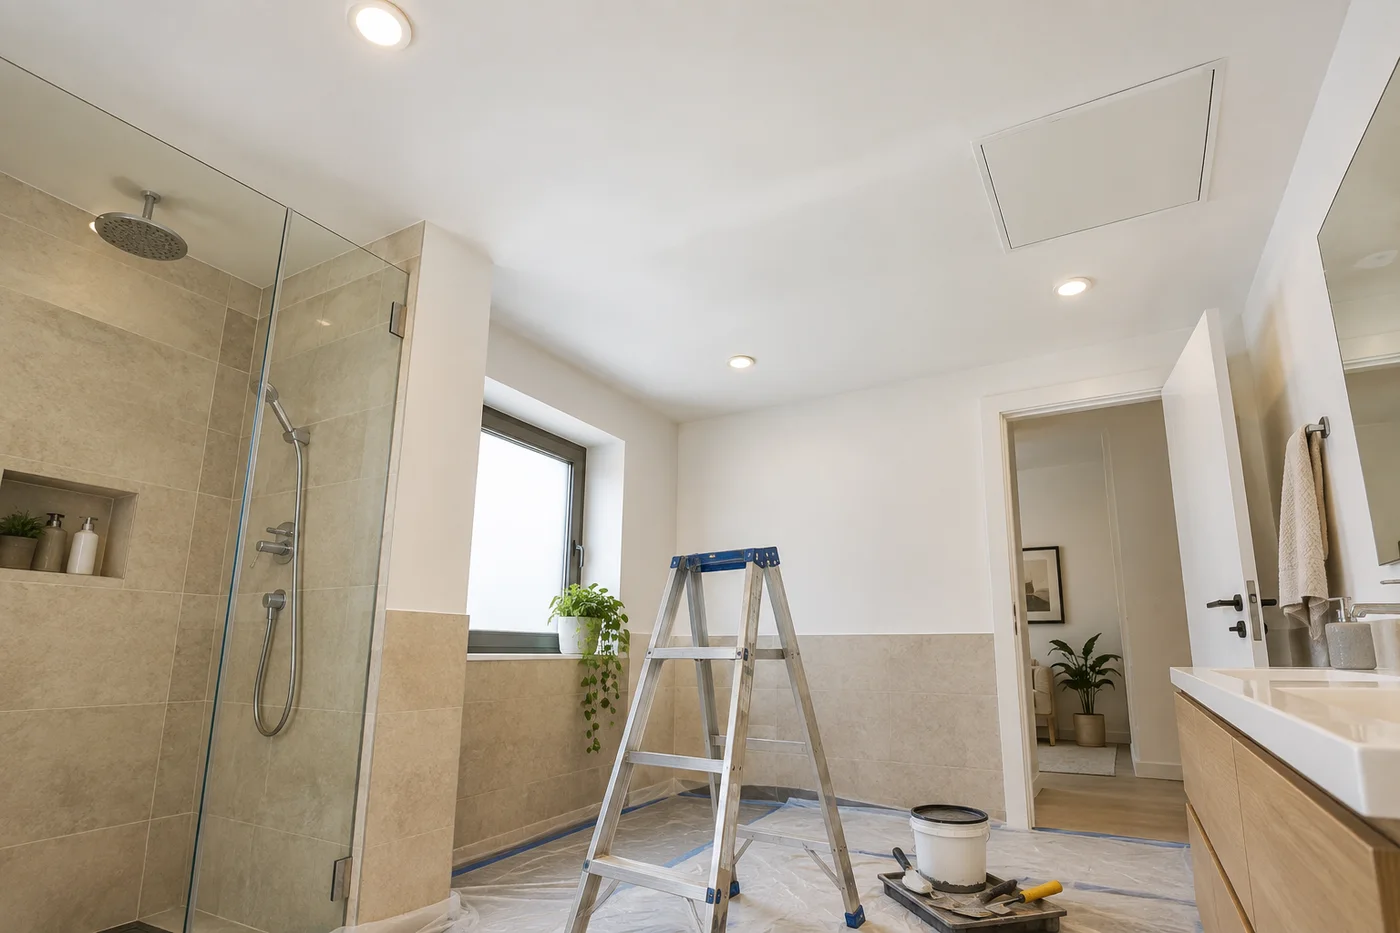
Retain photos of repaired connections, equipment support and access positions. After drying, review the plane and junctions under normal lighting and check service access. Do not load or strike the ceiling as a random test. Agree how new stains, repeated cracks or level changes are reported. Warranty terms come from the work agreement and actual scope.
10. Make a map of the symptoms
Photograph the whole ceiling from the entrance, then the affected details. Mark raised spots, joint lines, lights and grilles on a simple room plan. This lets the inspection follow the same locations as the initial complaint. Ask when each symptom first appeared and whether it changed after rain, air conditioning use or other building work. Keep previous photographs if they help establish a change over time.
Do not climb beneath an unstable area to obtain a measurement. For an ordinary stationary fastener mark, a photograph with a safe reference for scale can be useful. Where the surface is moving or shedding material, arranging a safe inspection matters more than documenting the exact size. The symptom map is information for the professional; it is not a substitute for examining the concealed support system.
11. Separate structural repair from appearance
Correcting a fixing can still leave a visible patch under side lighting. The quote should separate checking and correcting the base, treating the joint or damaged area, and the final paint finish. A low patch price without a defined painting boundary does not explain how the room will look after drying. Ask which plane is being painted and which old surfaces remain.
Discuss the existing texture and the likelihood of matching the old colour. Repainting a whole plane after a limited repair may be sensible for appearance. That does not, by itself, mean the entire ceiling needs replacement. Compare the area of construction repair and the area of finishing separately. A clear explanation helps avoid confusing a cosmetic choice with evidence of a defect throughout the assembly.
12. Plan access and keep concealed records
In a furnished room, agree protection, item movement and the order of the work areas. If equipment is attached to the ceiling, identify who disconnects and restores it. This should not be silently included in drywall labour. Make room for safe working access and protect the route used for materials and waste. Describe these conditions before comparing repair proposals.
After an opening is made, retain photographs of the supports found, the corrected areas and the service access preserved. At handover, record what was repaired and which possible causes remain uncertain. For a Krayot job, the actual ceiling evidence is more useful than attributing every crack to the age of the building. Keep product details and instructions for the finish alongside the repair record.
13. Send information safely
Send the Krayot city, whole-room photos, defect photographs from a safe position, height and approximate ceiling area. Describe change over time, previous leaks, mounted items and any construction records. Do not climb below a suspect section for extra measurements. Nikolai can assess drywall repair and finish; water sources, electrical work and structural base questions go to the relevant specialists.
Questions
Can I just fill a screw mark?
Check the cause and sheet stability first.
Does every crack require full removal?
No. Inspection determines the extent.
Can I tighten random screws myself?
That is not a substitute for safe assessment of an unknown ceiling.
Why is the quote larger than the patch?
Access, framing, protection and a wider finish may be required.
What if the ceiling keeps dropping?
Restrict access beneath it and arrange urgent professional assessment.
Relevant services
Guides and practical notes

Message Nikolai on WhatsApp with photos and dimensions, or call him to discuss the next step and what is needed for an estimate.