
Drywall ceiling after a leak: dry, open or replace?
A practical sequence for a water-damaged plasterboard ceiling: stop the leak, inspect the cavity, decide what to replace and request a complete repair quote.
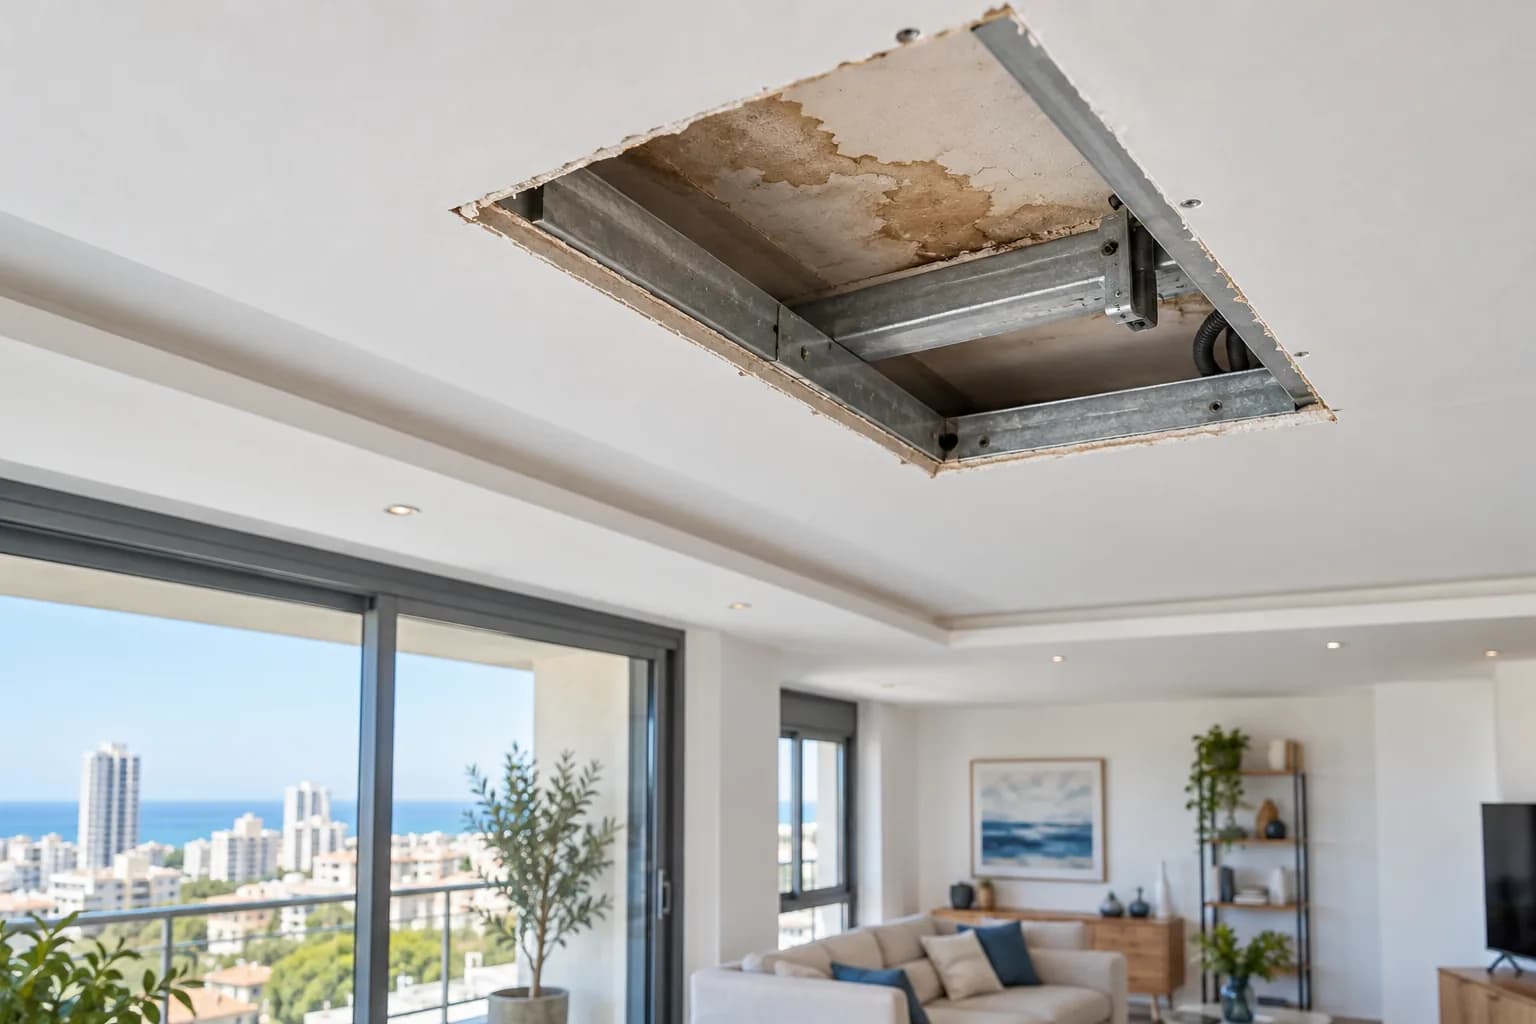
A yellow stain can look like a painting job. Yet the cavity above the board may hold damp insulation, weakened fixings or the cause of the leak itself. The right decision starts with the water source and the condition of the assembly, not with the colour of the visible mark. Use this guide to prepare a useful inspection and quote for an apartment in Israel. A plumber, AC technician or electrician must deal with problems in their own systems before the ceiling is closed.
1. Stop the water before planning a finish
Shut off the relevant supply or appliance when safe. Keep away from wet lights, outlets and wiring and ask an electrician to assess them. Move furniture, catch drips and record when the stain appeared. In an apartment building, establish whether the source is the flat above, a shared riser, roof drainage or an air conditioner. Painting while the source remains active only hides the symptom for a short time. Save photographs of the first stain and later changes; they help separate a continuing leak from old discolouration.
2. Inspect beyond the visible stain
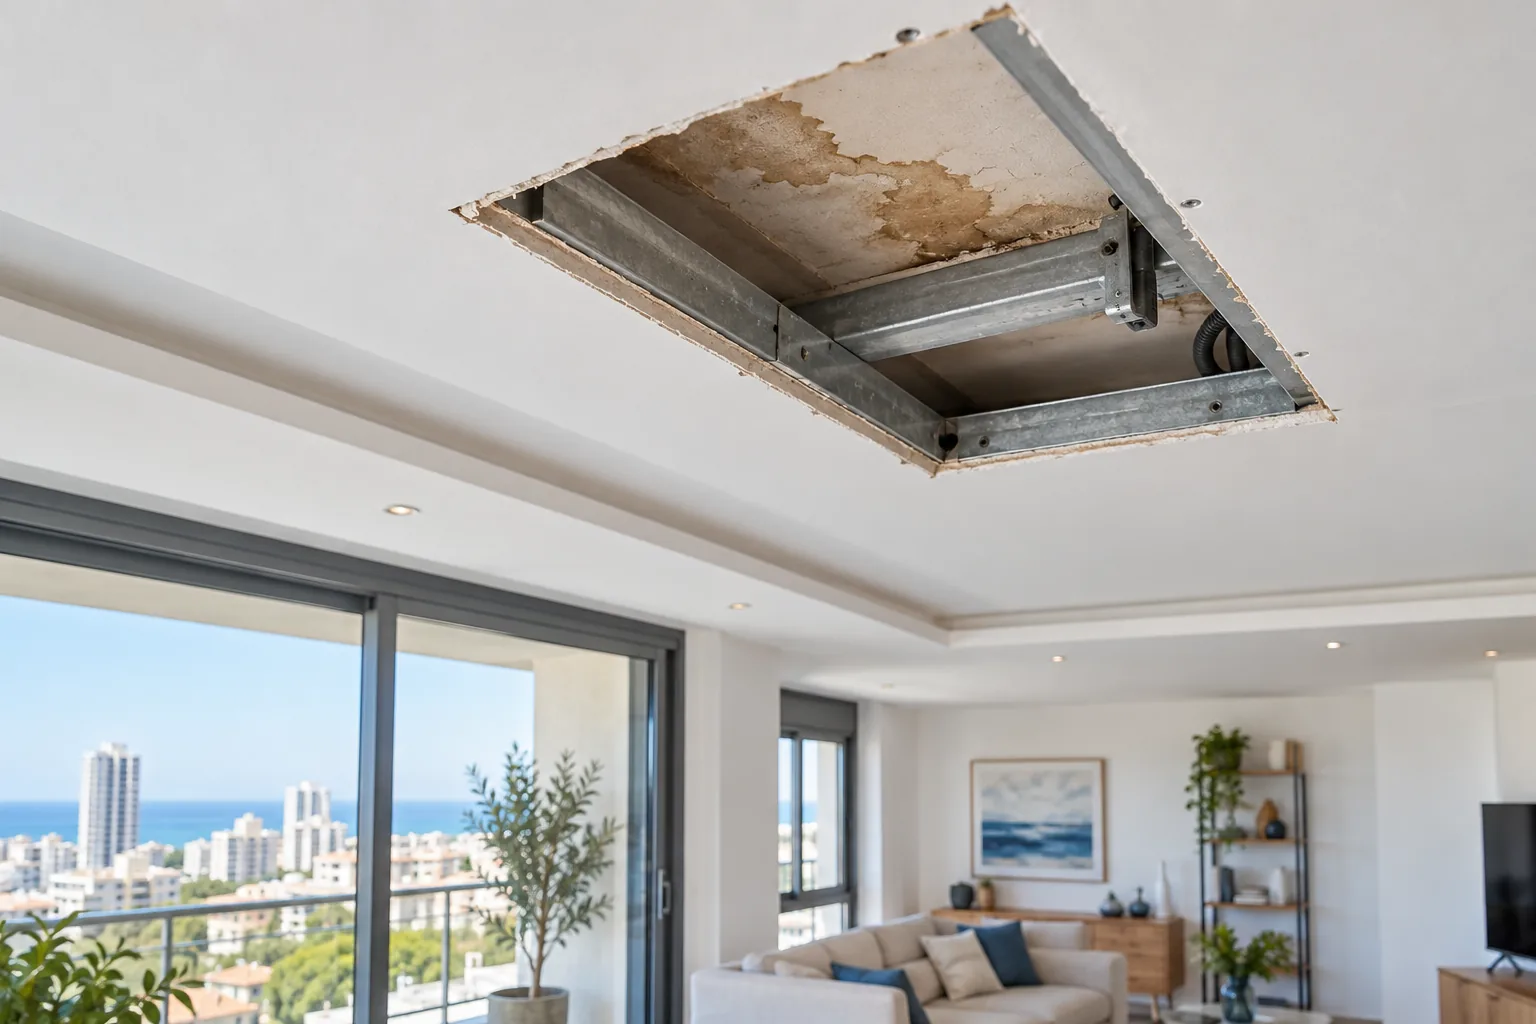
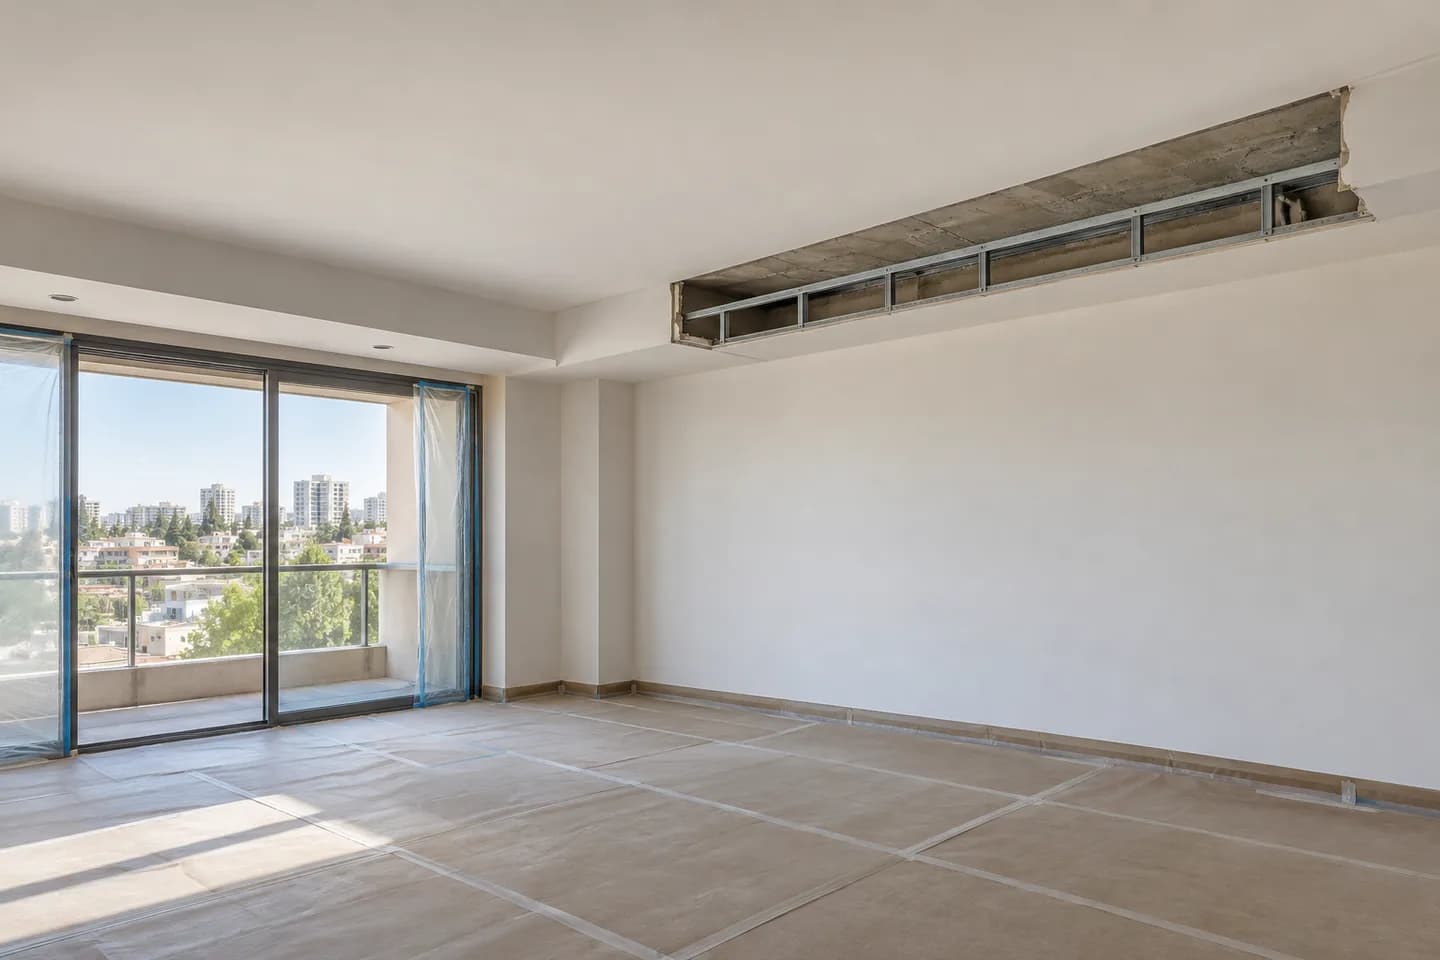
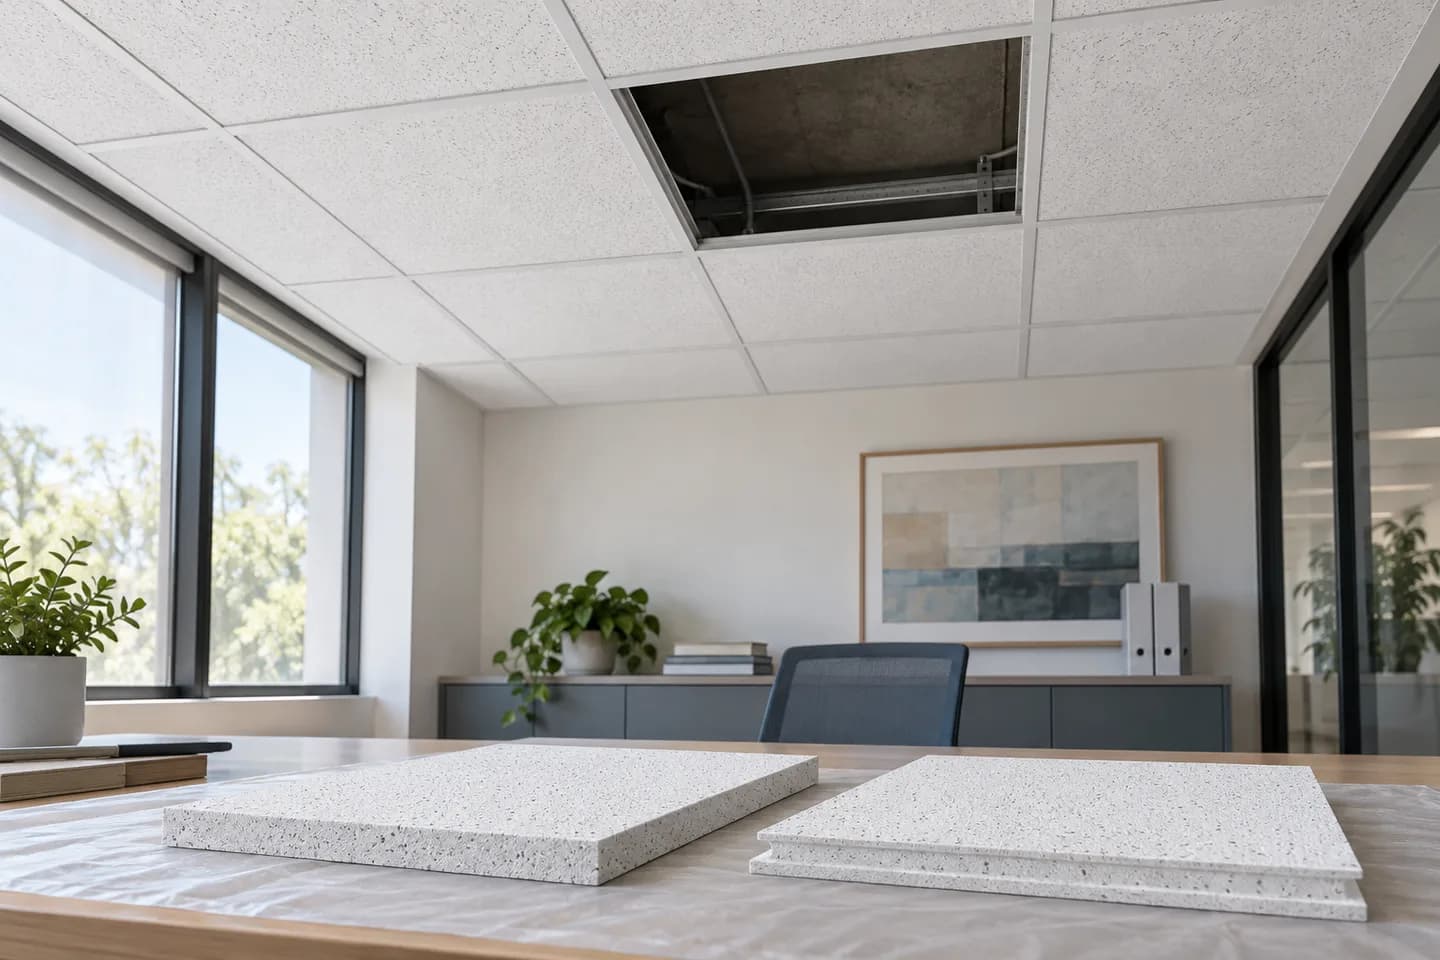
Water can travel along framing and appear far from its entry point. Look for sagging board, swollen joint tape, crumbly edges and marks around downlights or vents. Photograph the entire ceiling and the detail in daylight and side lighting. A service hatch can offer an initial view of the void. Avoid cutting near concealed cables or pipework yourself. The repair boundary should follow damaged material and accessible framing, not merely the outline of the yellow patch.
3. Decide whether the board can remain
The Gypsum Association guidance says water-exposed panels should normally be replaced unless the source is eliminated, the water is clean, prompt thorough drying is possible, and the board, fasteners and frame remain sound. These are assessment conditions, not a do-it-yourself colour test. Unknown exposure time, soft board, contaminated water or rusting fixings point toward replacement. A moisture-meter number alone is not a universal pass mark; compare the area with sound dry material and inspect the assembly.
4. Check what is above the ceiling
The void may contain AC drains, ductwork, wiring, pipes, hangers and acoustic or thermal insulation. An exposed face can dry before insulation inside the cavity. Ask what will be checked, photographed and replaced before boarding resumes. If the original ceiling served an acoustic or fire purpose, the replacement must follow the intended system rather than use any convenient board. For an AC vent detail that has already cracked, see the vent-crack guide.
5. Moisture-resistant board is not a leak repair
A moisture-resistant gypsum board tolerates humid conditions better than standard board, but it is not waterproof. Repeated leakage or condensation can damage it as well. First fix the pipe, drainage or ventilation problem; then select the board, joints and access details for the actual room. A bathroom ceiling may need a different finish and service arrangement from a dry living room. The wet-area board guide explains the distinction between choosing a board and keeping water out.
6. Agree the work sequence
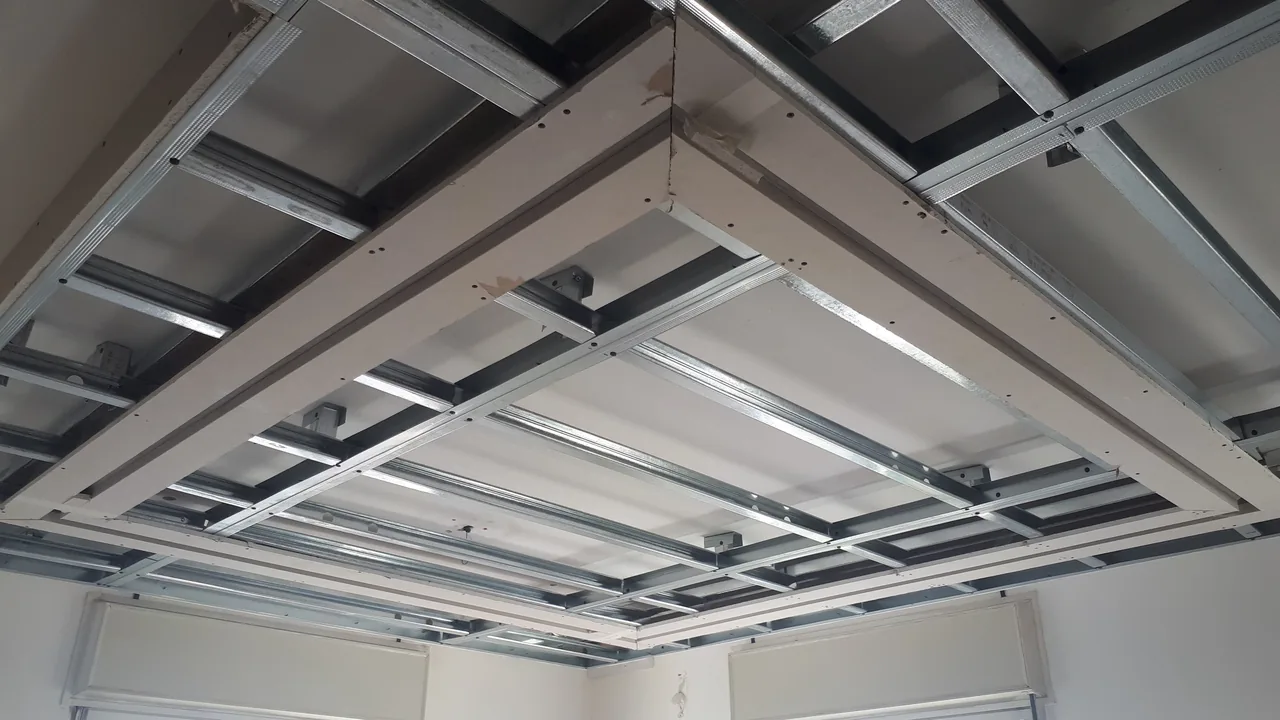
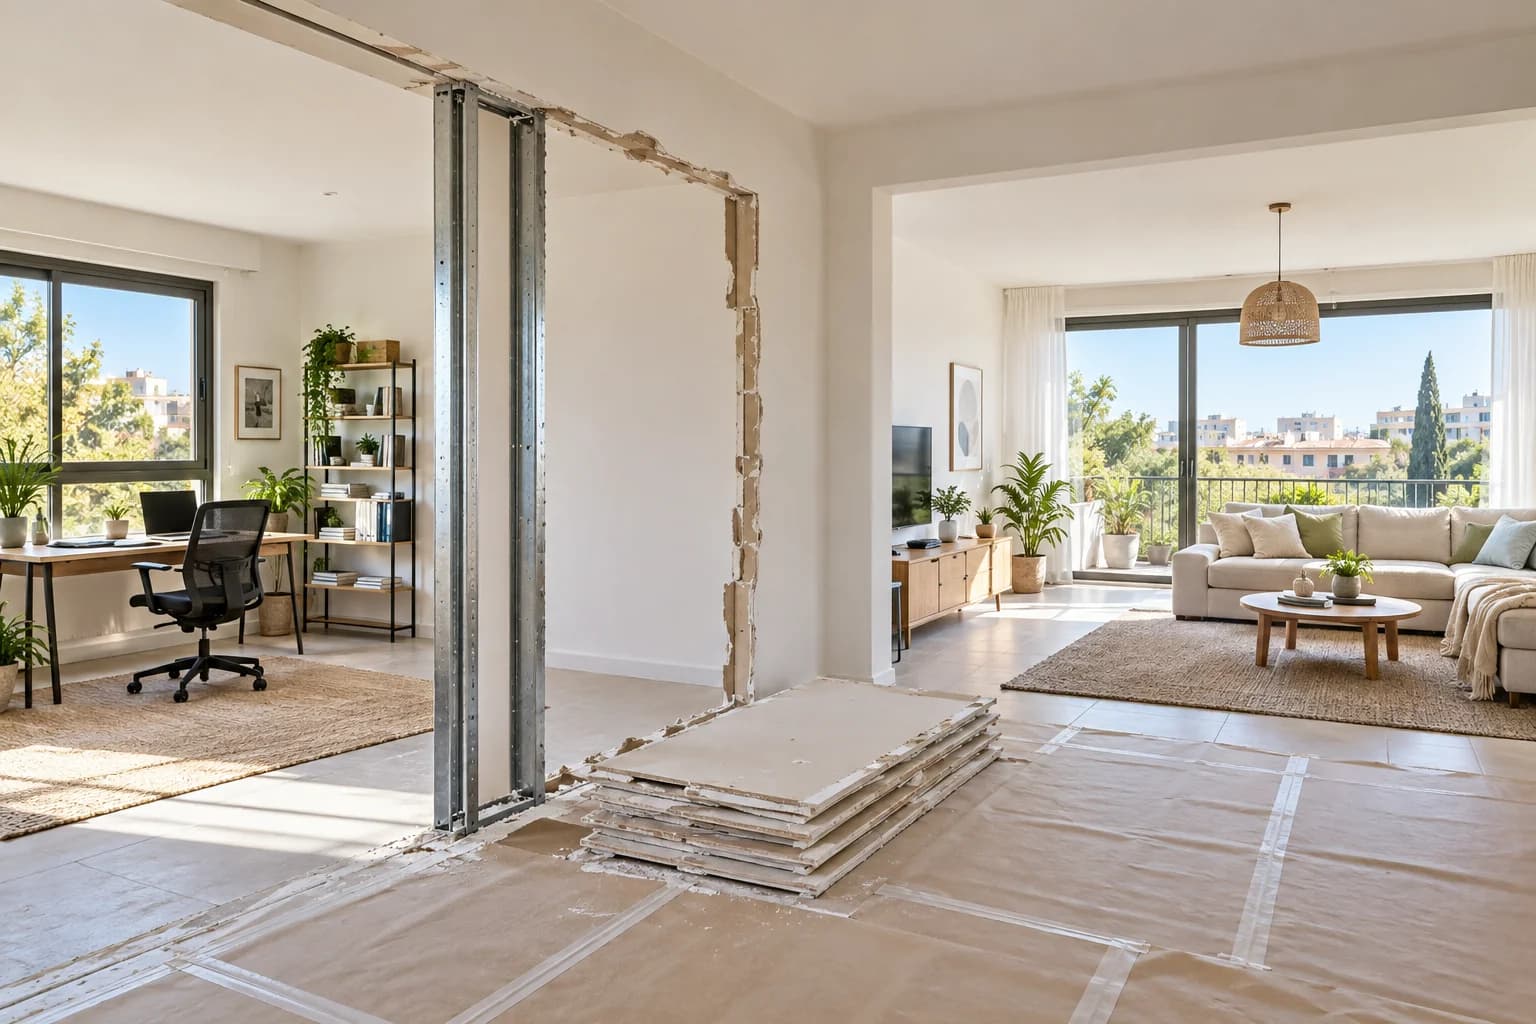
After the source is fixed, mark the opening. Remove material that cannot be retained, dry the cavity and inspect framing and services. Rebuild the board, reinforce joints, apply compound, allow each layer to dry, prime and paint. Coordinate AC equipment, lights and plumbing with the relevant specialist. If the plan depends on one trade finishing before another, write those dependencies into the schedule. Our renovation sequence helps identify gaps before work starts.
7. Understand why a stain may return
A returning mark can mean renewed water, incomplete drying, residue bleeding through or the wrong primer. Even a technically sound patch may remain visible because old paint has aged or its texture differs. Keep the leak repair, board replacement, stain blocking, joint finish and extent of repainting as separate quote items. Inspect the opened assembly before it is covered and judge the final ceiling only after paint has dried under normal room lighting.
8. Compare quotes by scope
Opening size, ceiling height, access, insulation, fittings, separate AC or plumbing work, waste removal and the area to be painted all affect cost. A small stain can cover a larger wet void. Ask for a mandatory repair scope and an optional wider finish where appropriate, with materials, protection and tax treatment stated. The NikoGips calculator can frame a first construction budget, but it cannot diagnose the water source from a photograph.
9. Send useful evidence
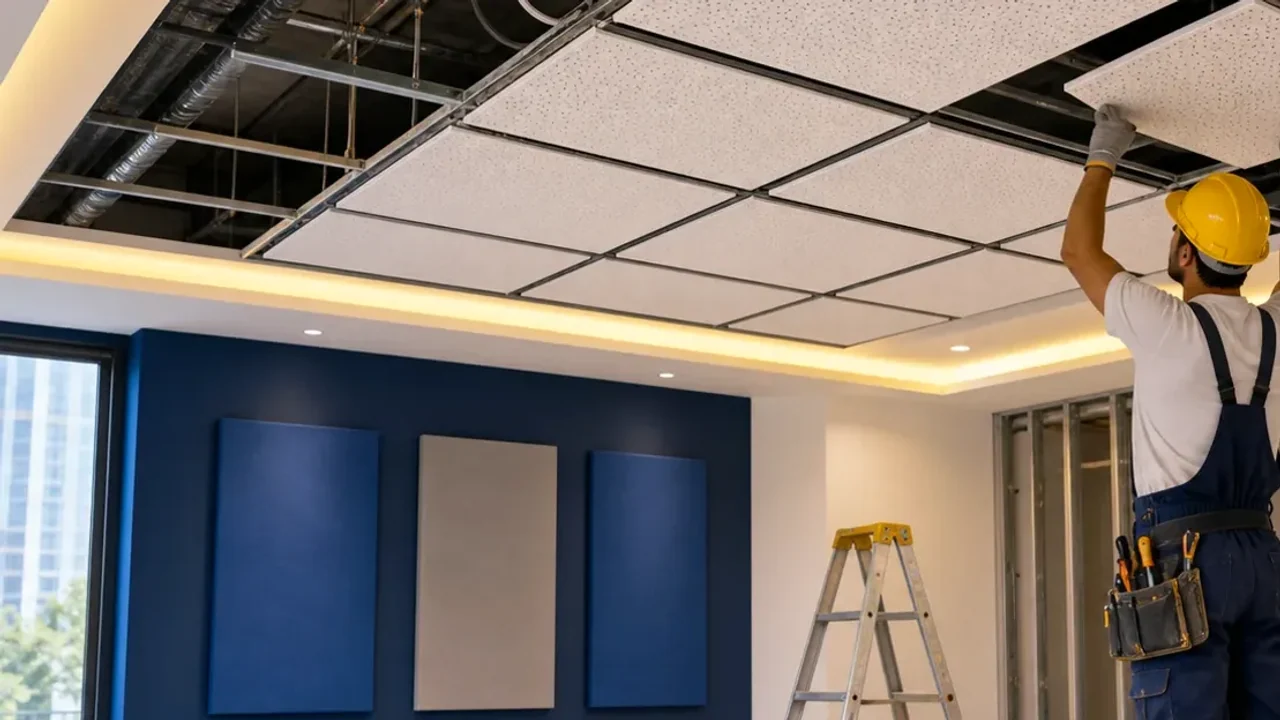
Photograph the whole room, the entire ceiling, a close-up with scale, nearby lights and vents, and any existing hatch. Add the city, ceiling height, approximate patch size, leak date and whether the cause has been repaired. Older framing photographs are particularly helpful. Do not ask for a final price from one close-up: the concealed condition remains unknown. Use our photo and measurement checklist before requesting an estimate.
10. Check the repair after handover
Confirm the cause has been dealt with and service access remains usable. Request a photograph of the open cavity and the restored board before finishing. Review the colour and surface after full drying, then revisit the area after several AC cycles or the next heavy rain. New sagging, an expanding stain or electrical trouble calls for the relevant specialist promptly. For ordinary finish defects, describe the exact position and use the handover checklist.
Questions
Can I simply paint a dry stain?
Only after the source and the board, fasteners and cavity have been assessed.
Must the whole ceiling be replaced?
Not always. The decision follows the extent of actual damage, not the visible stain alone.
Does moisture-resistant board prevent another leak?
No. It does not replace sound plumbing, drainage, ventilation or waterproofing.
Who fixes the leak itself?
A specialist for the source first; a drywall contractor then restores the affected assembly.
What belongs in the quote?
Opening, removal, cavity checks and drying, system repair, joints, primer, paint and finish boundary.
Relevant services
Guides and practical notes
Message Nikolai on WhatsApp with photos and dimensions, or call him to discuss the next step and what is needed for an estimate.