
Drywall renovation sequence in an occupied flat: trades and checkpoints
An order of work for partitions and ceilings: protection, demolition, framing, electricians and AC, concealed inspection, joints, paint and handover.
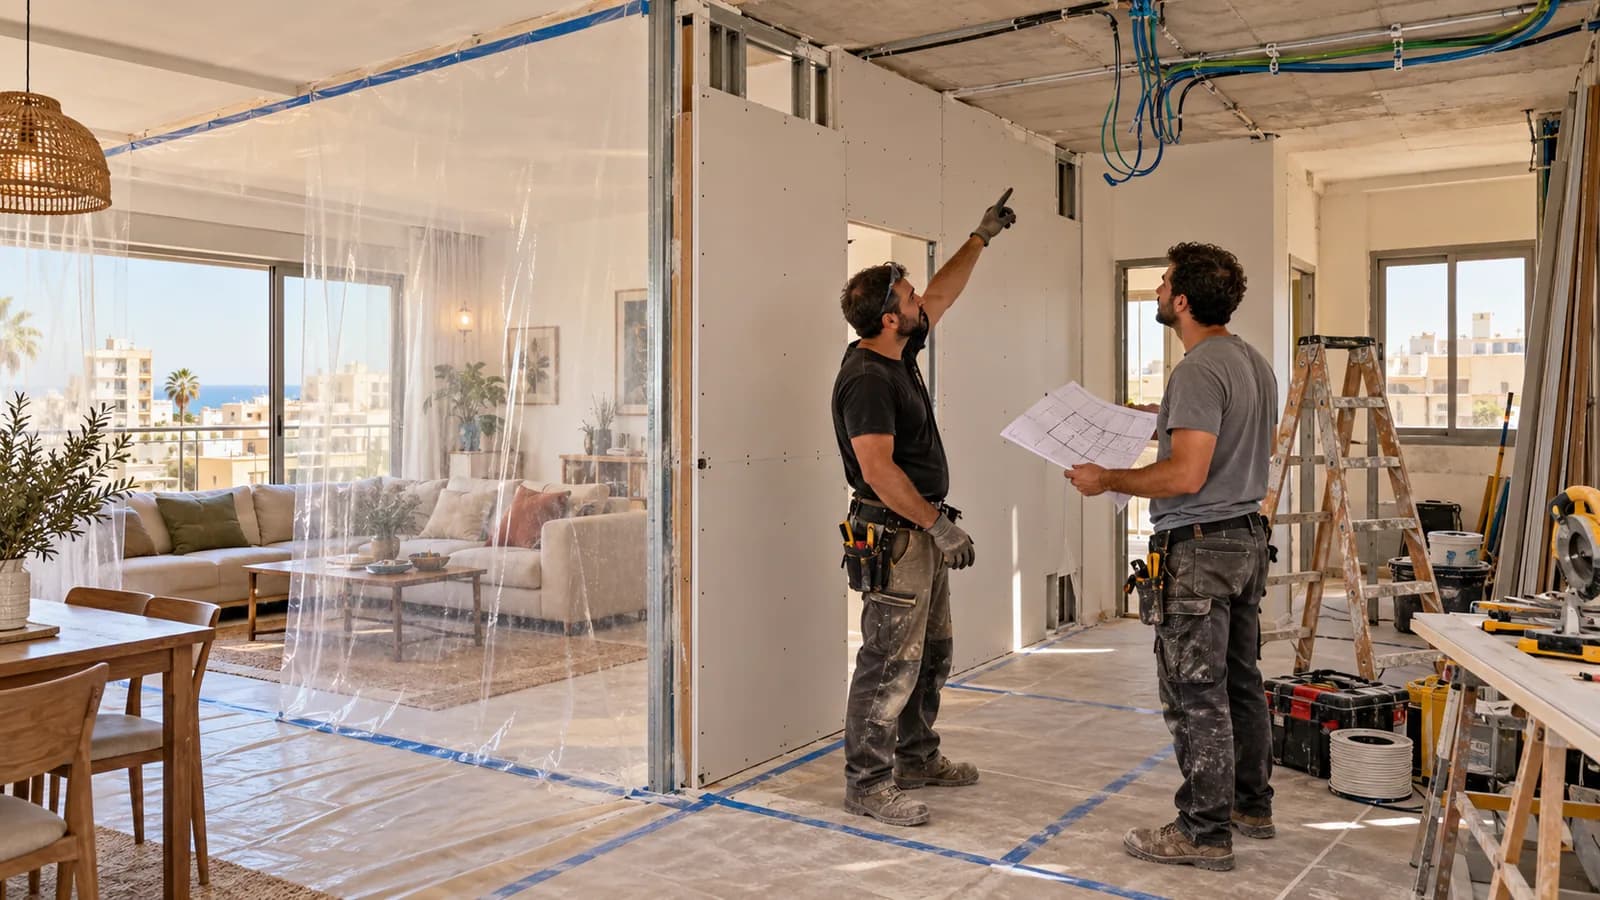
Even a modest drywall partition can delay renovation if the electrician arrives after boarding, a door is ordered for the wrong opening or the flat remains full of furniture. Duration depends on the order of work, not just the number of boards. This guide sets out a practical sequence for an occupied home in Israel: decisions before starting, when another trade must attend, which hidden details to photograph and how to live around dusty work. It cannot promise a fixed number of days for every room. Drying, supply, substrate condition and access change the calendar. A useful plan gives each stage a visible result, a responsible person and a decision that must be made before the next stage begins.
1. Agree the scope before booking a start date
Mark partitions, ceilings, niches, doors, lighting and equipment on a sketch. For every element, record dimensions, finish, who purchases materials and what is excluded. Wide and detail photographs preserve the starting condition. If old lining shows damp or a moving crack, find the cause first: new board only hides the risk. The photo and measurement checklist helps prepare a survey. Fix the start date after key dimensions and neighbouring trades are confirmed, not after hearing one early estimate. Otherwise a crew may arrive to find missing door measurements or unavailable wiring decisions.
2. Create a sequence with hold points
Write the order rather than only a Monday-to-Friday promise: protection, demolition, base inspection, setting out, frame, services, concealed-work check, boards, joints, drying, primer, paint and handover. Name the person who signs off each stage and what is needed for the next. A straight wall and a crowded service ceiling have different schedules despite similar area. Ask about curing intervals for the chosen materials and actual room conditions. When one trade is late, deliberately move the stages that depend on it. Closing a ceiling just to keep busy can bury cables or an access requirement that has not yet been checked.
3. Protect the lived-in area first
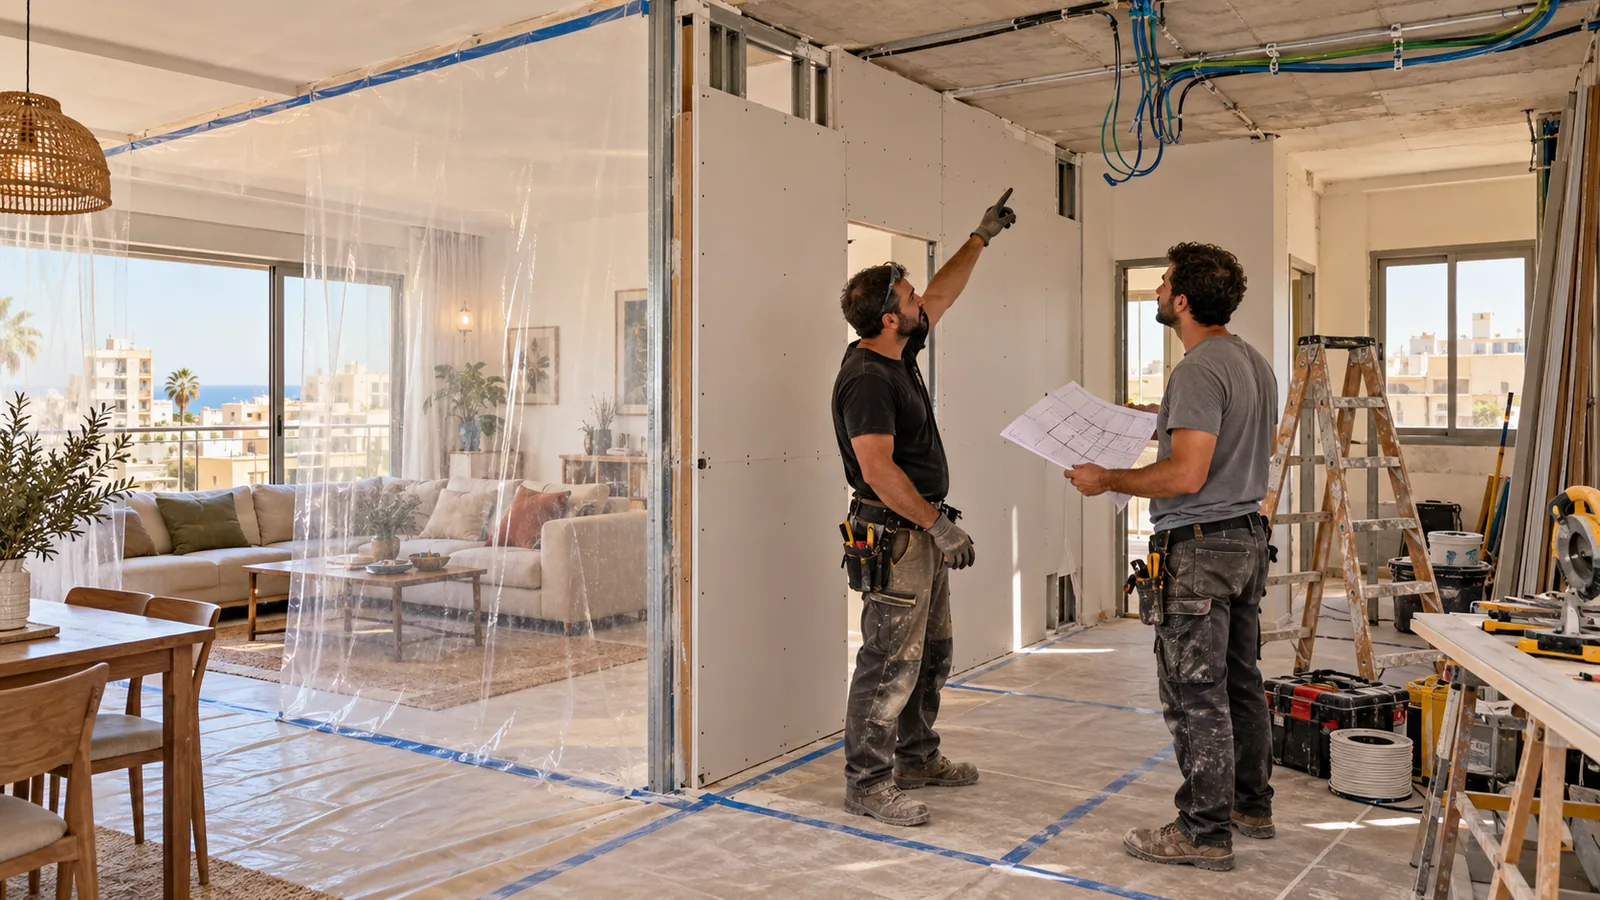
Move valuable and small items, cover furniture, protect floors and passages, and choose a dry place for boards and tools. The work zone should be separated from used rooms without blocking a safe exit or needed ventilation. Agree on noisy hours, daily clean-up and continued access to the kitchen and bathroom. Family members should know when a passage will be temporarily limited. Protection takes time and materials; ask if it is included in the quote. It does not cure a weak assembly, but it keeps normal life possible during the job and prevents damage to surfaces that are outside the agreed repair.
4. Demolish and inspect before final ordering
Removing an old box or ceiling may reveal pipes, water marks, weak anchors or differences from the drawing. Photograph the discovery and distinguish necessary repair from a new design wish. Water and electrical faults need the appropriate specialist; a drywall crew should not simply cover the source. Confirm framing, clear height and anchor points after inspection. Even without demolition, check the base and connection lines. Agree changes in scope before purchasing extra materials. A revised price or schedule should cite what was found. This avoids the surprise of discovering on boarding day that the original plan cannot be attached safely to the existing substrate.
5. Set out walls, doors and clear height
A proposed partition line on floor and ceiling lets you test passage width, door swing and furniture placement before the frame is built. For a ceiling, mark the drop and compare it with doors, wardrobes and ventilation grilles. Place access panels, lights and curtain recesses on the same plan. Ask the homeowner to approve the set-out: moving a door after painting is much more expensive. The ceiling planning guide explains height and service constraints. Even masking tape on the floor can reveal that the proposed new room feels narrower than it did on a drawing.
6. Build framing and load supports
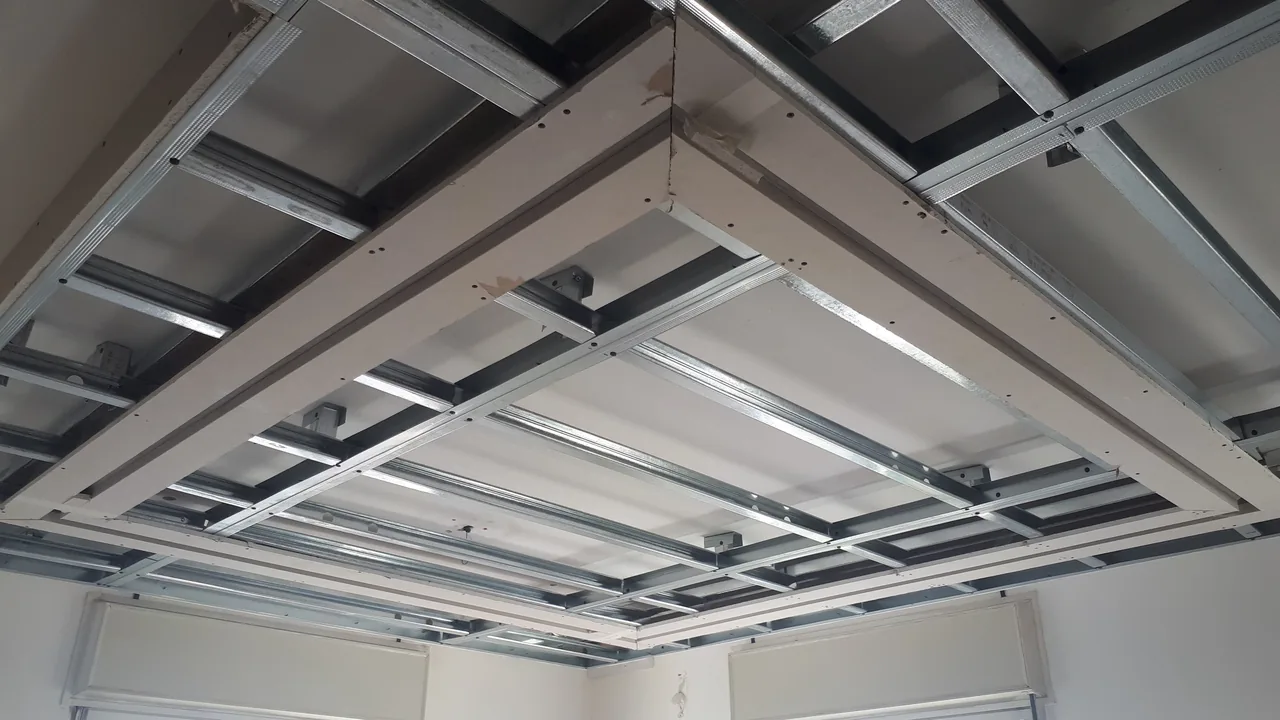
The frame controls geometry and the fastening of future boards. Install agreed backing for televisions, shelves, door frames and other heavy equipment before covering it. In an acoustic assembly, check junctions and intended decoupling; an accidental rigid bridge may weaken the result. Take wide and close photographs of profiles, anchors and reinforcement. Do not postpone the load decision until after boarding, when its exact position is hidden. The quiet partition guide shows why doors, sockets and fill belong to one plan. Confirm the proposed opening size against the actual door before closing the frame.
7. Run and check services before closure
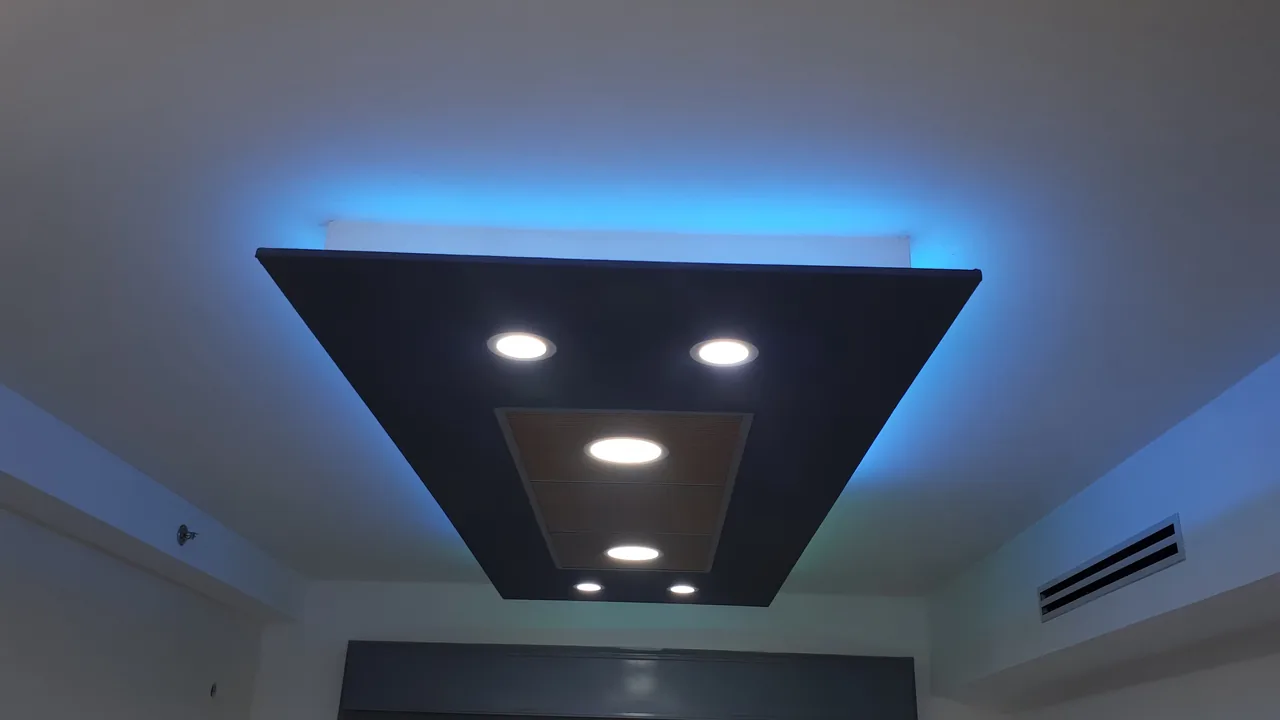
The electrician agrees cable routes, sockets and light points; the AC specialist checks ducts, drainage and maintenance access; the door installer verifies the opening. A plumber may need to inspect water lines. Do not bury an untested connection behind an inaccessible surface. Decide where an LED driver can later be replaced. Photograph service routes with distances from room corners before boards go on. Electrical installation and safety checks belong to the appropriate qualified professional. Name who confirms readiness for each system. The drywall installer should not have to guess whether a cable or duct is complete simply because no one is available on the day.
8. Inspect concealed work with photographs
Pause before closing the construction. Compare the set-out with the actual room, and check that backing, fill, routes and access openings are visible. Confirm the door does not collide with lighting or furniture. The homeowner need not perform an engineering calculation from pictures; the aim is to compare the work with the agreed drawing while changes remain easy. Record any correction and its completion. For sound reduction, inspect continuity of specified layers and service penetrations. Only then authorize boarding. This short hold point is often far cheaper than opening a painted surface later to find a missing support.
9. Board only after compatibility checks
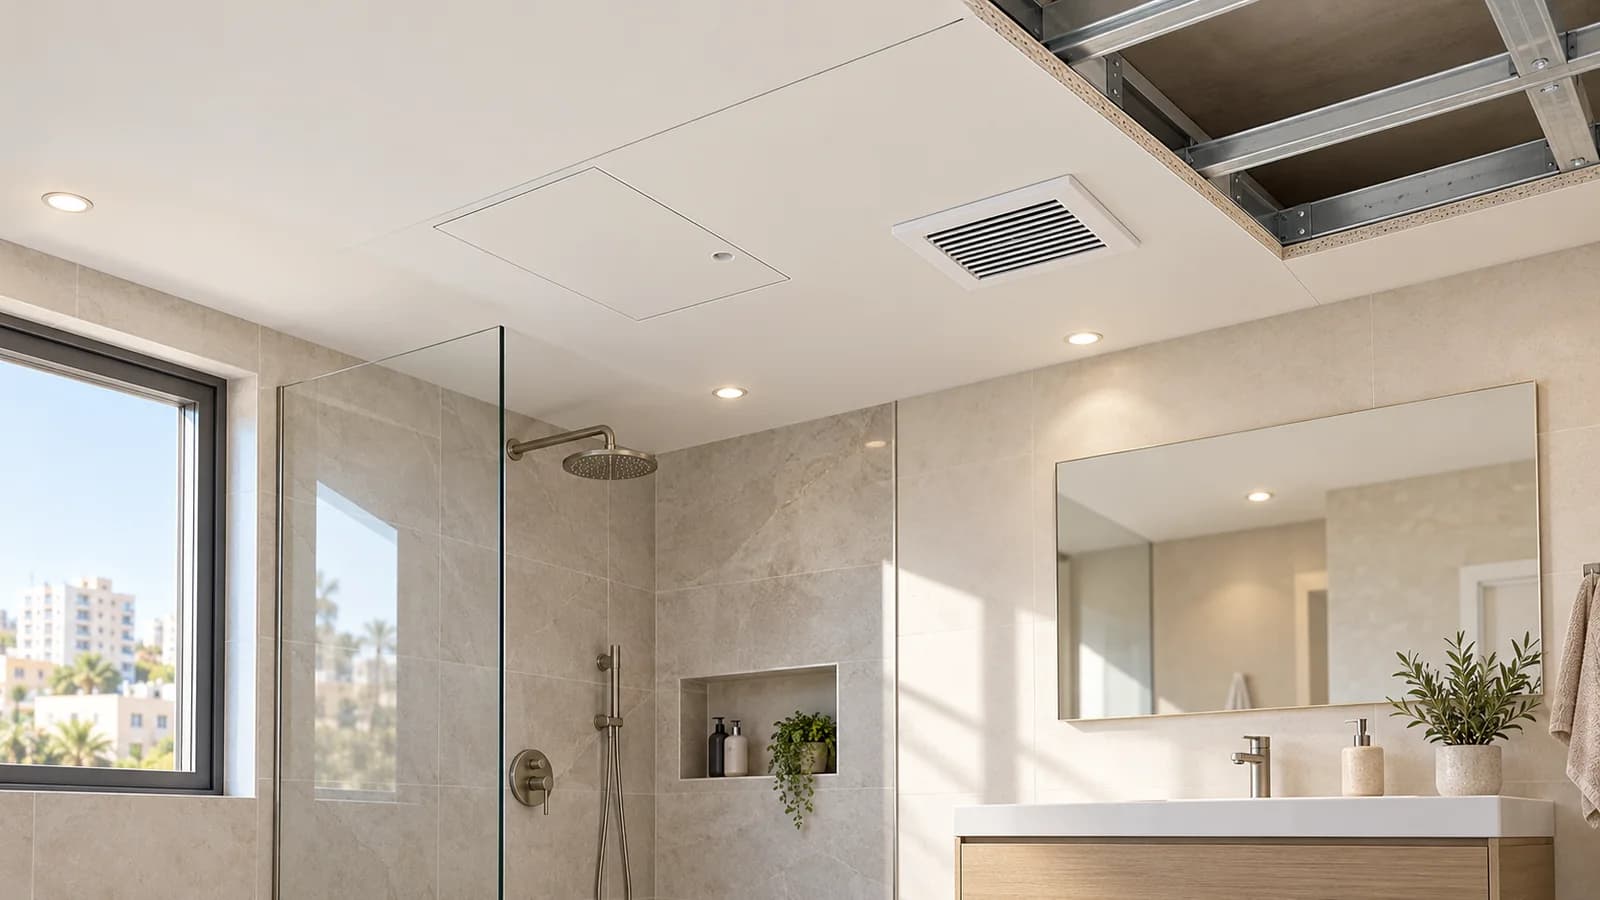
At the board stage, check material type for the room, joint positions, fastening and openings for access. Moisture-resistant board alone does not replace water protection or ventilation. A ceiling hatch must still open once lighting and furniture are fitted. For acoustic work, avoid leaving the designed fill exposed in an unintended bypass. Do not speed up by covering a known unfinished junction. Photograph each layer if the assembly has more than one. Ask what can still be adjusted before joint treatment and what would constitute a new scope. This makes later changes transparent and reduces destructive repairs.
10. Allow time for joints and drying
Joints, corners and screw heads are treated in stages. Time between coats depends on the selected compound, coat thickness and indoor conditions. Do not book painting for the hour immediately after filling merely to meet a calendar promise. The system needs adequate drying, sanding, dust removal and primer according to its product instructions. Grazing light from a window or LED line reveals defects more strongly than diffuse lighting, so finish expectations must be set early. The pre-paint checklist identifies visible joints, cracks and weak preparation before the final coat. A realistic pause is cheaper than repainting a wall.
11. Paint after the dusty stages
Doors, hatches, grilles and lights need confirmed sizes, while their final fitting or protection should be coordinated with finishing. Before painting, inspect even primer coverage, a clean surface and the agreed colour. A patched older wall may need painting across a wider area to avoid a visible spot; discuss that in the quote, not on the final day. Avoid hanging heavy furniture until the finish is ready and backing locations are confirmed. Clean the work zone, remove protection carefully, and operate hatches and doors to ensure they do not catch. These actions are part of usable completion, not decorative extras.
12. Finish with checks and records
Walk the room with a list: dimensions, plane, corners, joints, paint, doors, equipment access and cleanup. Compare concealed-work photos with the final positions of furniture and switches. Record each defect, expected correction and recheck before final payment. The handover checklist gives a staged method. Keep product names, backing locations and specialist contact details for future drilling, light replacement or repair. A schedule ends when the finished room can be used safely and its hidden decisions remain discoverable, not merely when the last paint coat has been applied.
Questions
Where should a schedule start?
With scope, measurements, neighbouring trades and hold points.
When should the electrician attend?
Before boarding, with routes tested before they are concealed.
When should the door be ordered?
After the opening and reinforcement are agreed, before final closure.
Can we stay in the flat?
Yes, with agreed protection, access, cleaning and noisy-work hours.
What should be photographed?
Frame, backing, service routes, fill, hatches and positions relative to walls.
Why not paint straight after filling?
Compounds need suitable drying under their instructions and room conditions.
Who repairs a leak?
First the relevant specialist resolves its source, then the finish is restored.
Can a socket move after closure?
Usually only with opening work; agree routes before boarding.
What if the base is damaged?
Document it and agree repair scope, price and timing before proceeding.
When is the work complete?
After use checks, corrections and delivery of hidden-work records.
Relevant services
Guides and practical notes

Message Nikolai on WhatsApp with photos and dimensions, or call him to discuss the next step and what is needed for an estimate.