
Preparing walls for paint: repair, skim coat, primer or new lining?
Choose the right sequence for peeling paint, cracks and uneven plaster: sound substrate, local repair, full skim, primer and final paint.

Paint will not strengthen loose plaster or make an uneven wall flat under raking light. The real price of painting starts with inspecting the substrate and agreeing the expected finish. This guide helps you decide when a local repair is sufficient, when a whole wall needs skimming, and when a weak base calls for a different approach. It addresses interior apartment and office walls; an active leak or structural movement must be investigated before decorative work.
1. Inspect in daylight and side light
A wide photo shows which walls receive light from the window and where furniture hides defects. Raking light exposes waves, previous patches and joint marks. Photograph each problem from the room and close up with scale. Describe the desired result: tidy repainting of a sound existing wall or a particularly flat finish under a strong light source.
Check again in daylight if the first visit happens at night. The acceptance criterion depends on the agreed finish and normal lighting, but clearly visible defects should not be dismissed with a promise that paint alone will hide them.
2. Identify the failing layer
Paint alone can peel; paint and filler may detach together; or the plaster underneath may have lost strength. Gypsum board can have torn facing paper. Each needs different preparation. A new coat bonded to a loose layer will fail along with the old one, so the weak material must be removed to a sound edge.
Look closely around windows, corners and previously repaired cracks. Recurrence suggests a cause beyond filler choice. The peeling-paint guide helps identify what to check before another coat is applied.
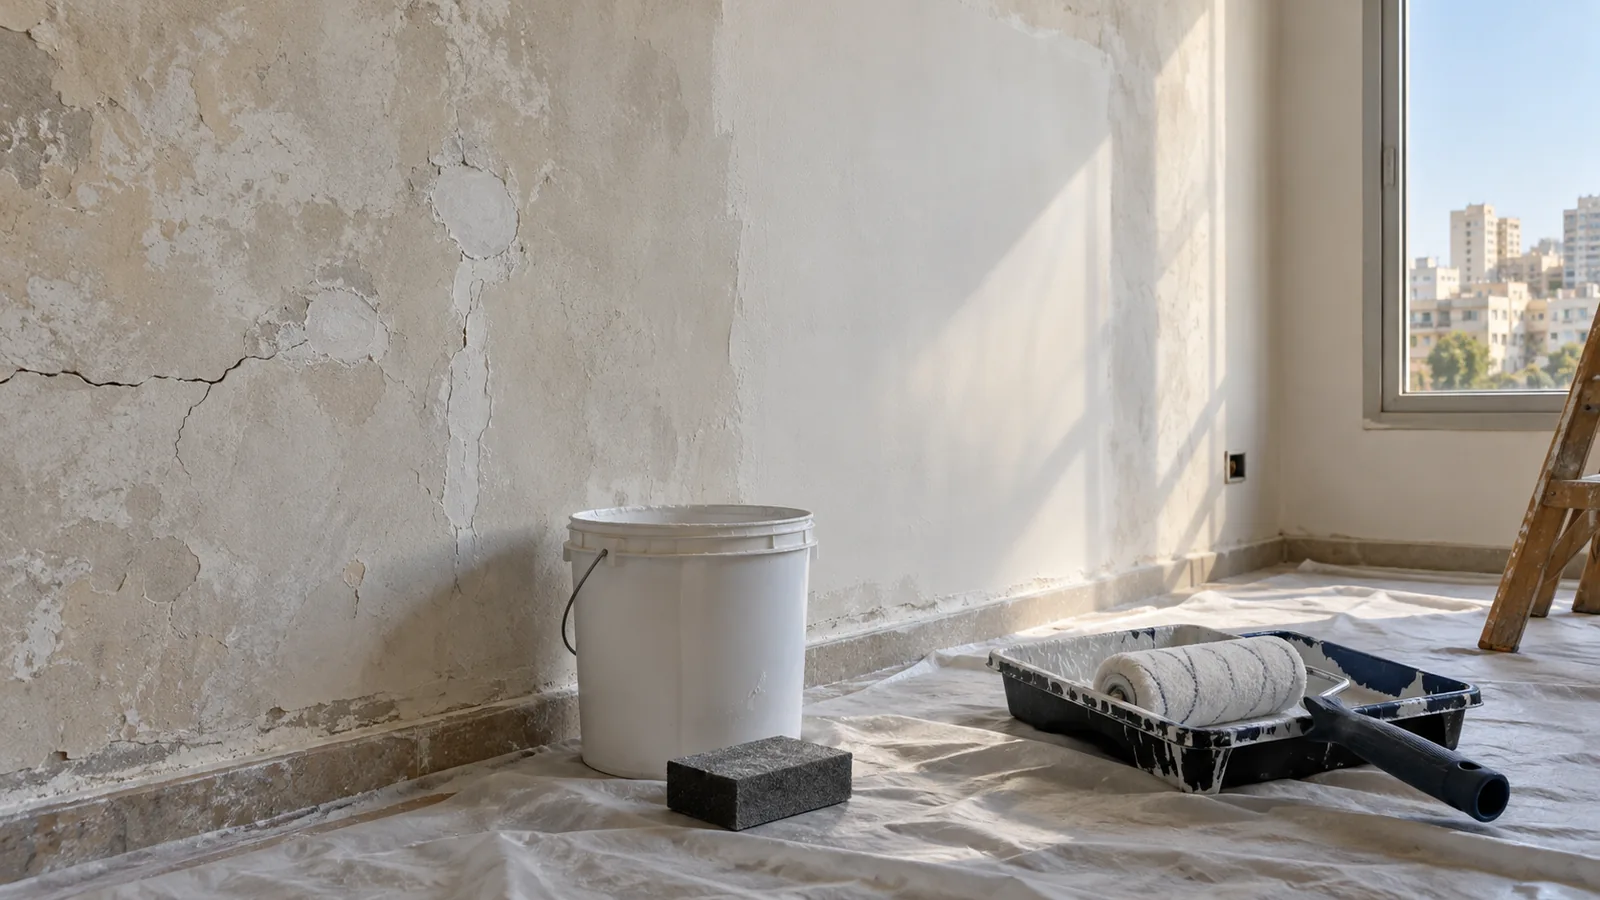
3. Exclude active moisture
A stain, bubble, odour or soft patch may point to water. An old dry mark differs from an ongoing source. Painting a damp wall postpones the same problem rather than solving it. Investigate the cause, repair it with the appropriate trade, assess the damaged substrate and allow suitable drying before decoration.
Do not hide a suspicious area behind fresh gypsum lining merely for a flat appearance. Moisture can continue damaging the concealed base. Plumbing investigation, where needed, lies outside the confirmed NikoGips renovation scope.
4. Decide between a patch and a whole wall
A small stable defect can sometimes be opened, consolidated and locally filled. But the border of a patch may remain visible in strong side light. A full skim coat provides a more uniform surface at the cost of more preparation, drying and sanding. One wall and an entire room are different quotation items.
Mark the finish boundary on a photograph or plan. The decision depends on old-layer stability, lighting and the owner's expectation. See the full-wall skim-coat service for the broader scope.
5. Match primer to the substrate
Primer is not a magic adhesive for every crumbling wall. Its role depends on the existing base and chosen coating system. After removing weak layers and making repairs, select compatible primer, filler and paint according to product instructions. New gypsum board generally needs priming before decorative paint.
Ask which products are specified and what conditions and drying intervals they require. Substituting an extra paint coat for primer or rushing a wet compound can produce uneven absorption and finish. An uncertain old surface may justify a small trial area.
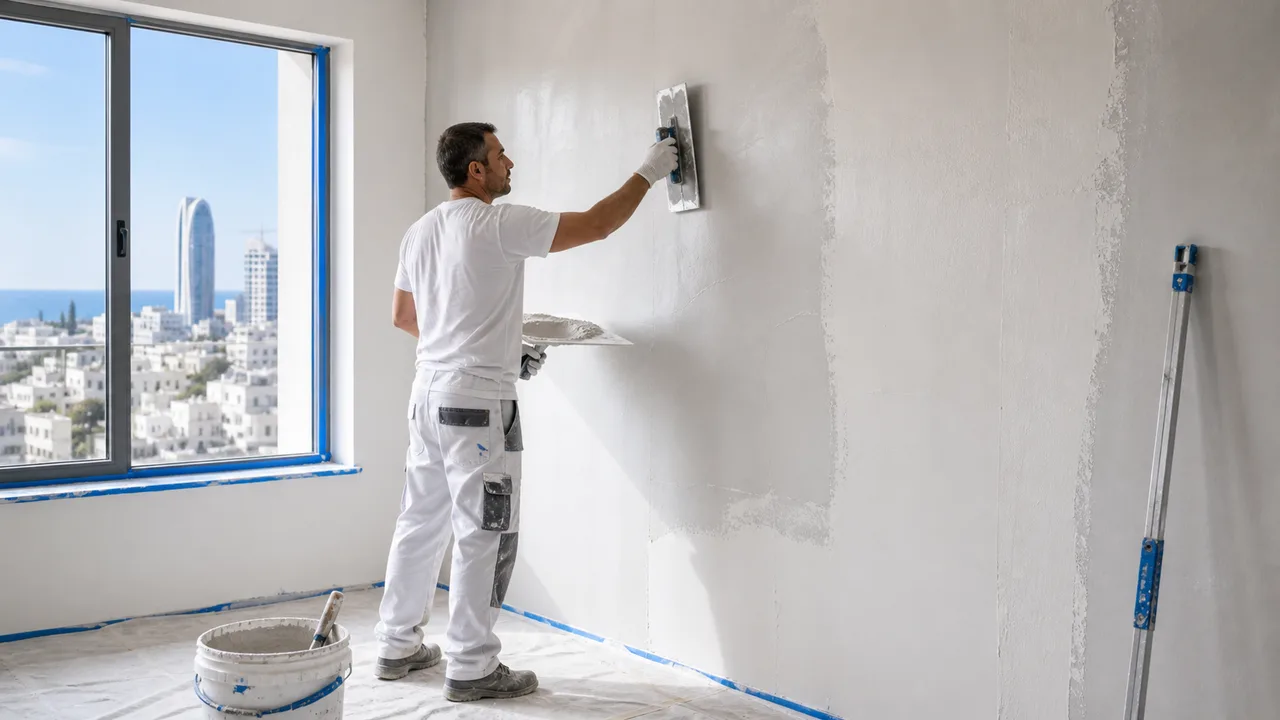
6. Treat joints and corners as details
Board joints, internal corners and fixing heads require appropriate treatment before any broader skim. An old plaster crack needs a cause assessment; a moving joint is not repaired by a thin finish coat alone. Defects beside a door or vent may also reflect a junction problem rather than a simple surface scratch.
Request a photo after opening a recurring defect and before covering it. If substrate repair is necessary, list it separately. This makes the price understandable and creates a checkable stage before final paint hides the work.
7. Know when a new lining makes sense
When a large area is weak or the wall geometry is badly distorted, repeated skim coats may be poor value. Compare removal and repair of the old base with a new gypsum lining. Lining takes room space and changes reveals and fixing points, so it should not be selected solely from a photograph of a smooth finished wall.
Confirm that moisture is not active and service access remains possible. Include floor and ceiling junctions, sockets and future wall loads in the plan. Compare equally finished options, not the cost of a sheet with the cost of a complete plaster repair.
8. Make painting the final operation
The prepared wall must meet the chosen system's conditions for dryness, cleanliness and flatness. Primer and the specified paint coats follow. A colour card can look different in the room; a small test patch helps assess the real light. A wall with decorative side lighting usually needs a more careful finish than one hidden behind a cabinet.
Inspect after drying under normal room lighting. Agree whether ceilings, skirtings, reveals and reinstallation of removed items are included. Those boundaries often cause more disagreement than the selected paint colour.
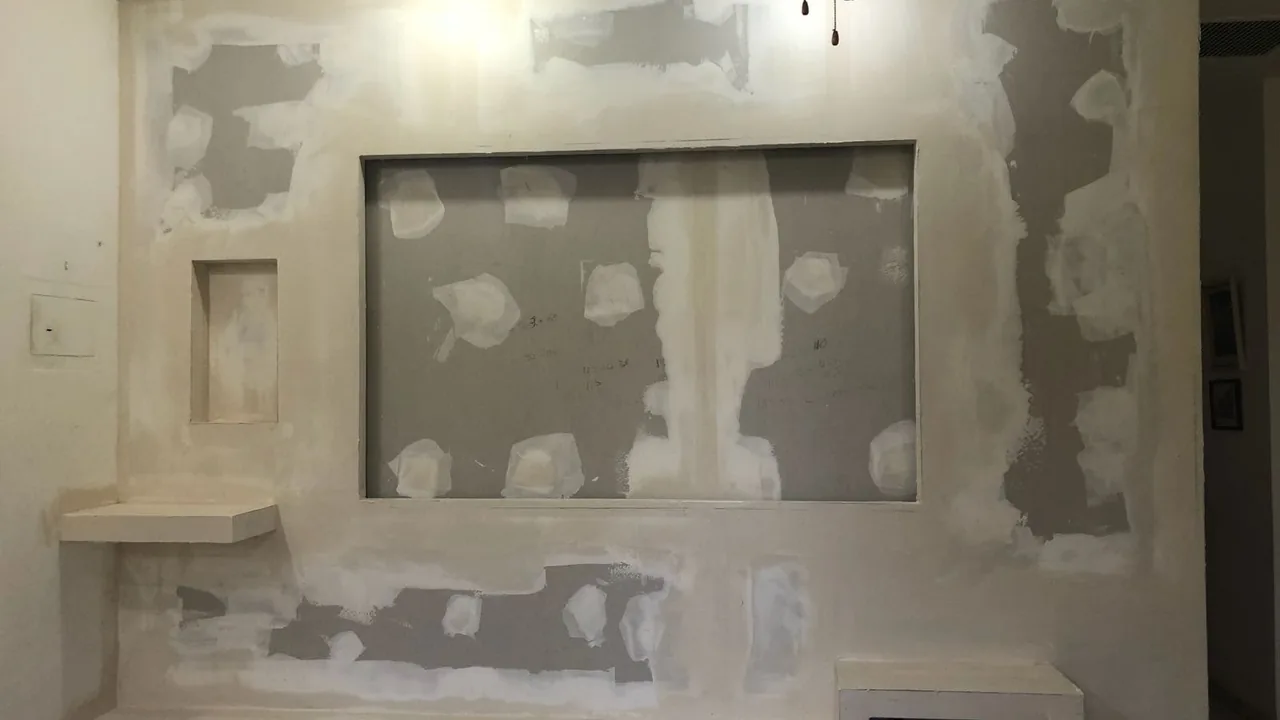
9. Make preparation visible in the quote
List the area, removal of weak layers, crack repair, local or full skimming, sanding, primer, paint, furniture protection and construction cleanup. State how an unexpectedly weak base found beneath old paint changes the approved scope. A square-metre rate without this information explains very little.
The NikoGips calculator gives a first orientation for a selected operation, not a view beneath old coatings. Send the same photos and expected finish to each contractor. Differences in preparation often explain price gaps better than paint brand.
10. Request and accept work in Netanya
For a Netanya wall, send photographs of the entire surface, problem spots, window and light direction. Say whether there was a leak or previous repair, and whether adjoining walls must match in texture. The city does not select the technique; the actual substrate does.
Inspect the dry finish in daylight and ordinary evening light. Check for new bubbles, visible patch borders, cracks and missed edges near skirting. Keep the material list and initial photographs so later changes can be understood accurately.
Questions
Can I paint over a crack?
First establish whether the joint is stable and repair the base appropriately.
Should new drywall be primed?
Generally yes, following the specified finish system.
What if paint is peeling?
Remove the weak layer to a sound edge and investigate why it failed.
Is a full skim always needed?
No. It depends on base condition, lighting and expected flatness.
Can lining hide dampness?
No. Investigate and fix the moisture source first.
Why does a patch show after paint?
Texture, plane, absorption and lighting may differ.
When is new lining justified?
When the original base is widely unsound or impractical to repair.
How is the price estimated?
From preparation, area, repair, products and finish boundary.
Must compounds dry between stages?
Yes, according to product and room conditions.
What should I send the contractor?
Whole-wall and defect photos, dimensions, water history and desired finish.
Relevant services
Guides and practical notes
Message Nikolai on WhatsApp with photos and dimensions, or call him to discuss the next step and what is needed for an estimate.