
After removing an old kitchen in Hadera: prepare the wall for new cabinets
How to inspect old fixing holes, repair damaged drywall, plan new cabinet support and avoid finishing the wall twice.
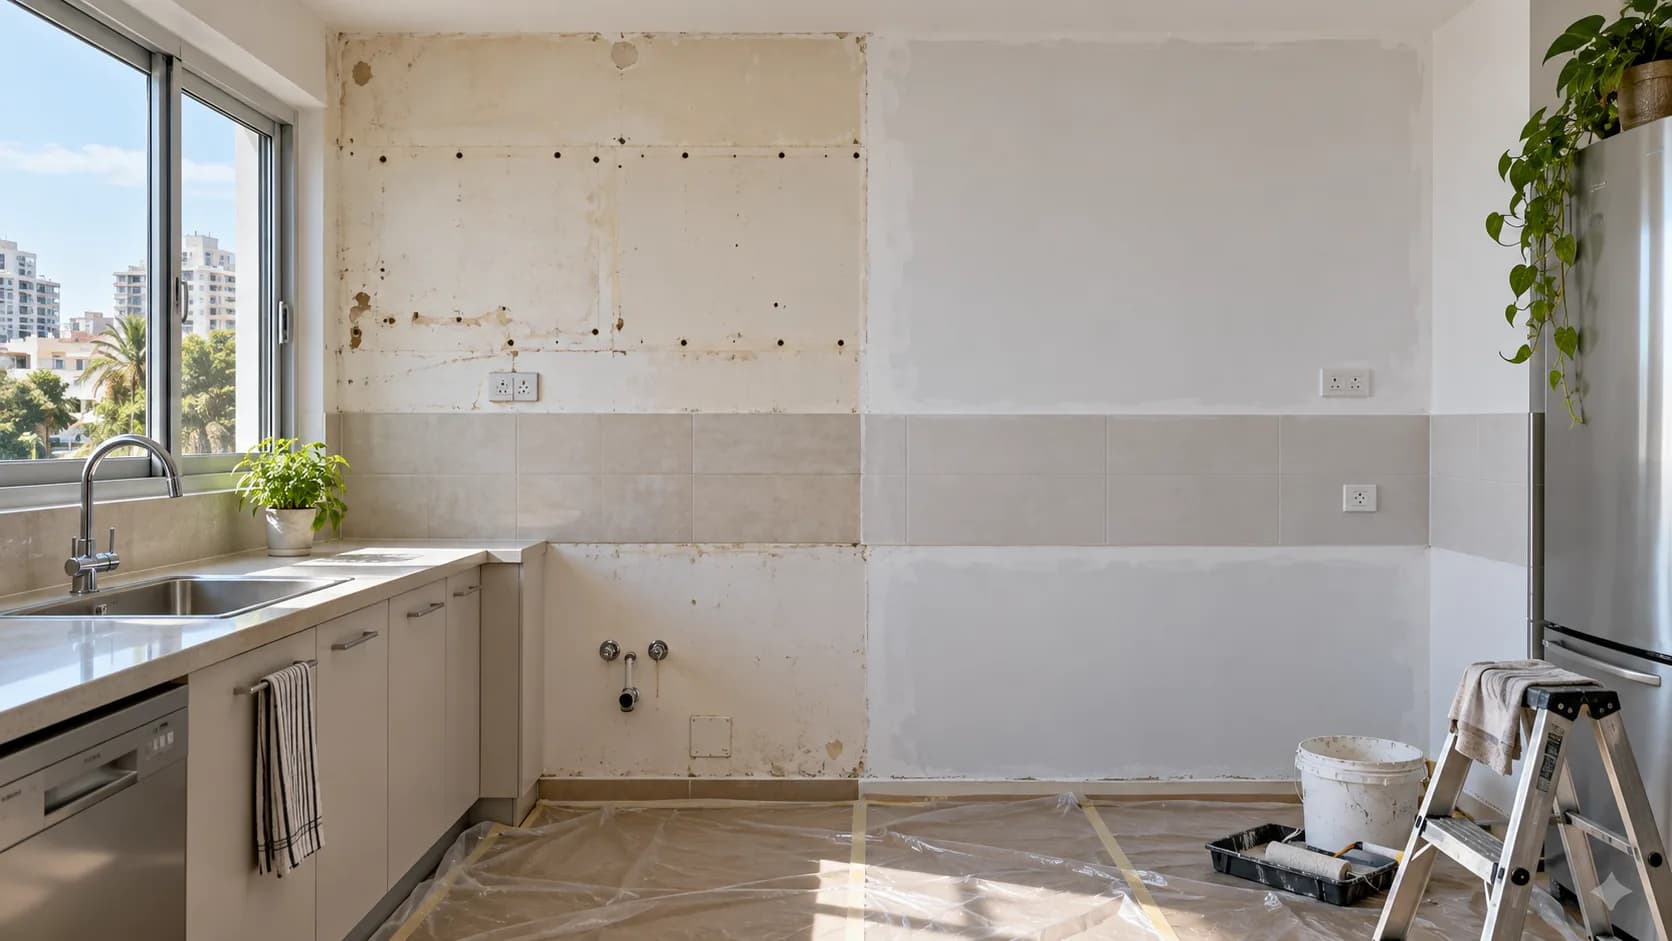
Removing old kitchen units exposes holes, patched wiring routes and surfaces that have not seen paint for years. The next kitchen may already have a delivery date, so it is tempting to fill everything immediately. A better order begins with the new cabinet plan and a check of the wall itself. This guide shows which repairs are structural, which are cosmetic and where the handover between the wall finisher and other trades belongs.
1. Record the exposed wall
Photograph each full elevation, the former brackets and any damp or cracked areas before cleaning. Mark the positions of outlets, water points, ventilation and the old backsplash without disconnecting them yourself. Ask who removes tile, glass or panels and what condition they will leave behind. Their removal is not automatically included in a drywall repair quote.
2. Identify the substrate
Concrete, block and drywall cladding need different patch and fixing methods. A painted wall can contain more than one substrate. For drywall, locate framing and any existing backing before skim coat conceals the evidence. Previous cabinets may have used support that is too low, too narrow or damaged for the new layout. Save photographs and measurements for the kitchen installer.
3. Classify damage before filling it
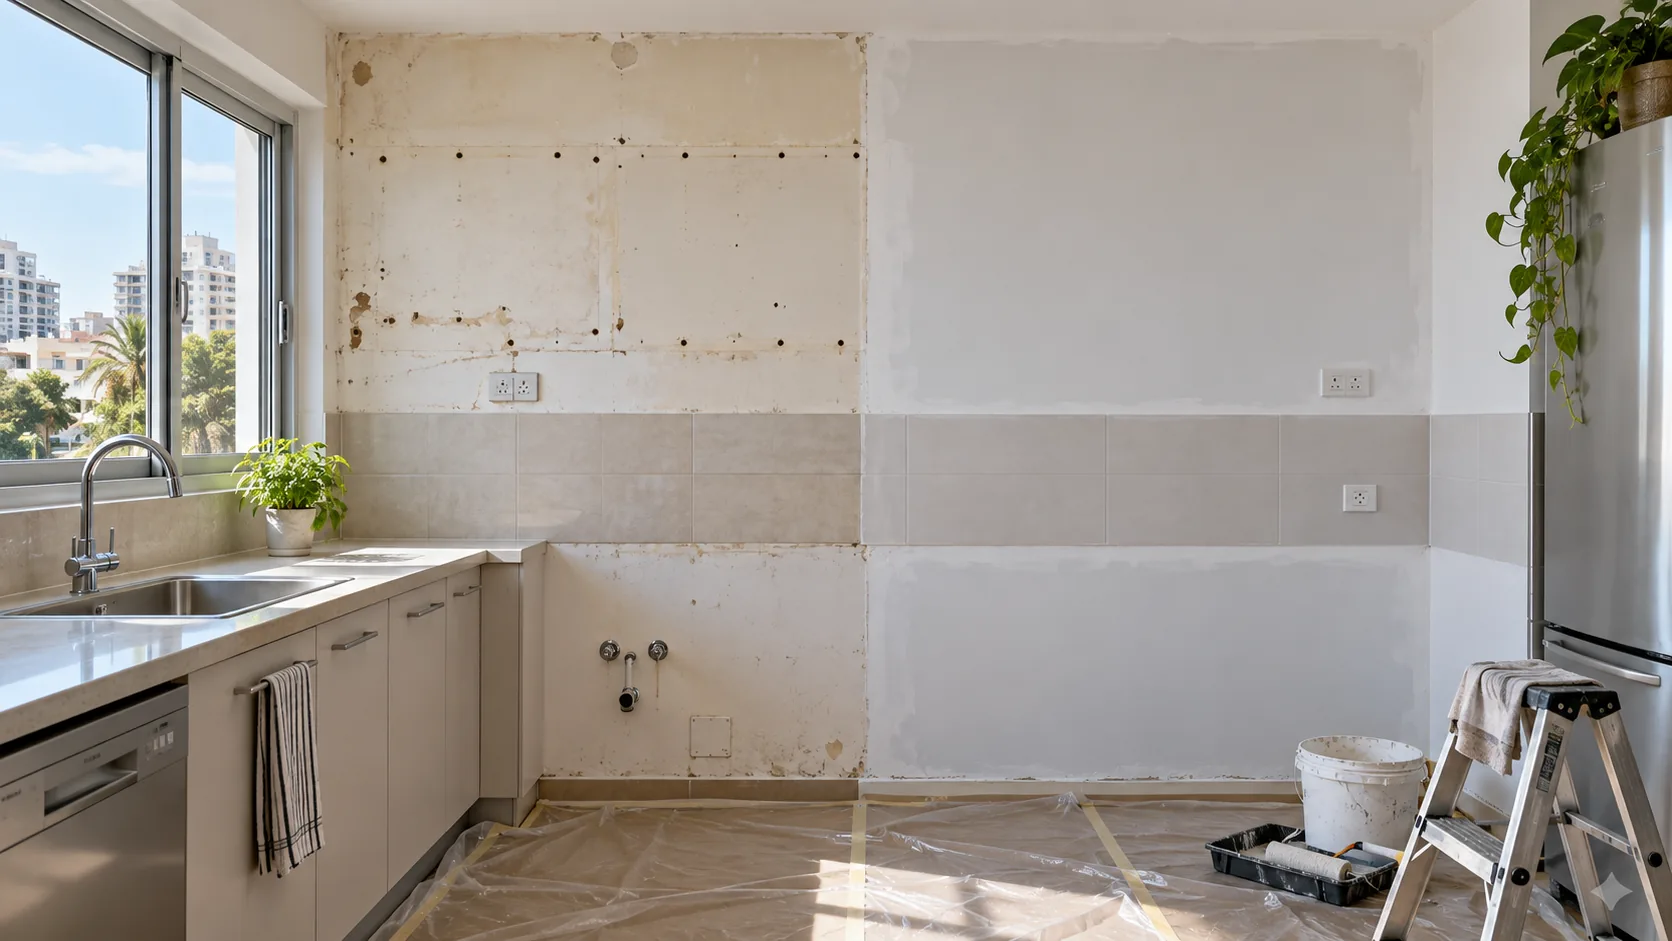
Small screw holes, pulled-out anchors and large cutouts need different repairs. A torn anchor can weaken a wider area than the visible hole, while a cutout needs a supported board patch and properly treated joints. Check for soft board or peeling plaster near the sink. Resolve the moisture source before cosmetic work; new paint will not stabilise a wet or loose base.
4. Get the cabinet layout before closing
Request cabinet widths, mounting heights, expected loads, hood and backsplash positions. If the final model is undecided, agree a support zone rather than promising that any future cabinet can be hung anywhere. Name who sets out the fixings and who installs them. Qualified trades handle electrical and water connections before the wall is closed; service access must remain possible.
5. Choose patching or a full visible finish
If new units cover the old marks and the substrate is sound, local repair may be enough. If the layout changes, patches can remain visible under light and a full skim coat may give a better result. Drywall repair in Hadera addresses board damage and joints; a full skim is a separate finishing decision. Do not pay for a decorative finish behind solid covering unless the mounting method needs it.
6. Sequence the work
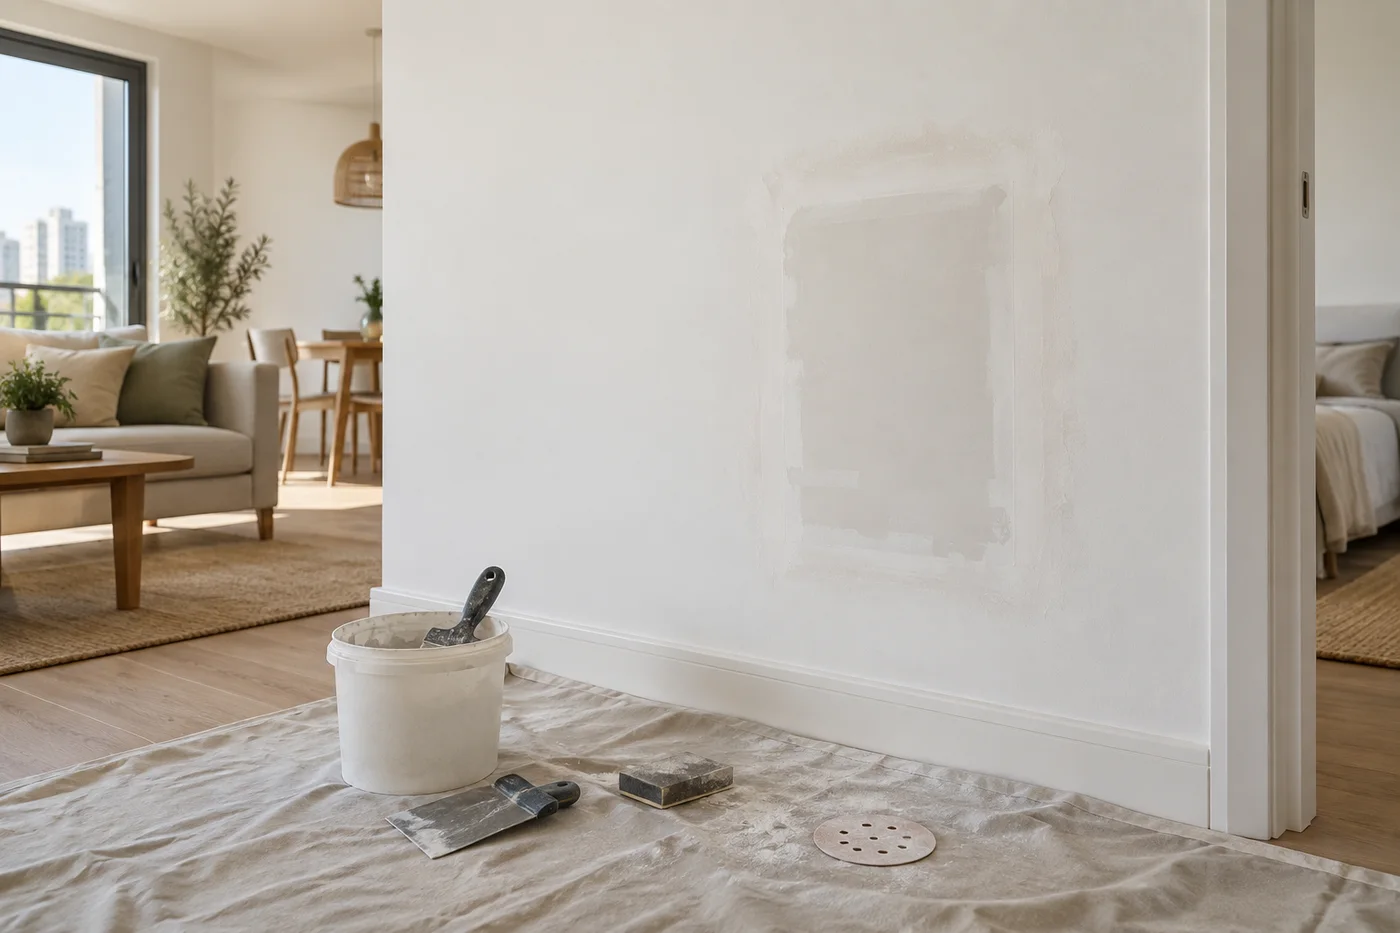
Approve the kitchen plan, inspect the wall, complete needed concealed work and backing, then repair larger openings. Check these stages before boarding. Joints, surface preparation, primer and paint follow; install furniture after the selected coating has dried according to its instructions. The backsplash contractor should state the required flatness and base before work starts. A painted wall and a glass panel do not necessarily need the same finish.
7. Make the quote specific
Separate removal of old lining, hole repair, backing, full preparation, primer, paint, room protection and cleanup. The number of large pull-outs and drying stages may matter more than kitchen area. State excluded work explicitly: cabinetry, tiling, outlet relocation, plumbing and old-unit disposal. Nikolai does not offer plumbing, tiling or electrical installation; any specialist handover should be scheduled before closure.
8. Check the critical edges
Look at cabinet side panels, the countertop line and the exposed zone above wall units. A wall out of plane may require a furniture filler instead of replastering the whole room. Agree tolerances with the kitchen maker. Photograph concealed backing with a tape measure or fixed corner reference and pass it to the installer; the appearance of the new paint cannot show where a safe fixing sits.
9. Inspect before furniture hides the work
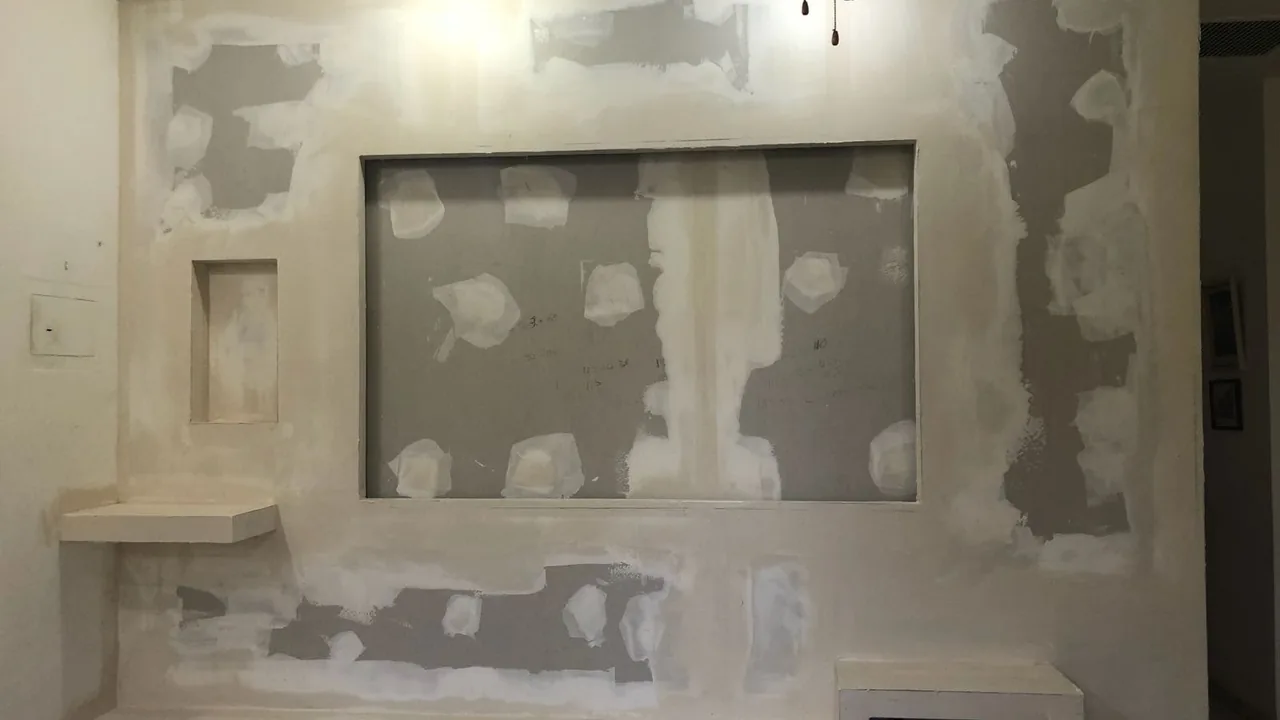
Review the finish under normal kitchen lighting and any planned under-cabinet lighting. Check that exposed sections are dry, sound and ready for the backsplash. Preserve pictures of the support zones and the completed wall. If fitting is delayed, protect the finish during other work and record any later damage separately from the wall handover.
10. Request an informed estimate
Send photographs after removal, approximate dimensions, the new kitchen plan, your Hadera location and the installation date. Say which surfaces remain visible and whether there has been moisture. If the layout is not ready, the first step is to define the inspection scope rather than promise a final paint and fixing arrangement. Nikolai can coordinate drywall repair and finishing around the confirmed handovers.
Questions
Can new cabinets use old holes?
Only after checking the base, fixings and new cabinet plan.
Must the whole wall be skimmed?
Not always; consider visible zones and the backsplash method.
Who moves outlets and water?
The relevant qualified specialists, before closure.
When can cabinets be fitted after painting?
After the selected coating has dried as instructed.
What determines price?
The substrate, damage, support needed and agreed finish.
Relevant services
Guides and practical notes

Message Nikolai on WhatsApp with photos and dimensions, or call him to discuss the next step and what is needed for an estimate.