Hidden LED lighting in drywall ceilings in Or Akiva
Drywall coves for hidden LED lighting in Israel: light gap, profile, diffuser, driver, access panel, curtain pocket, AC coordination and glare-free finish.

Drywall coves for hidden LED lighting in Israel: light gap, profile, diffuser, driver, access panel, curtain pocket, AC coordination and glare-free finish. The approach is based on the actual property: dimensions, noise, services, substrate and finish.
What the work includes
A hidden LED cove in a drywall ceiling is more than a box and strip. A proper detail includes the light gap, aluminum profile, diffuser, power feed, driver access, rigid framing, clean edge and a finish that can tolerate side light.
Planning before installation
Before installation, the lighting scenario is chosen: soft perimeter, curtain lighting, wall wash, TV accent or a combination with spotlights. Ceiling height, AC routes, driver position, switch, dimmer, curtain pocket, furniture and access panels are then checked.
Typical projects in Israel
In Israel these ceilings are common in living rooms, kitchens, bedrooms, new apartments, penthouses and offices. Around Haifa, Krayot, Hadera, Harish and northern Sharon, mini-central AC, concrete slabs, large windows, strong side light and limited height often shape the detail.
Mistakes to prevent early
Common mistakes are sealing the driver without access, installing the strip without a profile, making the cove too shallow, not checking glare, clashing with curtains or AC and leaving a weak finish at the edge. After paint, these mistakes mean cutting, dust and repainting.
Price and scope estimate
Price depends on lighting length, cove shape, height, corners, access panels, electrical preparation, profile, diffuser, connection with spotlights, curtain pocket, AC and the skim level under side light. A straight line and a complex serviceable perimeter are different scopes.
Related work stages
Hidden LED coves are best planned with drywall ceilings, curtain pockets, recessed lights, hidden access panels, ceiling skim coat, primer and painting. This keeps lighting, service access and finish aligned before the last stage.
Practice on Israeli projects
On a real project we account for wall geometry, substrate, wiring, loads, junctions and finish level. Access, the state of the space and careful work in an occupied home also matter. That is why pricing depends not only on meters, but also on hidden details that finish layers will later cover.
Checks before boarding
Before the frame is boarded over, the key checks are suspension, height, loads, lighting lines, access panels, perimeter details and paint preparation. The working focus stays the same: straight gaps, reduced glare and service access. These checks reduce cracks, visible waves, avoidable rework and reopening of finished surfaces.
Connection with nearby work
This service often overlaps with recessed lights, LED coves, curtain pockets, skim coat and painting. When framing, joints, access, primer and paint are agreed early, the result looks calmer and depends less on last-minute decisions.
Approve the light scene and edge before final paint · Or Akiva
A lighting cove is a coordinated geometry and finish task, with equipment and electrical responsibility stated separately.
Choose a line for a real use
Compare one highlighted zone, a room perimeter and a connection to curtains. They create different construction boundaries. Define the desired view from ordinary seated and standing positions instead of treating a continuous perimeter as the only acceptable design.
Use the selected lighting system
Obtain the relevant equipment dimensions and access requirements before the cove closes. Confirm the person responsible for supply, connection and controls. The drywall order should state its geometry and finishing rather than imply that every light component is included.
Agree a representative check
If the appearance needs a sample or trial section, specify its stage, extent and cost. Review the edge from the actual viewing positions and with retained materials nearby. A finished photograph cannot establish dimensions or guarantee the same visual effect in another room.
Separate the quantities in the proposal
Record the cove line, returns, service points and painted surfaces. A light-strip length does not automatically describe all drywall work. At handover, check the agreed scene and access with the responsible parties, keeping future equipment replacement practical without opening finished surfaces unnecessarily.
The room and address · Or Akiva
For an Or Akiva living room, start from the sofa, desk or dining position where the effect is actually seen. Compare a short line with a whole perimeter while keeping the rest of the ceiling unchanged where appropriate. State the junction and paint boundary so the cove does not become an undefined order to renovate every connected surface.
A ceiling zone linked to the room that remains
For a ceiling change in Or Akiva, show the complete room and connected spaces even when only a small zone is renewed. Locate existing lights, air-conditioning outlets, curtain tracks and the height that must remain useful. Identify which devices stay in place and which require a specialist's separate work. The proposal should distinguish a new plane, its junction to the old ceiling and the painted boundary. A local box and a whole-room ceiling may use similar materials while changing access, finishing and the amount of retained space differently.
Define the work boundary inside an occupied property
Mark the surfaces that change and the surfaces that stay on the same room plan. State whether the family or staff will use adjacent rooms, who clears the work area and when furniture returns. A small intervention can still affect a wall, floor junction or ceiling outside its visible outline. Ask the quotation to name those connections and the finished boundary. The neighbourhood name is an address reference, not a diagnosis of the substrate or a basis for an automatic surcharge. Additional work is agreed before it begins.
Compare a complete scope
Scroll the table horizontally to see all columns.
| Decision | What to define | Agreed result |
|---|---|---|
| Light scene | Normal viewing positions | Approved direction |
| Cove | Geometry and returns | Construction and finish |
| Equipment | Service and replacement | Named supplier and specialist |
Questions before agreeing the work
- Are lights and connection included?
- Only when separately named. The drywall geometry does not automatically include electrical installation.
- Can the view be checked before paint?
- Agree the format and cost of a suitable check before the final stage.
Customer reviews of Nikolai's work
Read all reviews on our site8/10MidragThe low ceiling to hide the air conditioner in the kitchen and living room, including high-quality hidden openings in special sizes.Translated review excerptNikolai came and was very helpful in solving the problem in the kitchen, but then we waited more than a month and a half for the work to be done. Finally, the quality of work is perfect.
ש. כ. בנימינה. · Midrag · Read on Midrag
9/10MidragRepair of drywall niches in a very high ceiling following a leak from the roof. The repair and painting of the living room required work with scaffolding. In addition, plastering works due to moisture from the windows and walls.Review summaryFollowing a roof leak, Nikolai repaired drywall niches and a high ceiling, then painted the living room. The customer highlighted his responsibility and the team's workmanship.
מוטי ל. · Midrag · Read on Midrag
5/5EasyReview summaryQuality, timing, reasonable pricing.
Мариам В. · Easy · Read on Easy
Planning a job in Or Akiva
Address and access
For a property in Or Akiva, provide the exact address, floor, lift access, unloading options and permitted work hours. These details are checked before arranging a visit and defining the quote.
What to send for an initial estimate
Send a wide view and close-up photos of the work area, approximate dimensions, substrate condition and the result you want. Note any finished surfaces needing protection and work already assigned to another trade. The final scope is confirmed after a site check.
Send photos, dimensions or a short description. A quick call helps understand the construction type, rough budget range and whether an on-site survey is needed.
Relevant services
Projects and work photos
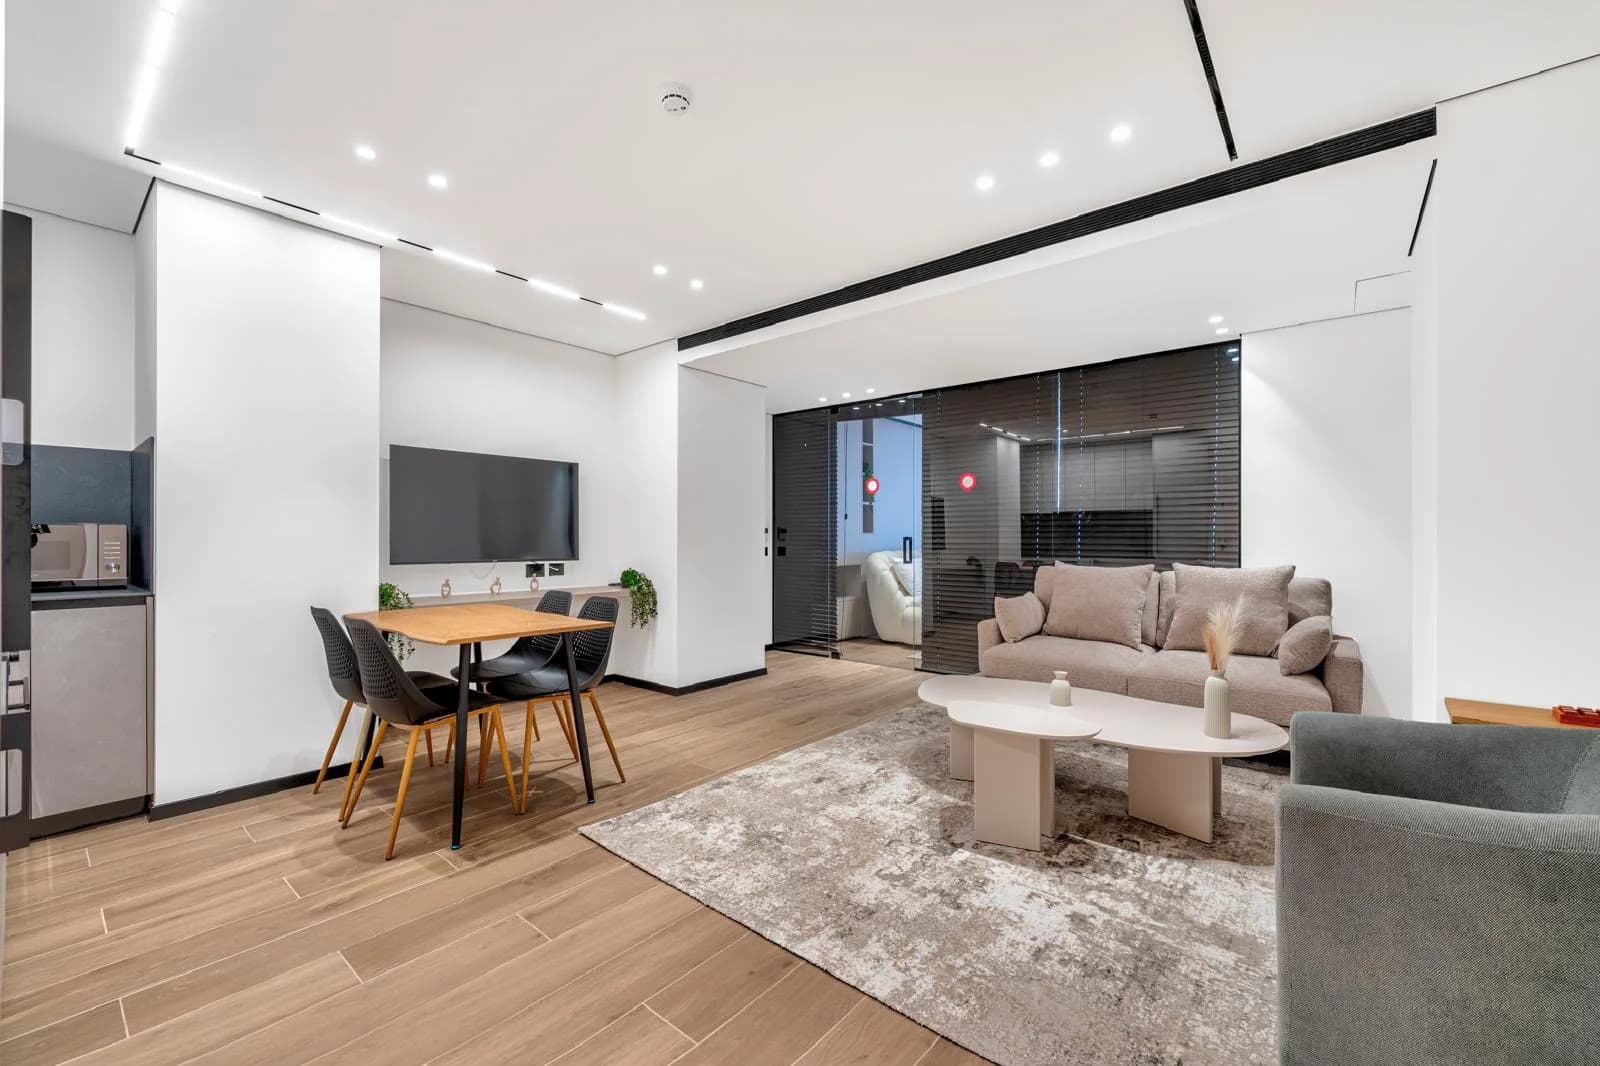
Comparable real work; each card shows its actual city and service.
Estimated prices
Questions
When is a hidden LED ceiling cove worth it?
It is worth it when the room needs a clean perimeter line, soft evening light, curtain lighting, a wall accent or a ceiling detail that works with furniture. If only one strong light source is needed, spotlights or a standard fixture may be simpler.
What must be decided before framing?
Cove depth and width, light direction, LED profile location, driver, access panel, switch, dimmer, curtain pocket, AC, spotlights and paint finish are set before framing. After boards close the ceiling, these choices become expensive rework.
Where should the LED driver be placed?
The driver should not be sealed without access and ventilation. It can sit behind an access panel, inside a cabinet, in a nearby service zone, behind a removable panel or another reachable point. Cable length, heat and replacement access should be checked.
Is an access panel needed for LED lighting?
If drivers, connectors, controllers, transformers or serviceable electrical parts remain inside the ceiling, access is needed. A neat panel can be hidden in the ceiling geometry, but no access usually means opening the finish later.
How are LED profile and diffuser selected?
The profile is selected by strip width, wattage, heat dissipation and cove depth. The diffuser helps remove visible dots and soften the line. A strip without profile can overheat, and a strip without diffuser can look spotty and cheap.
Why does LED lighting show waves and defects?
LED often shines along the surface, so it behaves like strong side light. It highlights uneven edges, weak skim coat, sanding marks, board steps and dirty corners. The finish around a cove needs more care than a standard ceiling area.
How should the cove connect with curtains and AC?
Curtain pockets, AC routes, ducts, spotlights and LED details often compete for the same ceiling zone. Height, curtain depth, service access, airflow and furniture should be checked early, otherwise the box can block curtains, service or clean light.
Can an LED cove be added after the ceiling is finished?
Sometimes, but it is usually messier and more expensive than planning it from the start. The ceiling must be cut, framing found, power routed, then skimmed and painted again. Lighting is best planned before boards close the frame.
What affects the price most?
Price depends on line length, cove shape, height, corners, access panels, electrical preparation, profile type, connection with spotlights, curtain pocket, AC and finish level under side light. A straight line and a complex perimeter are different scopes.
Which photos help with an estimate?
Send a general room view, ceiling near windows, AC zones, planned curtain pocket, spotlight locations, switch or power points and the desired lighting layout. Furniture or curtain plans and dimensions also help.
What is checked before skim coat and paint?
Frame stiffness, equal gaps, profile position, driver access, cables, access panels, spotlights and a test LED strip are checked before finish. After skim coat and paint, a mistake inside the hidden detail becomes dusty rework.
Can this work be done in an occupied apartment?
Yes, if floor and furniture protection, dusty stages, electrical work, drying pauses and room order are agreed in advance. In an occupied apartment, driver access and clean scheduling matter as much as the cove itself.
Guides and practical notes